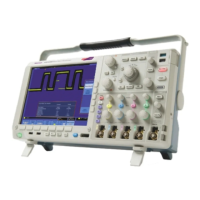
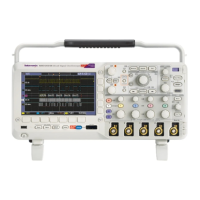
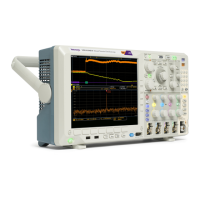
Adjustment Procedure
Setting the Ca
librator Output Signal
This section tells how to set the calibrator for the DC Voltage, Time Mark, Deskew
and Sine signals that are required by the adjustment procedure.
DC Voltages
Use one of the following three methods to set the DC voltage: to 0 V, to any
voltage into 1 MΩ or ≤5.5 V into 50 Ω, or to voltages over 5.5 V into 50 Ω.
For 0 V.
Complete these steps to set the calibrator output for 0 V and start the adjustment
step:
1. Push the DC/Square
button.
2. Ground the signal by pushing the grounding
lower-bezel button.
3. On the oscilloscope, push the OK Do Next Step right-bezel button.
For voltages Into 1 MΩ and voltages ≤5.5 V into 50 Ω.
Complete these steps to set the calibrator output for all DC voltages into 1 MΩ
and voltages ≤5.5 V into 50 Ω.
1. Select the calibrator signal type a s follows:
a. Push the DC/Square
button.
b. Push the WAV E F ORM lower-bezel button, and then push the DC
Positive
right-bezel button.
2. Set the calibrator output channels and impedance as follows:
a. Push the CHANNEL SELECT lower-bezel button.
b. Select the c hannel(s) specified by the oscilloscope prompt.
c. Push the LOAD lower-bezel button to highlight either 1MΩ or 50 Ω,as
specified by the oscilloscope prompt.
d. Push the EXIT lower bezel button.
3. Set the calibrator amplitude and start the adjustment step as follows:
a. Select the Amplitude field using the front-panel tab key
.
b. Set the voltage specified by the oscilloscope prompt.
c. Push the ON button and verify that the red light turns on to indicate that
the calibrator output is on.
d. On the oscilloscope, push the OK Do Next Step right-bezel button.
MSO4000B and DPO4000B Series Digital Phosphor Oscilloscopes Service Manual 13
 Loading...