7 Operation
7.1 Main menu
1. To enter the main menu, press [Menu].
2. To scroll between the individual menu items, press [Up] and [Down]. To exit the
menu, press [Menu] again.
3. To exit the menu, press [Menu], or wait 30 seconds.
ð
All previous settings are retained even when the device is switched o and
disconnected from the mains.
4. To restart with default values, use the functions under ‘Reset Function’ in the
main menu.
1. Open the main menu.
2.
Navigate to ‘DMX Settings è DMX Address’.
3. Use [Up] and [Down] to select an address between 001 and 512.
4. Conrm your selection with [Enter].
ð
The desired address is saved.
5. To exit the menu, press [Menu], or wait 30 seconds.
Make sure that this number matches the conguration of your DMX controller. The
following table shows the highest possible DMX address for the various DMX modes.
Mode Highest possible DMX address
4 channels 512
9 channels 512
The unit can be controlled in 4 or 9-channel mode. To specify the desired mode, pro‐
ceed as follows:
1. Open the main menu.
2.
Navigate to ‘DMX Settings è DMX Channel Mode’.
3. Use [Up] and [Down] to select ‘4CH’ or ‘9CH’ .
4. Conrm your selection with [Enter].
ð
The desired mode is saved.
5. To exit the menu, press [Menu], or wait 30 seconds.
The device can be used in stand-alone operation.
1. Open the main menu.
2.
Navigate to ‘Stand Alone è Auto è Program 1 è Dim’.
3. Use [Up] and [Down] to select a value of ‘000’ … ‘255’ .
How to use the main menu
Setting the DMX address
Specifying the DMX mode
Setting the dimmer in stand-alone
operation
Operation
12
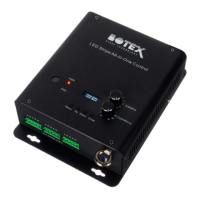
LED Stripe All-in-One Control
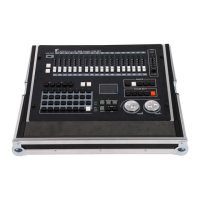
DMX Controller
 Loading...