1. Back button. This button returns the map to an overview of your whole route or, if no route is
planned, moves the map to put your current location at the center.
2. Switch view button. Select the switch view button to change between the map view and the
guidance view.
When in map view, if you are driving, the small arrow rotates to indicate your direction of
travel relative to north, with north being up.
Tip: The compass direction you are driving is shown in the switch view button below the small
compass arrow, for example, NE for North East. These compass directions automatically
appear when driving in North America and disappear if you leave North America.
3. Zoom buttons. Select the zoom buttons to zoom in and out.
4. Current location. This symbol shows your current location. Select it to add it to My Places or
search near your current location.
Note: If your GO cannot find your location the symbol appears gray.
5. Selected location. Press and hold to select a location on the map. Select the pop-up menu
button to show options for the location, or select the Drive/Ride button to plan a route to the
location.
6. Main Menu button. Select the button to open the Main Menu.
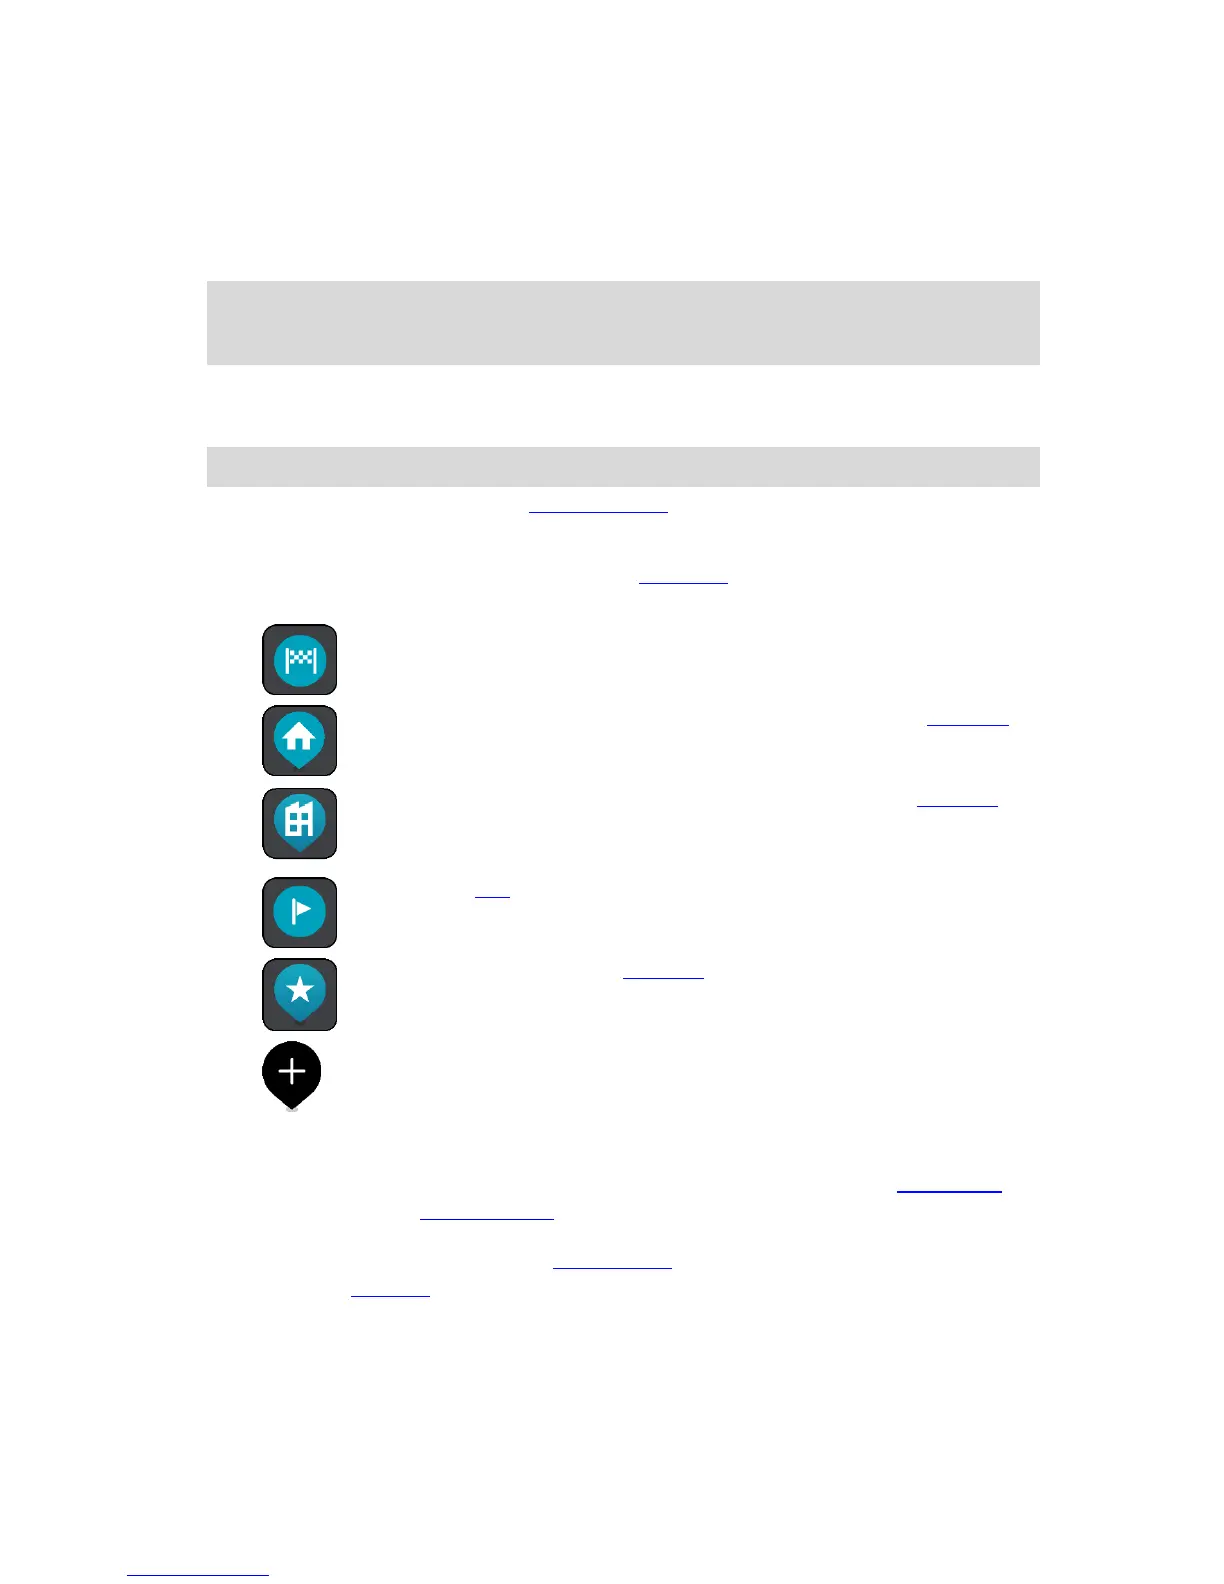
7. Map symbols. Symbols are used on the map to show your destination and your saved places:
Select a map symbol to open the pop-up menu, then select the menu button to see a list of
actions you can take.
8. Traffic information. Select the traffic incident to display information about the traffic delay.
9. Your route, if you have planned a route. Select the route to clear it, change the route type, add
a stop or save changes to your route.
10. Safety cameras on your route. Select a safety camera to display information about that camera.
11. Route bar. The route bar is shown when you have planned a route.
 Loading...