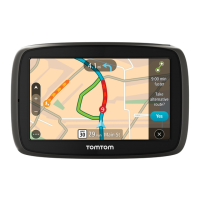
3. Instruction panel. This panel shows the following information:
The direction of your next turn.
The distance to your next turn.
The name of the next road on your route.
Lane guidance at some intersections.
Note: Select the instruction panel to see a list of turn-by-turn text instructions for your
planned route.
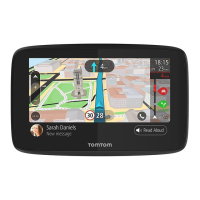
4. Route symbols. Symbols are used on your route to show your starting location, your stops, and
your destination.
5. Main Menu button. Select the button to show the Main Menu.
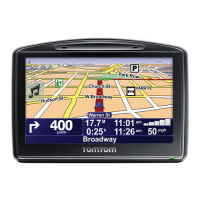
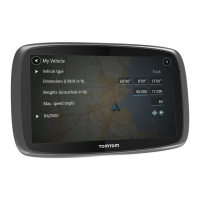
6. Speed panel. This panel shows the following information:
The speed limit at your location.
Your current speed. If you drive more than 3 mph (5 km/h) over the speed limit the speed
panel turns red. If you drive less than 3 mph (5 km/h) over the speed limit the speed panel
turns orange.
The name of the street you are driving on.
7. Current location. This symbol shows your current location. Select the symbol or the speed panel
to open the quick menu.
Note: If your GO cannot find your location the symbol appears gray.
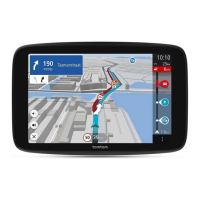
8. Route bar. The route bar is shown when you have planned a route.
Important: To see a wider route bar showing additional route information, change the setting
for Route Information.
The route bar
The route bar is shown when you have planned a route. It has an arrival information panel at the
top, and a bar with symbols underneath.
Important: To see a wider route bar showing additional route information, change the setting for
Route Information.
Note: The distance ahead shown by the route bar depends on the overall length of your route.
 Loading...