11
2. Turn main power switch on (gure 9).
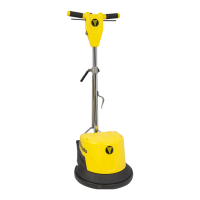
3. Operate accessory tools as normal (gure
13).
NOTE: When cleaning upholstery, always check
cleaning instruction attached to the furniture by
manufacturer.
Figure 13
4. After cleaning, relieve water pressure from
tool before disconnecting hose. Push the
switch on the hand tool after turning main
power switch off.
DRAINING TANKS
FOR SAFETY: When servicing machine, unplug
cord from wall outlet.
RECOVERY TANK
1. Turn machine off and unplug power cord.
2. Lift recovery tank cover, remove recovery
tank, and empty (gure 14).
Figure 14
NOTE: Make sure to rinse out recovery tank
after each use. Do not use this tank to ll
machine with cleaning solution.
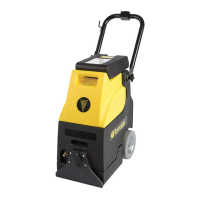
SOLUTION TANK
1. Pull solution tank drain hose off of hose
barb at rear of machine and empty
remaining solution (gure 15).
Figure 15
FILTER MAINTENANCE
To clean the external lter, remove the recovery
tank and locate the lter, grasp the inner handle
and pull out the lter. Rinse the lter bag inside
and out. You can then replace the lter by
snapping the lter back into place gure 16).
Figure 16
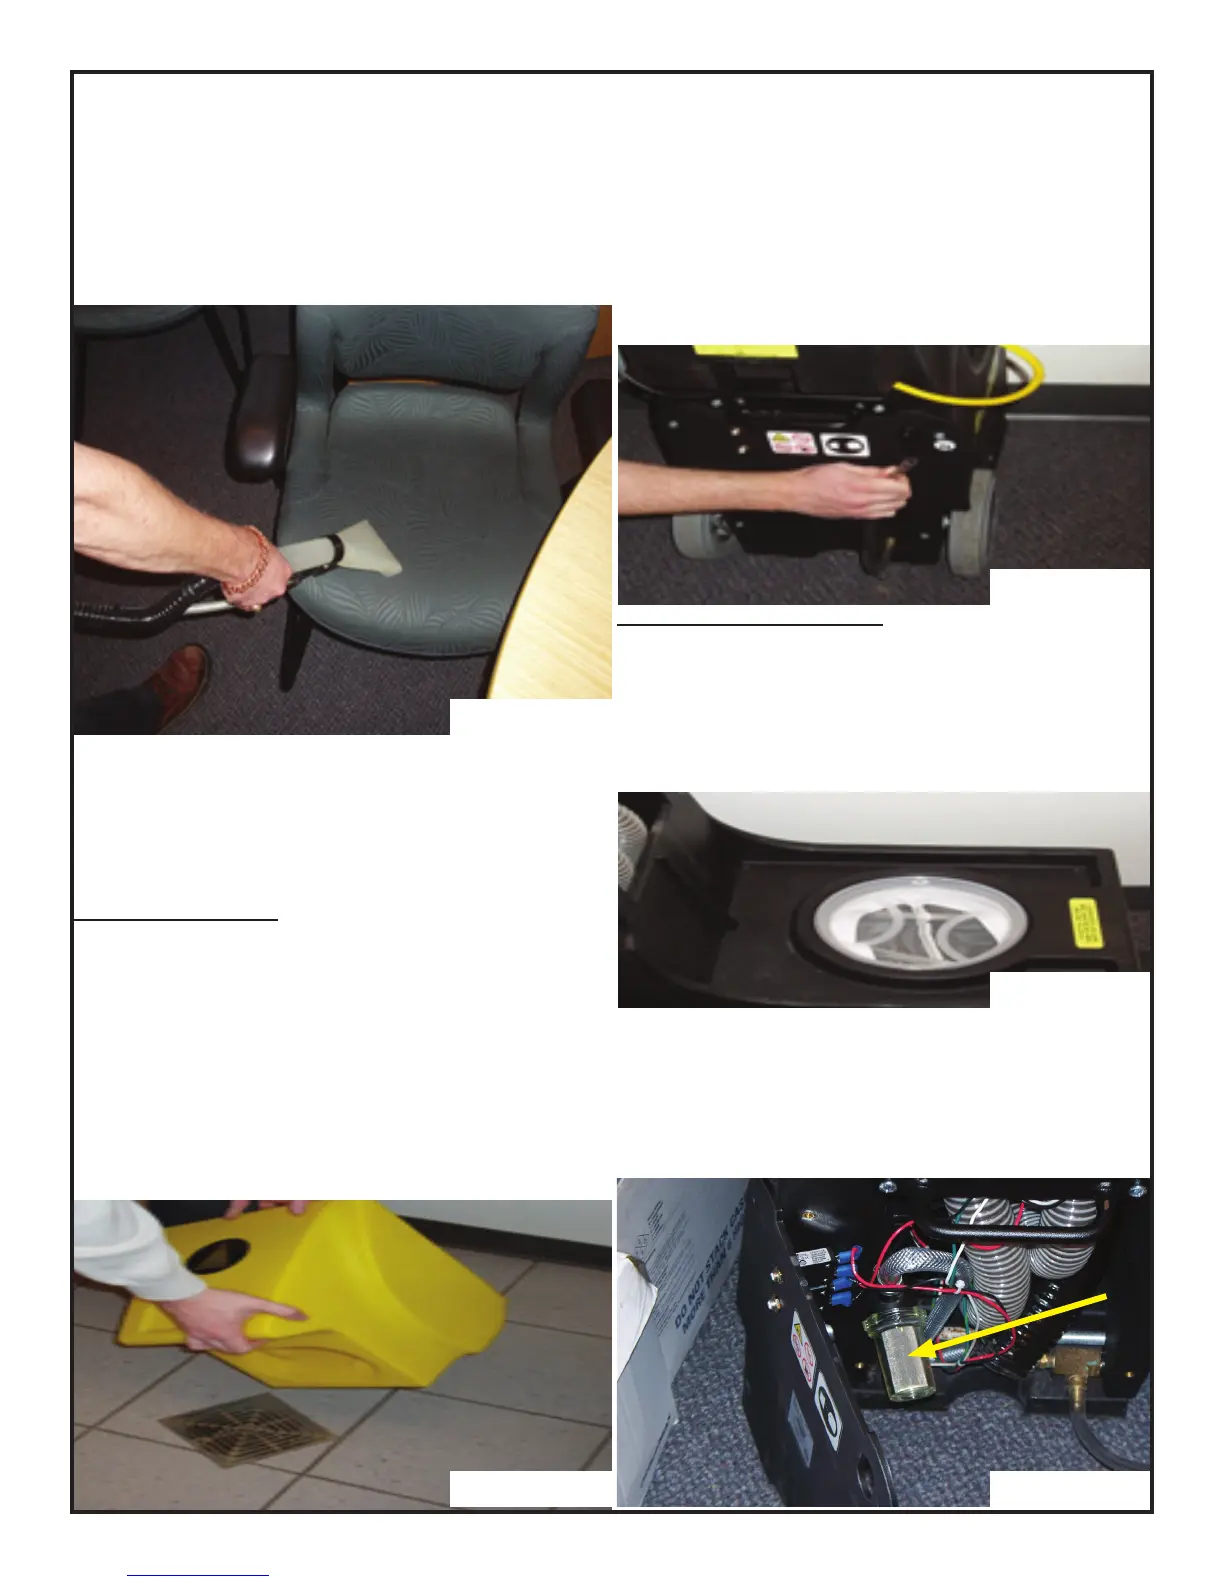
To clean the internal lter, remove the back
cover by removing the 4 screws, locate the lter
next to the vacuum motor and unscrew the cap.
Remove the lter screen from the cap and rinse it
thoroughly. Once nished, reassemble the screen
and cap and replace the back cover (gure 17).
Figure 17
 Loading...