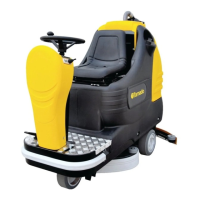
11
(a)
(b)
(Iv)
(a) Recommended pattern for small rooms
(b) Recommended pattern for large halls
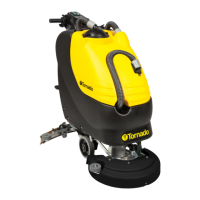
(i)
ON
3
2
1
OFF
(ii)
(Iii)
(a)
(b)
(Iv)
(a) Recommended pattern for small rooms
(b) Recommended pattern for large halls
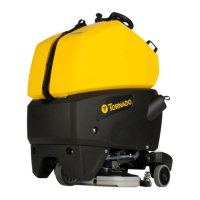
(V)
(Vi)
(i)
ON
3
2
1
OFF
(ii)
(Iii)
(a)
(b)
(Iv)
(a) Recommended pattern for small rooms
(b) Recommended pattern for large halls
(V)
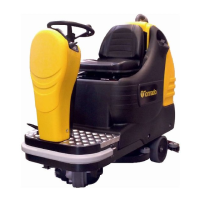
Warning! Avoid touching the sharp edge of dirty water tank. It may cause injury to hands.
5. When you are nished with the cleaning operation, switch o the machine and unplug the power cord.
Lift the recovery tank lid and remove the recovery tank. Empty the tank, rinse with clean water and clean
o the steel wiper blade before replacing the tank on the machine.
IMPORTANT — Dispose of dirty water in accordance with all local, state and federal hazardous material
disposal regulations.
4. Pull the machine backwards in the same track, but without discharging any
solution. When you reach the starting point, change the track and repeat steps
2 through 4. When you are changing the track allow some overlap with the
cleaned area. In case of large halls take a U-turn and move forward. If quick
drying is required, move on the same track, without discharging any solution
(Fig-iv).
Note. The spray pattern is adjusted by using the serrations in the spray nozzle
and holder. Each serration allows a 4-degree change in the spray pattern.
 Loading...