10
Pull Cable Connect / Disconnect Control
Insert the free end of solution cable into the valve body tted in the solution tank. Press and twist clockwise to secure the cable
end. Similarly, press and twist counter-clockwise to disconnect the cable end.
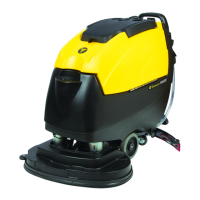
Solution Control
By pulling the solution control handle up, the cleaning solution is dispensed on the oor. The solution
stops once the solution control handle is released.
1
2
OFFON
BEFORE
RESET
WAIT
SECONDS
30
!
PRESS
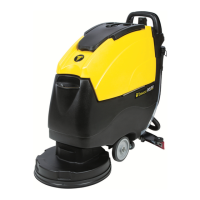
Motor Circuit Breaker
In the event of motor getting overloaded due to improper power supply or unexpected obstruction to
the brush/drum rotation, the circuit breaker trips and protects the motor from damage. If this happens,
identify the cause, correct it and, reset the breaker after minimum of 30 seconds from tripping by pressing
the circuit breaker button manually and continue working.
BEFORE
RESET
WAIT
SECONDS
30
!
PRESS
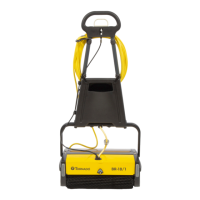
Operating the Machine
Before the washing operation starts
Warning! Pre-sweep the oor to remove debris before using the Multiwash.
(i)
ON
3
2
1
OFF
(ii)
(Iii)
(a)
(b)
(Iv)
(a) Recommended pattern for small rooms
(b) Recommended pattern for large halls
(V)
(Vi)
1. Verify that the brushes are tted properly.
2. Fill fresh water tank with cleaning solution.
3. Insert the plug into grounded 3-pronged outlet.
Recommended washing sequence
ON
3
2
1
OFF
(ii)
(Iii)
(a)
(b)
(Iv)
(a) Recommended pattern for small rooms
(b) Recommended pattern for large halls
(V)
(Vi)
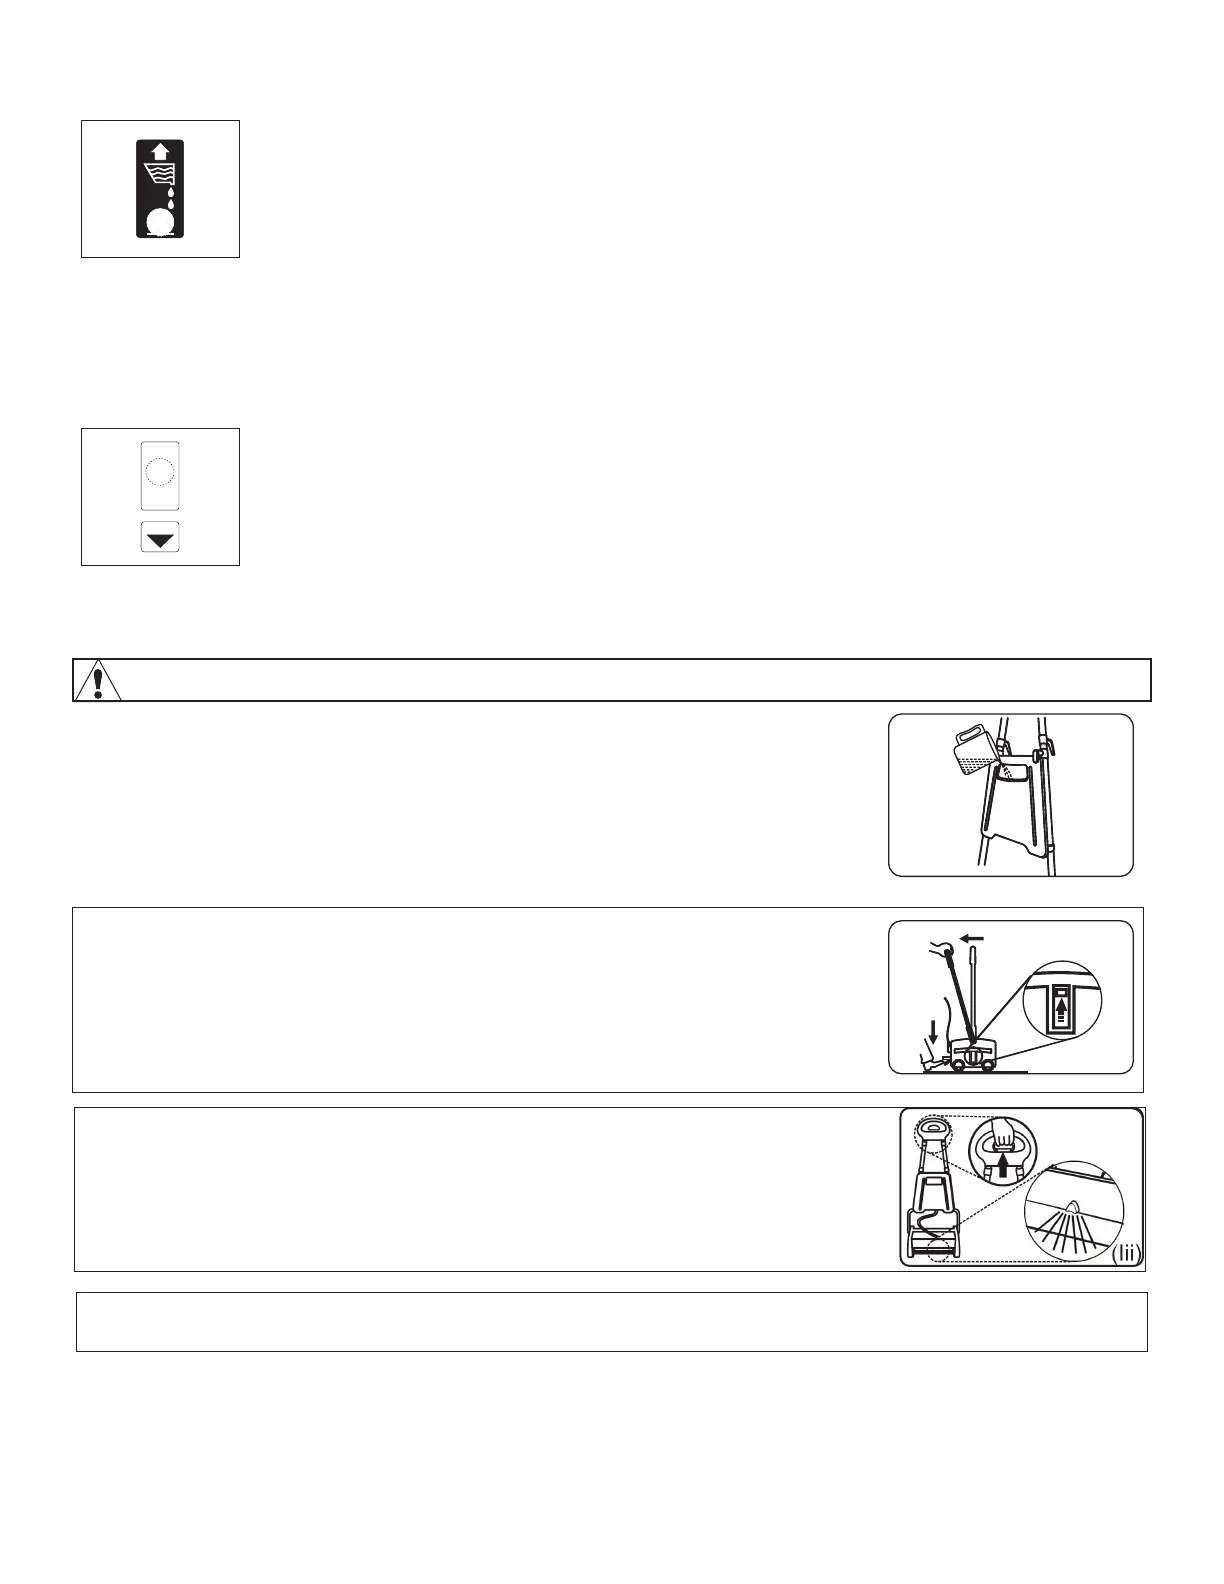
1. Start the machine by pressing the handle release pedal and pulling the handle
back.
2. Move forward, while sparingly pulling the solution control handle (Fig-iii). This
handle should only be pulled intermittently, based on the oor type and the
amount of soil on the oor. For tiled or stone oors, apply very little water.
3. Stop the solution discharge approximately 12 inches before the end of forward motion. Continue to
move forward up to the wall without pulling the pull handle.
 Loading...