ServicingtheAirCleaner
ServiceInterval:Every50hours—Cleantheair
cleaner(moreoftenindirtyordusty
conditions).
Beforeeachuseordaily—Checktheaircleaner.
Every300hours—Replacethepaperelement.
CleaningtheFoamAir-Filter
Element
1.Removethewingnutsecuringtheair-cleaner
covertotheaircleaner,andremovethecover
(Figure30).
2.Removethewingnutfromtheairlter,and
removethelter(Figure30).
3.Removethefoamair-lterelementfromthe
paperelement(Figure30).
Ifthepaperair-lterelementisdirtyordamaged,
cleanitorreplaceit;refertoCleaningthePaper
Air-FilterElement(page27).
4.Washthefoamair-lterelementinasolutionof
liquidsoapandwarmwater.
5.Squeezethefoamelementtoremovethedirt.
Important:Donottwisttheelement,
becausethefoammaytear.
6.Drythefoamelementbywrappingitinaclean
rag.
7.Squeezetheragandfoamelementtodrythe
element.
Important:Donottwistit,becausethefoam
maytear.
8.Saturatethefoamelementwithcleanengineoil.
9.Squeezetheelementtoremoveexcessoiland
todistributetheoilthoroughly.
Note:Thefoamelementshouldbedampwith
oil.
CleaningthePaperAir-Filter
Element
Cleanthepaperelementbytappingthelterelement
severaltimesonahardsurfacetoremovethedirt.
Important:Neverbrushdirtofftheelementor
usecompressedairtoremovedirt;brushing
forcesdirtintothebers,andcompressedairwill
damagethepaperlter.
AssemblingtheAirFilterElements
1.Assemblethefoamair-lterelementontothe
paperelement(Figure30).
2.Inspectthegasketforwearanddamage(Figure
30).
Replacethegasketifitiswornordamaged.
3.Ensurethatthegasketispositionedontheair
inletforthecarburetor(Figure30).
4.Assembletheair-lterelementstocarburetor
withthewingnut(Figure30).
5.Assembletheair-cleanercovertocarburetor
withtheotherwingnut(Figure30).
ServicingtheSparkPlug
ServiceInterval:Every100hours—Check/adjustthe
sparkplug.
Every300hours—Replacethesparkplug.
Type:NGKBPR6ESsparkplugorequivalent
AirGap:0.70to0.80mm(0.028to0.031inch);refer
toFigure32
1.Preparethemachineformaintenance;referto
PreparingforMaintenance(page22).
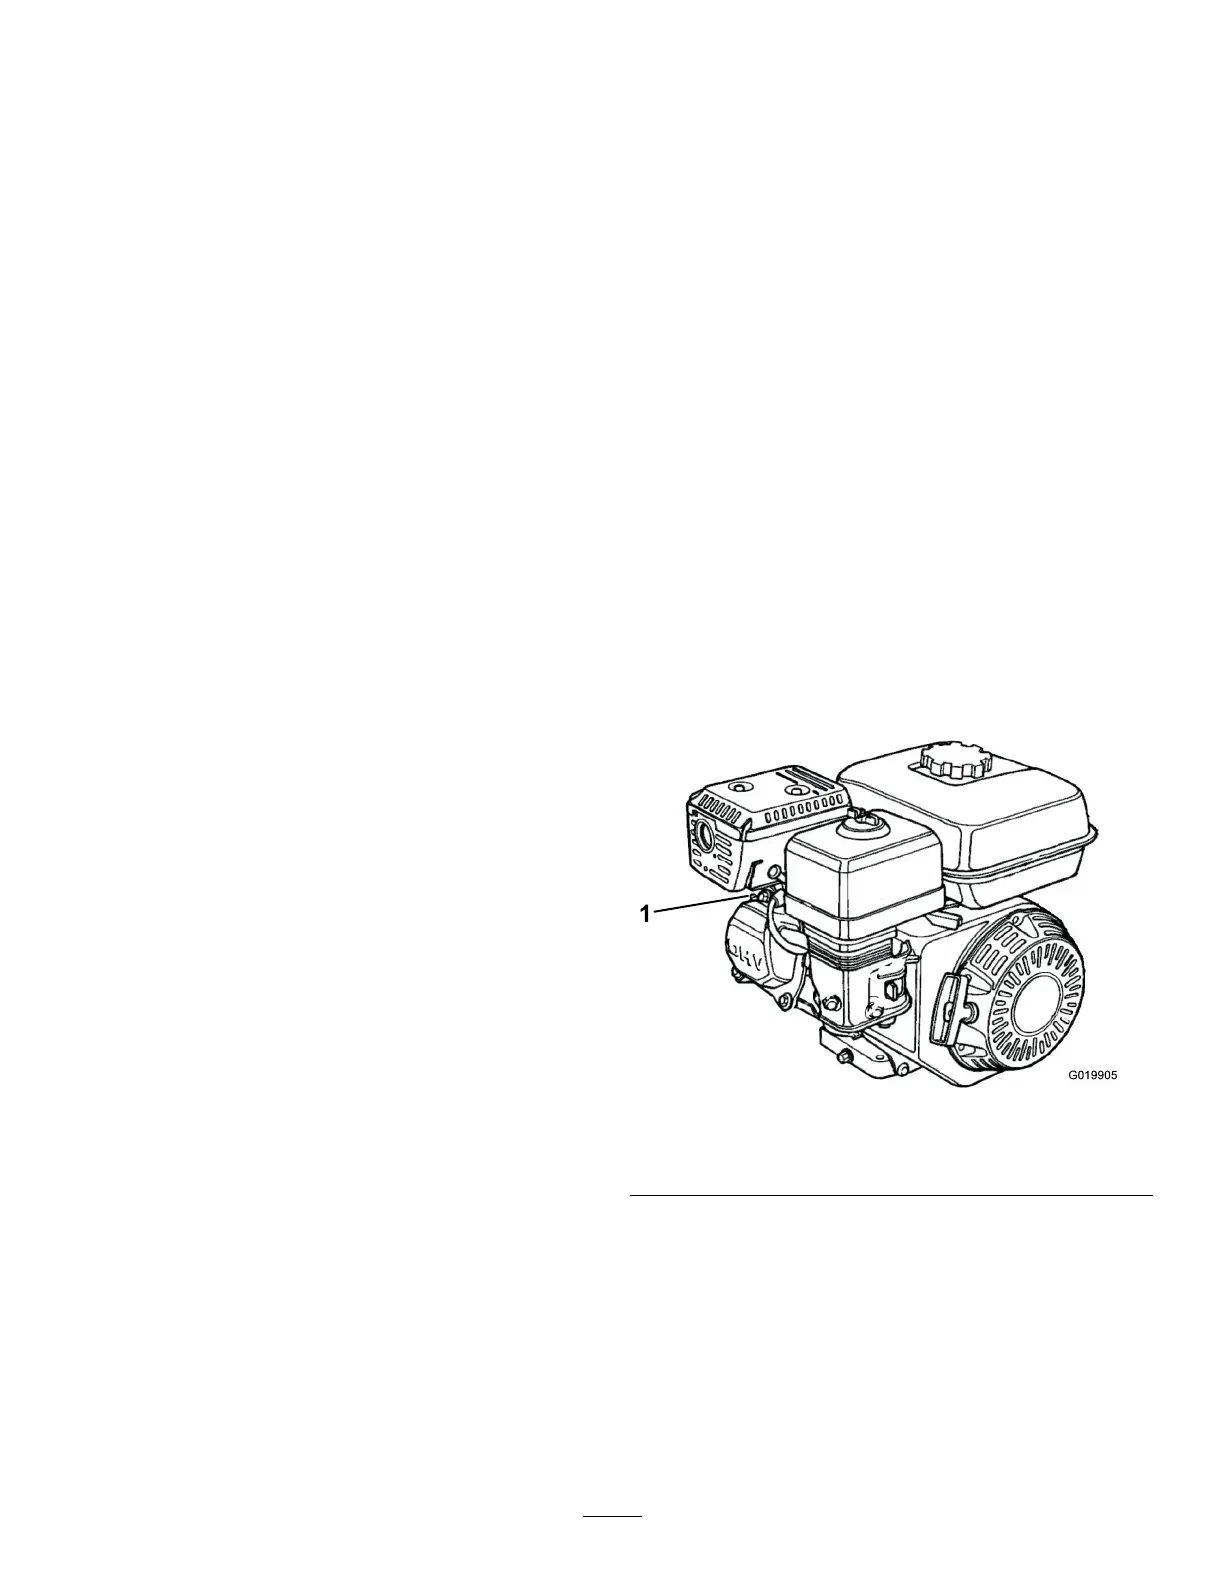
2.Disconnectthespark-plugwirefromthespark
plug(Figure31).
g019905
Figure31
1.Spark-plugwire
3.Cleanaroundthesparkplug,andremovethe
plugfromthecylinderhead.
Important:Replaceacracked,fouled,or
dirtysparkplug.Donotsandblast,scrape,
orcleantheelectrodes,becauseengine
damagecouldresultfromgritenteringthe
cylinder.
4.Settheairgapto0.70to0.80mm(0.028to
0.031inch)asshowninFigure32).
27
 Loading...