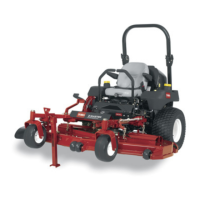
5. T o raise the roll bar , remo v e the hair pin cotter
pins and remo v e the tw o pins ( Figure 8 ).
6. Raise the roll bar to the upright position and
install the tw o pins and secure them with the
hair pin cotter pins ( Figure 8 ).
Important: Al w ays use the seat belt with
the r oll bar in the raised position.
Figure 8
1. Roll bar
3. Pin
2. Raised position
4. Hairpin cotter pin
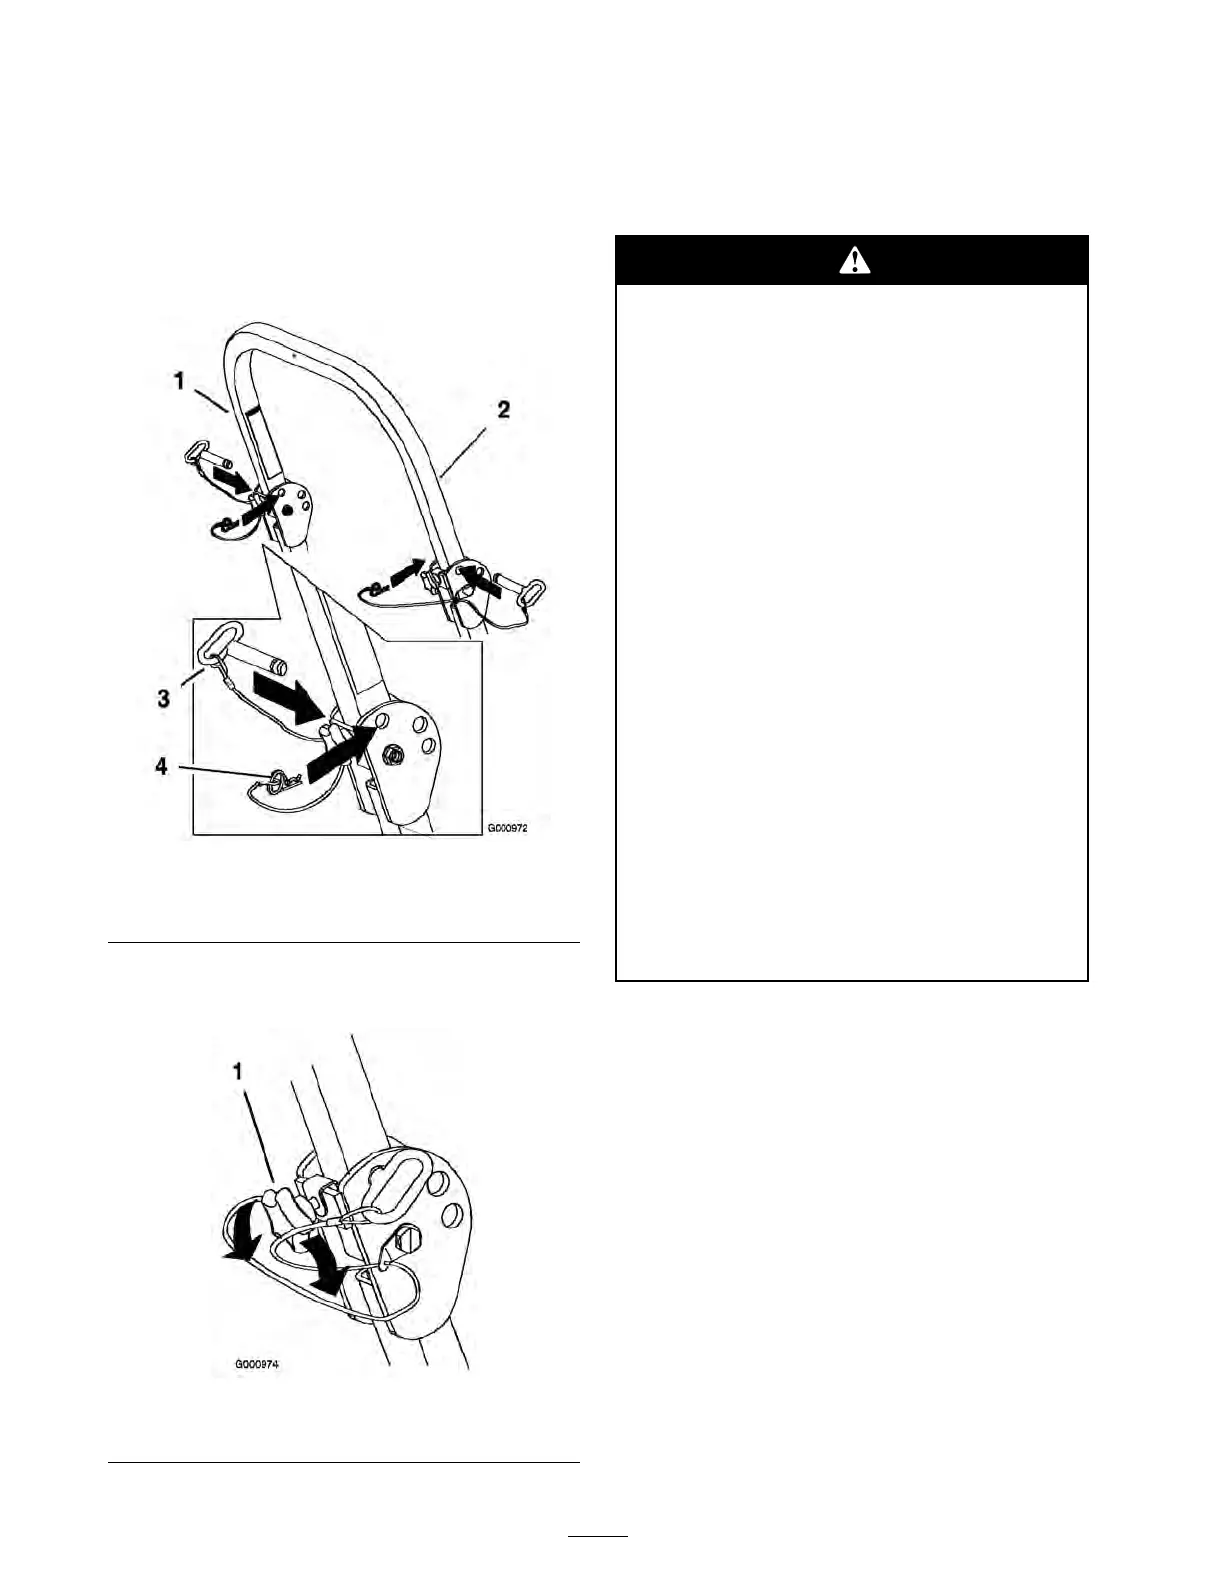
Important: Tighten the fr ont knobs
a gainst the center r oll bar ends ( Figur e 9 ).
Figure 9
1. Front handle
Think Safety First
Please read all safety instr uctions and symbols
in the safety section. Kno wing this infor mation
could help y ou or b ystanders a v oid injur y .
Operating on w et g rass or steep slopes can
cause sliding and loss of contr ol.
W heels dr opping o v er edges can cause
r ollo v er s, which may r esult in serious injur y ,
death or dr o wning .
T her e is no r ollo v er pr otection when the r oll
bar is do wn.
Al w ays k eep the r oll bar in the raised and
lock ed position and use the seat belt.
R ead and f ollo w the r ollo v er pr otection
instr uctions and w ar nings.
T o a v oid loss of contr ol and possibility of
r ollo v er :
• Do not operate near dr op-of fs or near
w ater .
• Do not operate on slopes g r eater than
15 deg r ees.
• R educe speed and use extr eme caution
on slopes.
• A v oid sudden tur ns or rapid speed
changes.
16

 Loading...