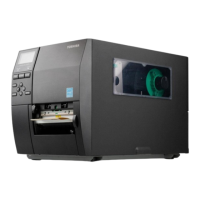
If an optional interface adapter card is included with your order, complete the following steps to
install:
1. Turn off the power to your printer.
2. Unplug the power cord from the external power source.
3.
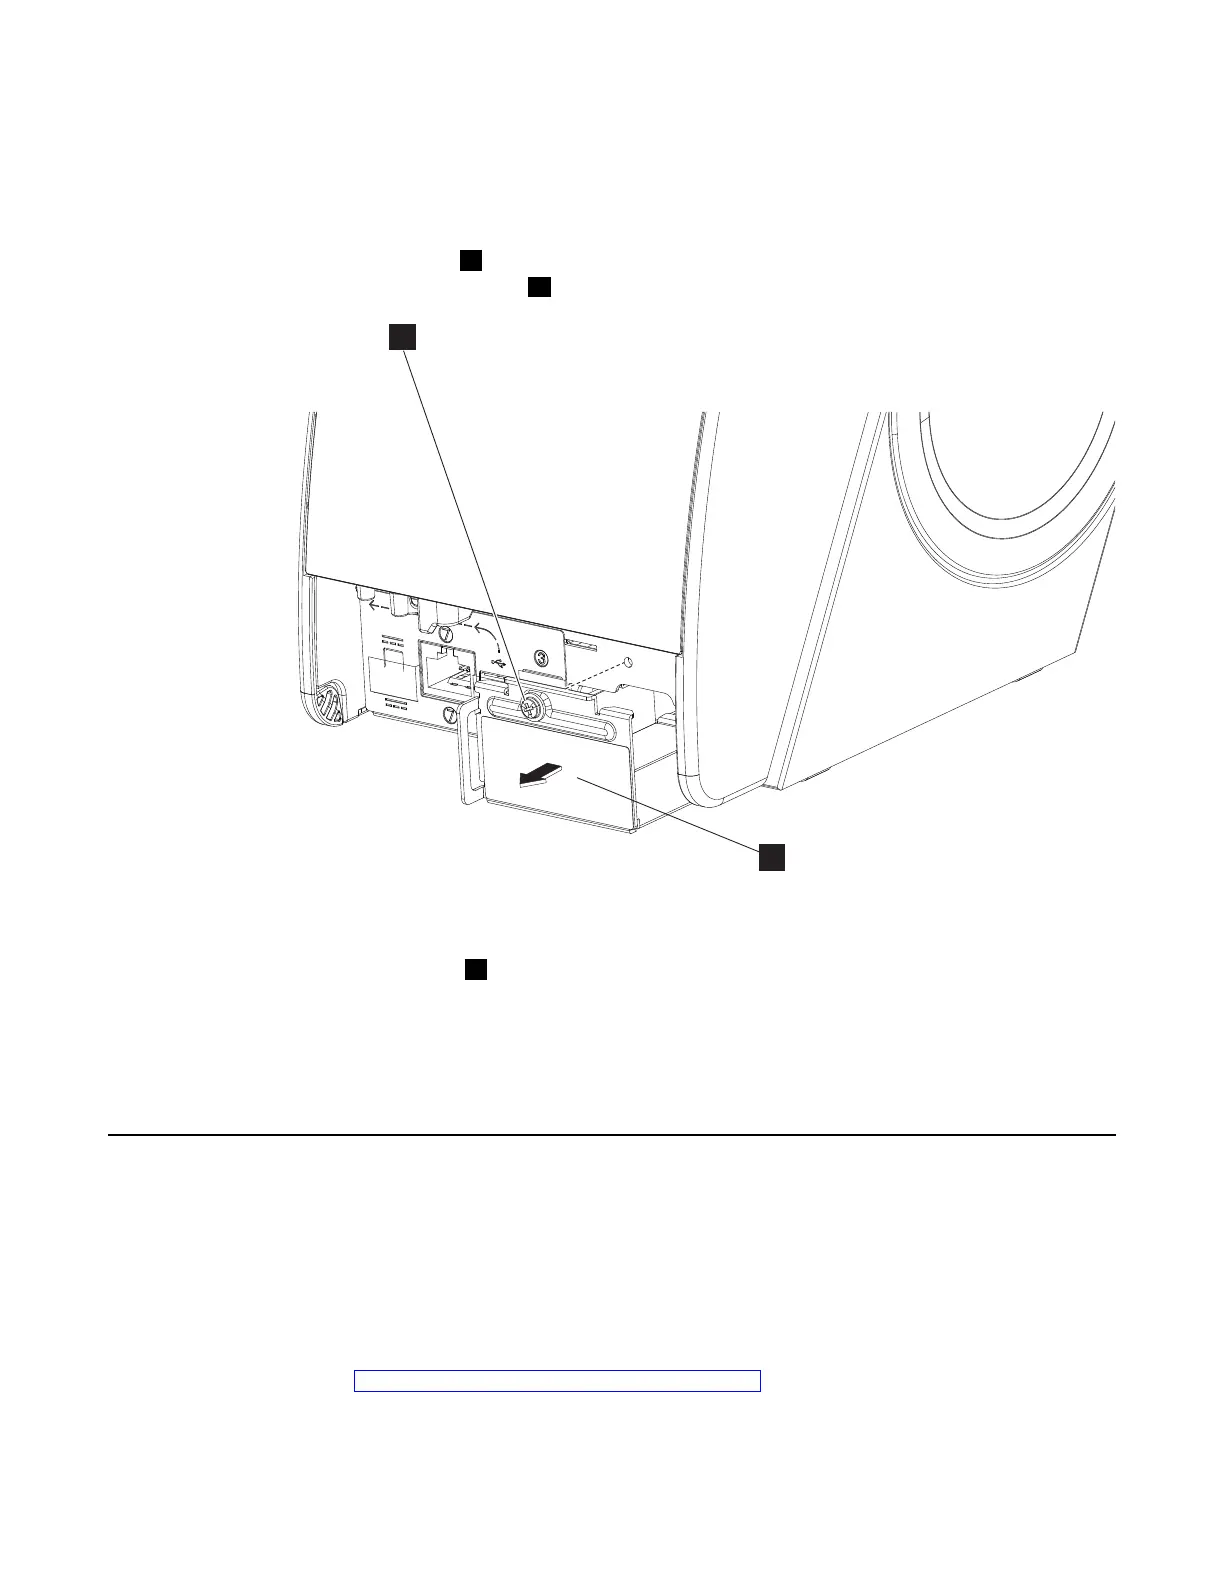
Loosen the screw
A .
4.
Slide the blank slot cover
B out of the unit (save the blank slot cover in case you need it in
the future).
Figure 6. Remove the blank slot cover
5. Insert and align the Ethernet, WiFi, or RS-232 optional interface card into the card slot, and
slide the interface card into place.
6.
Tighten the screw
A .
7. Connect the printer to the network or your system unit.
8. If you have a power cord, connect it to the printer.
Note: An interface option card (Ethernet, WiFi, or RS-232) and USB are not intended to be
used concurrently, except where the USB is used for configuration. Concurrent use of both
interfaces can cause errors on one or both interfaces.
Connecting communication cables
If applicable, connect your communication cables (PoweredUSB, standard USB, Ethernet, or
RS-232 cable) to the printer, the host system, or applicable communications port.
If you are using a PoweredUSB:
Power off the host system before connecting the cables.
If you are using a standard USB cable:
Use the strain relief to ensure that the connection remains secure during printer operation
(see “Using the USB cable strain relief” on page 16).
Chapter 1. Installing and configuring your printer 15
 Loading...