e-STUDIO162/162D/151/151D DISASSEMBLY AND ASSEMBLY 8 - 3
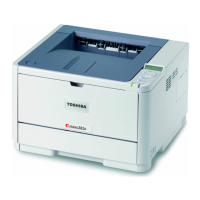
12) Attach the detection gear.
Note:
• The detection gear is not installed to the drum cartridge packed
with the main body. Add a new one.
13) Attach the drum cover.
Note: After attaching the drum cover, do not make a copy.
When attaching the drum cover, engage the detection gear
20T rib with the 30T gear rib, and attach the drum cover to
the process frame.
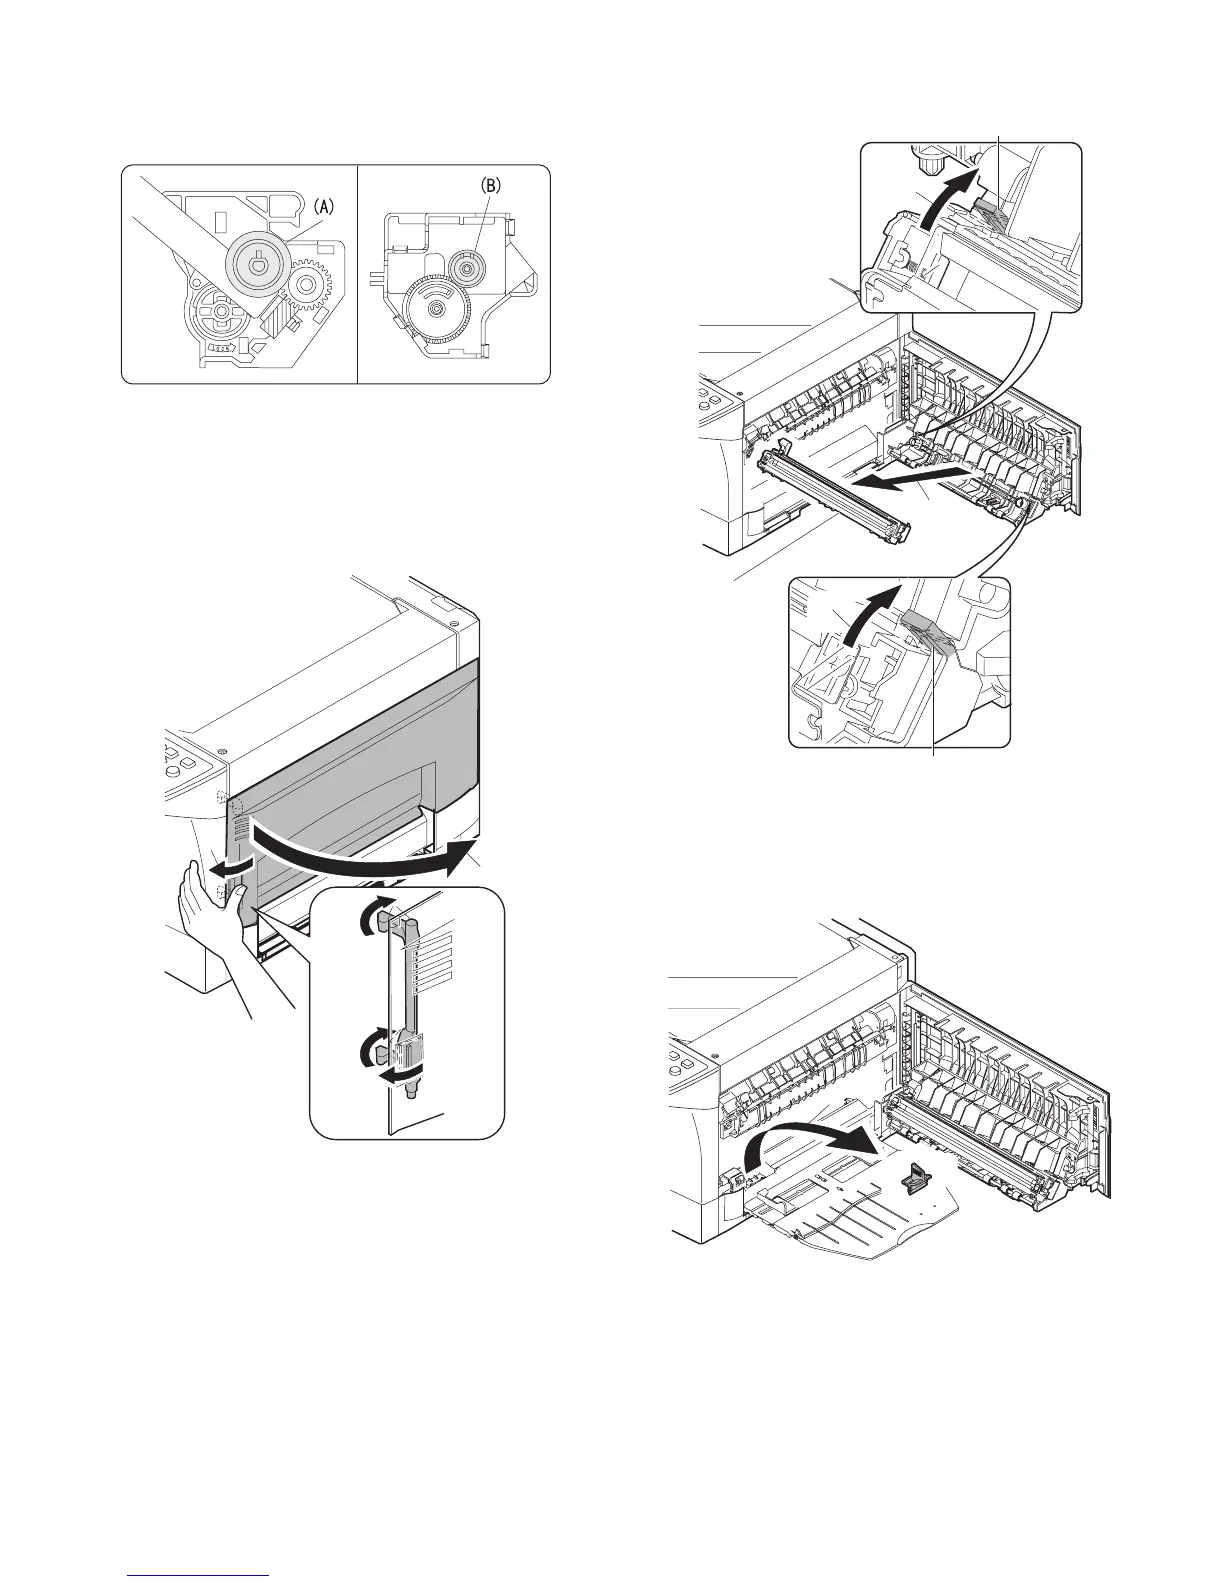
C. Disassembly procedure (Transfer charger unit)
1) Press the side cover open/close button and open the side cover.
2) Push up the lock pawls (2 positions) of the side cover, and remove
the transfer charger.
D. Assembly procedure
For assembly, reverse the disassembly procedure.
E. Charger wire cleaning
1) Remove the charger cleaner from the manual paper feed unit.
1)
2)
2)
1)
1)
Lock pawl rear
Lock pawl rear
Transfer
charger
1)
e-STUDIO162_151.book 3 ページ 2004年12月2日 木曜日 午後9時37分
 Loading...