PTAC-SVX004A-EN
15
Installing the Chassis into Wall
Sleeve
NNOOTTIICCEE
EEqquuiippmmeenntt DDaammaaggee!!
UUssee sspprreeaaddeerr bbaarrss ttoo pprreevveenntt ssttrraappss ffrroomm
ddaammaaggiinngg tthhee uunniitt.. IInnssttaallll tthhee bbaarrss bbeettwweeeenn lliiffttiinngg
ssttrraappss,, bbootthh uunnddeerrnneeaatthh tthhee uunniitt aanndd aabboovvee tthhee
uunniitt ttoo pprreevveenntt tthhee ssttrraappss ffrroomm ccrruusshhiinngg tthhee uunniitt
ccaabbiinneett oorr ddaammaaggiinngg tthhee ffiinniisshh..
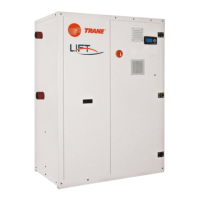
1. Carefully remove shipping tape from the front panel
and vent door.
2. Remove shipping screw from the vent door, if
present.
3. Remove front panel. Consider the following
electrical guideline before sliding the unit back into
the wall.
• All units require a cord or a hard-wired kit to be
added to complete electrical connection to the
building. Follow the instructions provided with
those accessories.
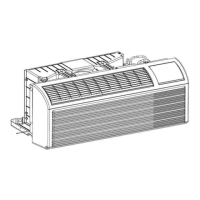
4. Lift unit level and slide unit into wall sleeve until
foam seal rests firmly against front of wall sleeve.
5. Secure with four screws (supplied) through the unit
flange holes.
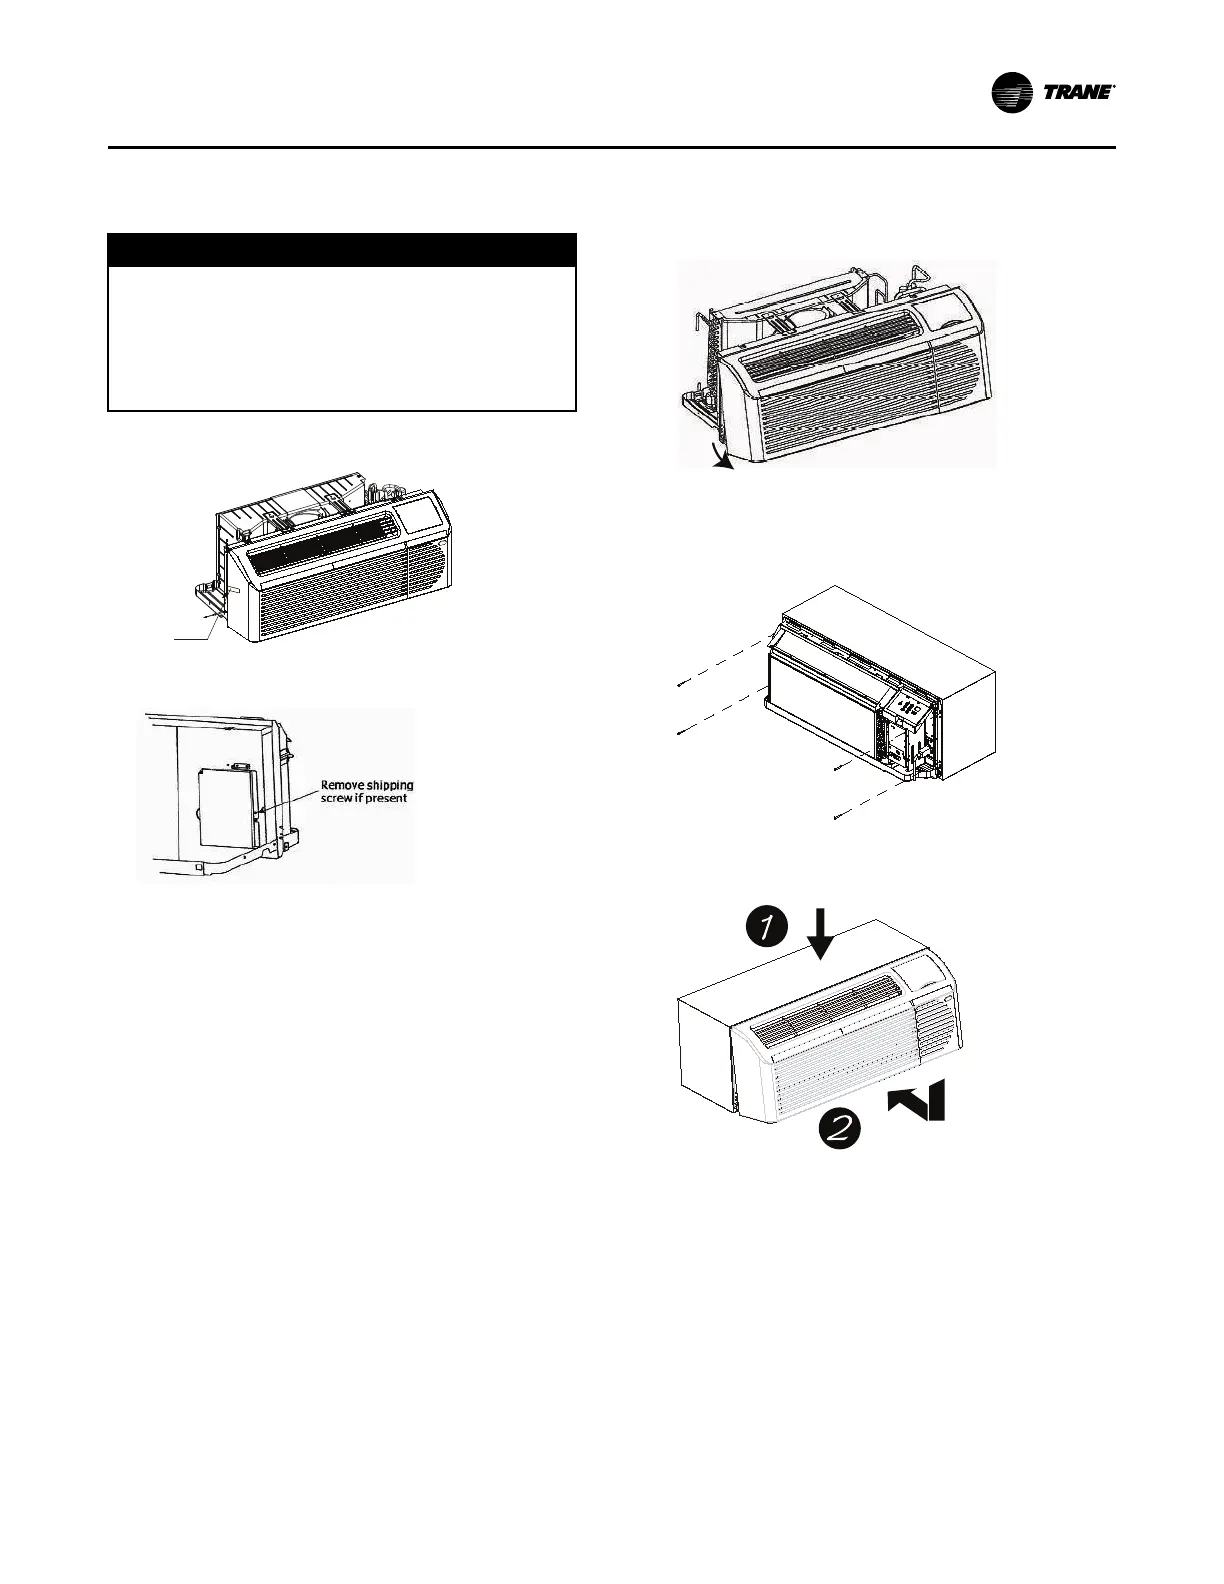
6. Re-install front panel by first, hooking tabs over top
rail of unit (1) and then pushing in on the bottom of
the front panel until it snaps into place (2).
IInnssttaallllaattiioonn
 Loading...