Configuring the Airborne Particle Counter 3–7
13. Press Logout to return to the login screen and then close your
browser.
14. Disconnect the Airborne Particle Counter from the crossover cable or
hub and remove DC power if it is used.
15. Reconnect the Airborne Particle Counter to your monitoring network
and repeat steps 6 and 7 for the network address recorded in step 10
to confirm the new network IP address.
Configu r i n g E a ch Rem o t e P a r ticle C o u n t e r
In addition to global settings such as IP address, time, date, and location,
there are configuration settings that control sampling characteristics.
Although these are typically set by FMS Software, they can also be set
using the web interface.
To further configure the Airborne Particle Counter, follow the instructions
above to set the IP Address first.
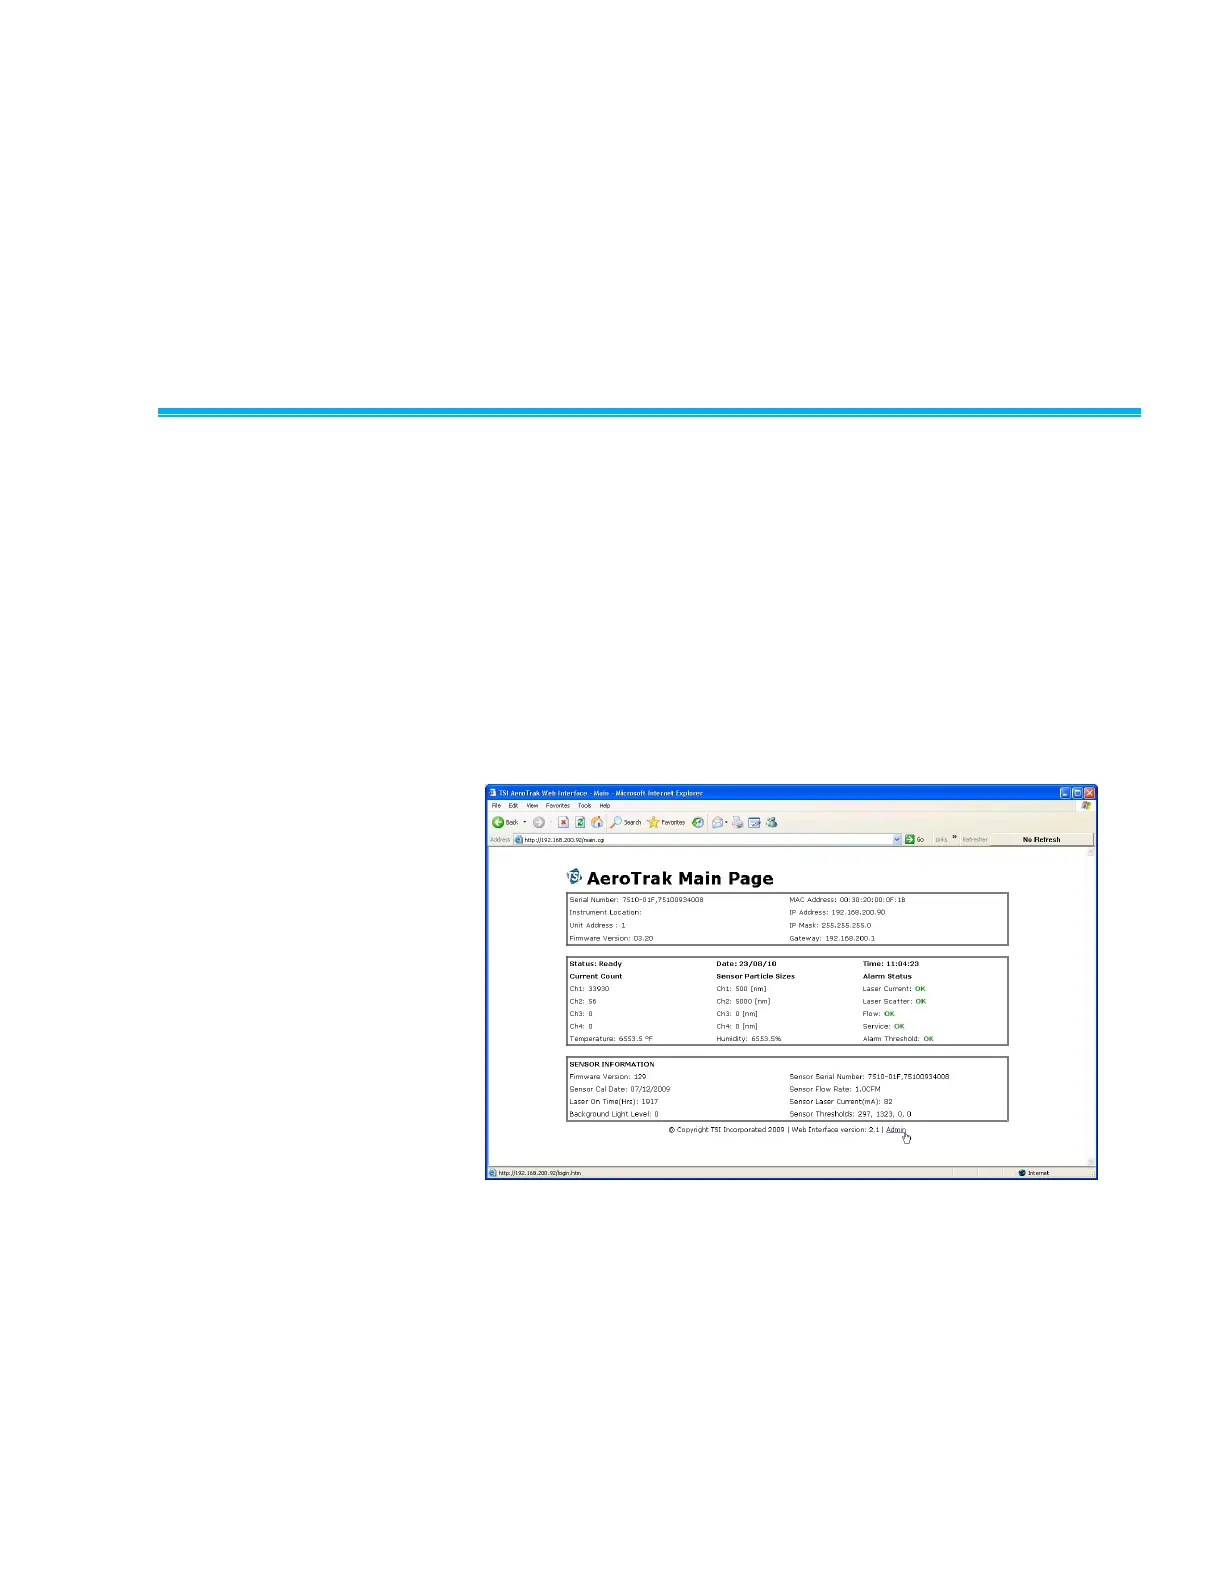
1. Open a web browser and enter the IP address that you configured in
the steps above. You should see a screen similar to the one below.
This screen provides important status and configuration information
for the Airborne Particle Counter.
 Loading...