Doc : 70-00-0736, Serie X2, 20190206 © Vector Controls GmbH, Schweiz Page 6
subjects to alteration www.vectorcontrols.com
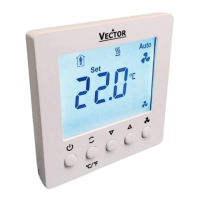
Creating annual time schedules (only from V1.3)
Holiday schedules have priority over operation mode schedules. While a holiday schedule is active, the controller will be in
the OFF-mode. Other weekly schedules will still be active. It will still be possible to manually override the controller while
in holiday mode.
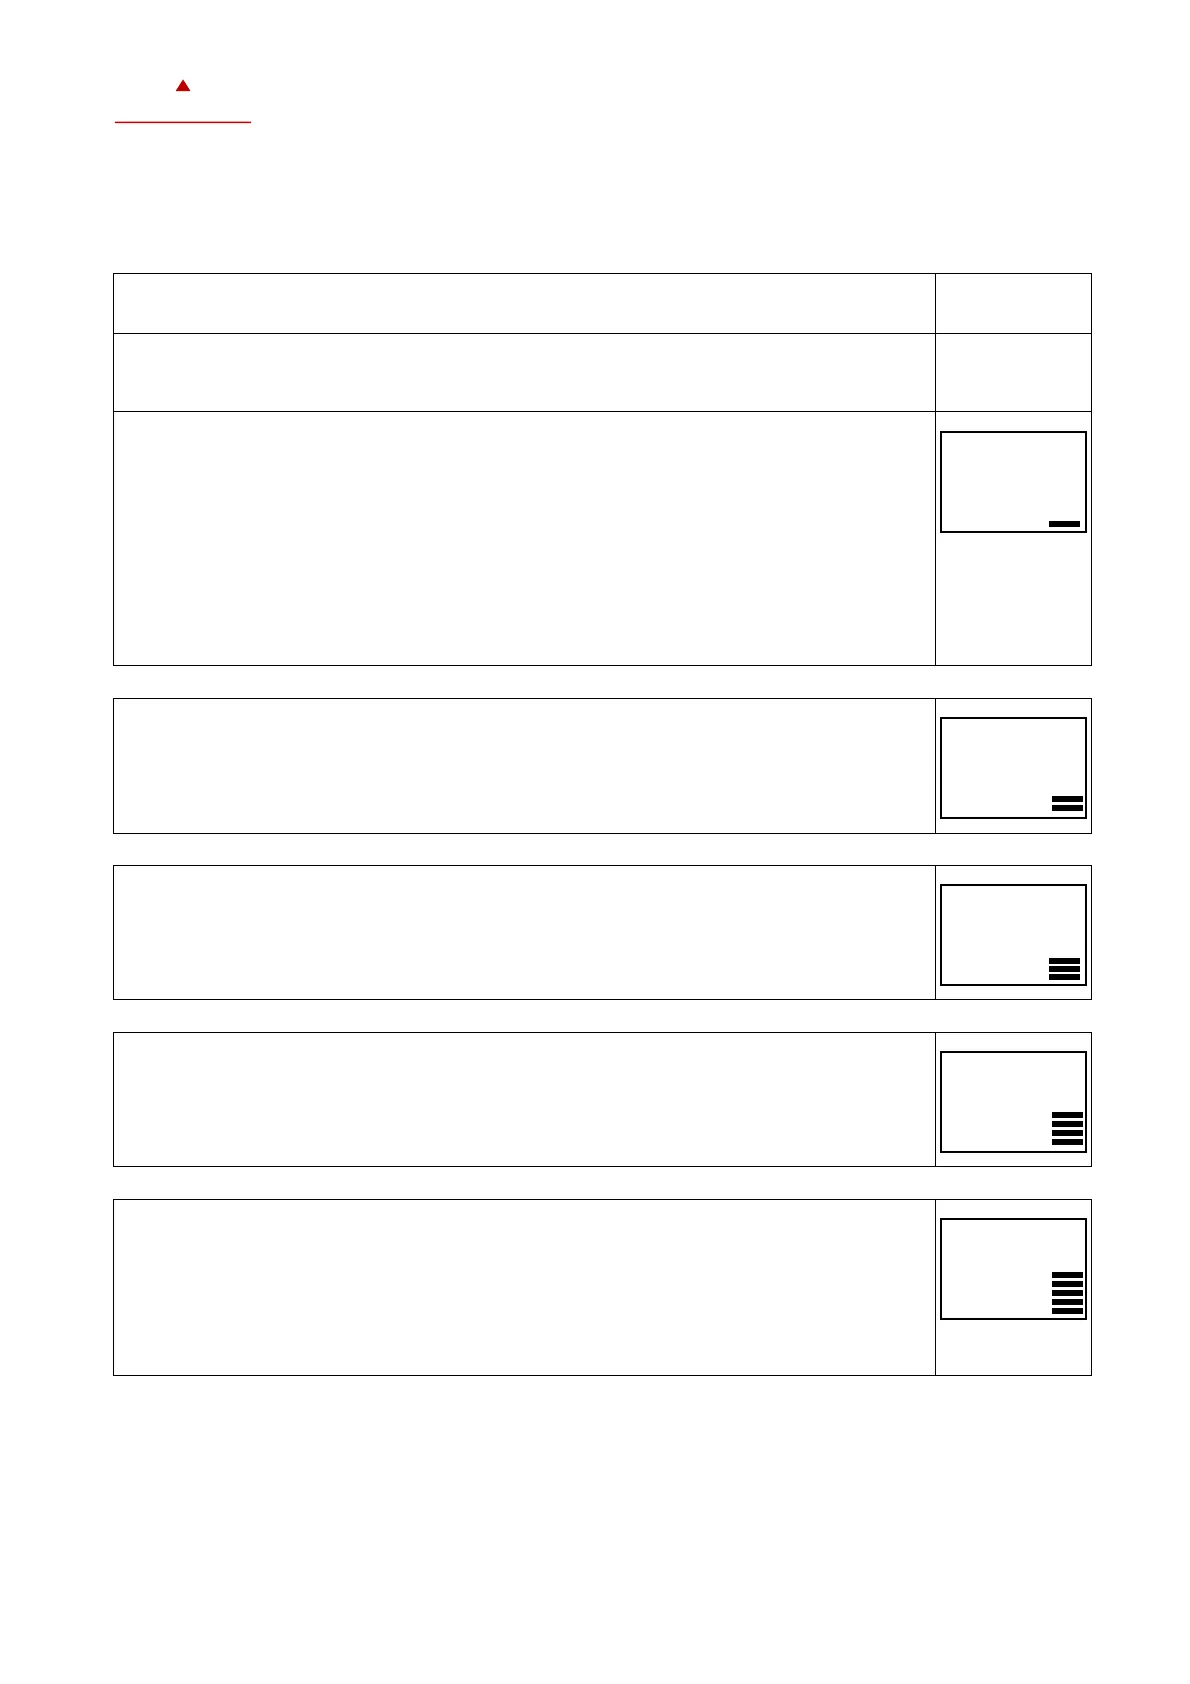
1. For annual schedules: Select holiday
1.1. Press RIGHT button longer than 2 sec.
➔SEL and Date or Time (alternately) is displayed.
1.2. Press UP button
➔PRO and SEL is displayed.
Set time program to ON or OFF with RIGHT button
Change to Pr 01 - Pr 12 with the UP or DOWN button.
1.3. Press RIGHT button to select the following:
no = switching time not activated
OP = Operating mode ON (normal operation), ECO (reduced operation) or OFF
(protective operation)
LP = setpoint of a control loop (setting range from 0-100%)
AO = Positioning of the analog output (output must be in manual mode!)
FAN = Fan control (fan stages from FSP0-3 and Auto)
do = positioning of the digital output (output must be in manual mode!)
Hday = Annual time schedule: Holiday
A function can be selected by pressing the UP or DOWN button.
Press RIGHT button to complete the selection.
(1. bar indicates that step 1 is completed)
2. Select start month of holiday
Select the first month of the holiday schedule, where "1" stands for January and "12" for
December. The month flashes.
Press the UP or DOWN button to select the month.
Press the RIGHT button to complete the operation.
(2. bars indicate that step 2 is complete).
3. Select start day of holiday
Select the first day of the holiday schedule. The day flashes.
Press the UP or Down button to select the day.
Press the RIGHT button to complete the operation.
(3. bars indicate that step 3 is complete).
4. Select last month of holiday
Select the last month of the holiday schedule, where "1" stands for January and "12" for
December. The month flashes.
Press the UP or DOWN button to select the month.
Press the RIGHT button to complete the operation.
(4. bars indicate that step 4 is complete).
5. Select last day of holiday and complete switching event
Select the last day of the holiday schedule. The day flashes.
Press the UP or DOWN button to select the day.
Press the RIGHT button to complete the operation.
(5. bars indicate that step 5 is complete).
After pressing the RIGHT button, you have returned to point 3.2. Now you can start creating the
weekly schedules for programs 2 - 12. Appropriate times, weekdays as well as control loops or
outputs can then be specified.
 Loading...