Preparation
Page9
Advanced Preparations:
• Befamiliarwiththecontrolsoftherangehoodbyreading
through Range Hood Operations,Page12.
• Place the range hoodon a at,stable surface. Connect the
rangehoodtoadesignatedstandardoutlet120vandturnon
therange hood.Verifyall operations of the rangehood by
referring to Range Hood Operations, Page13.
• Placeallsuppliedpartsandrequiredhardwareonaat,stablesurfaceandverify
theexistenceofallsuppliedpartslistedonPage4.
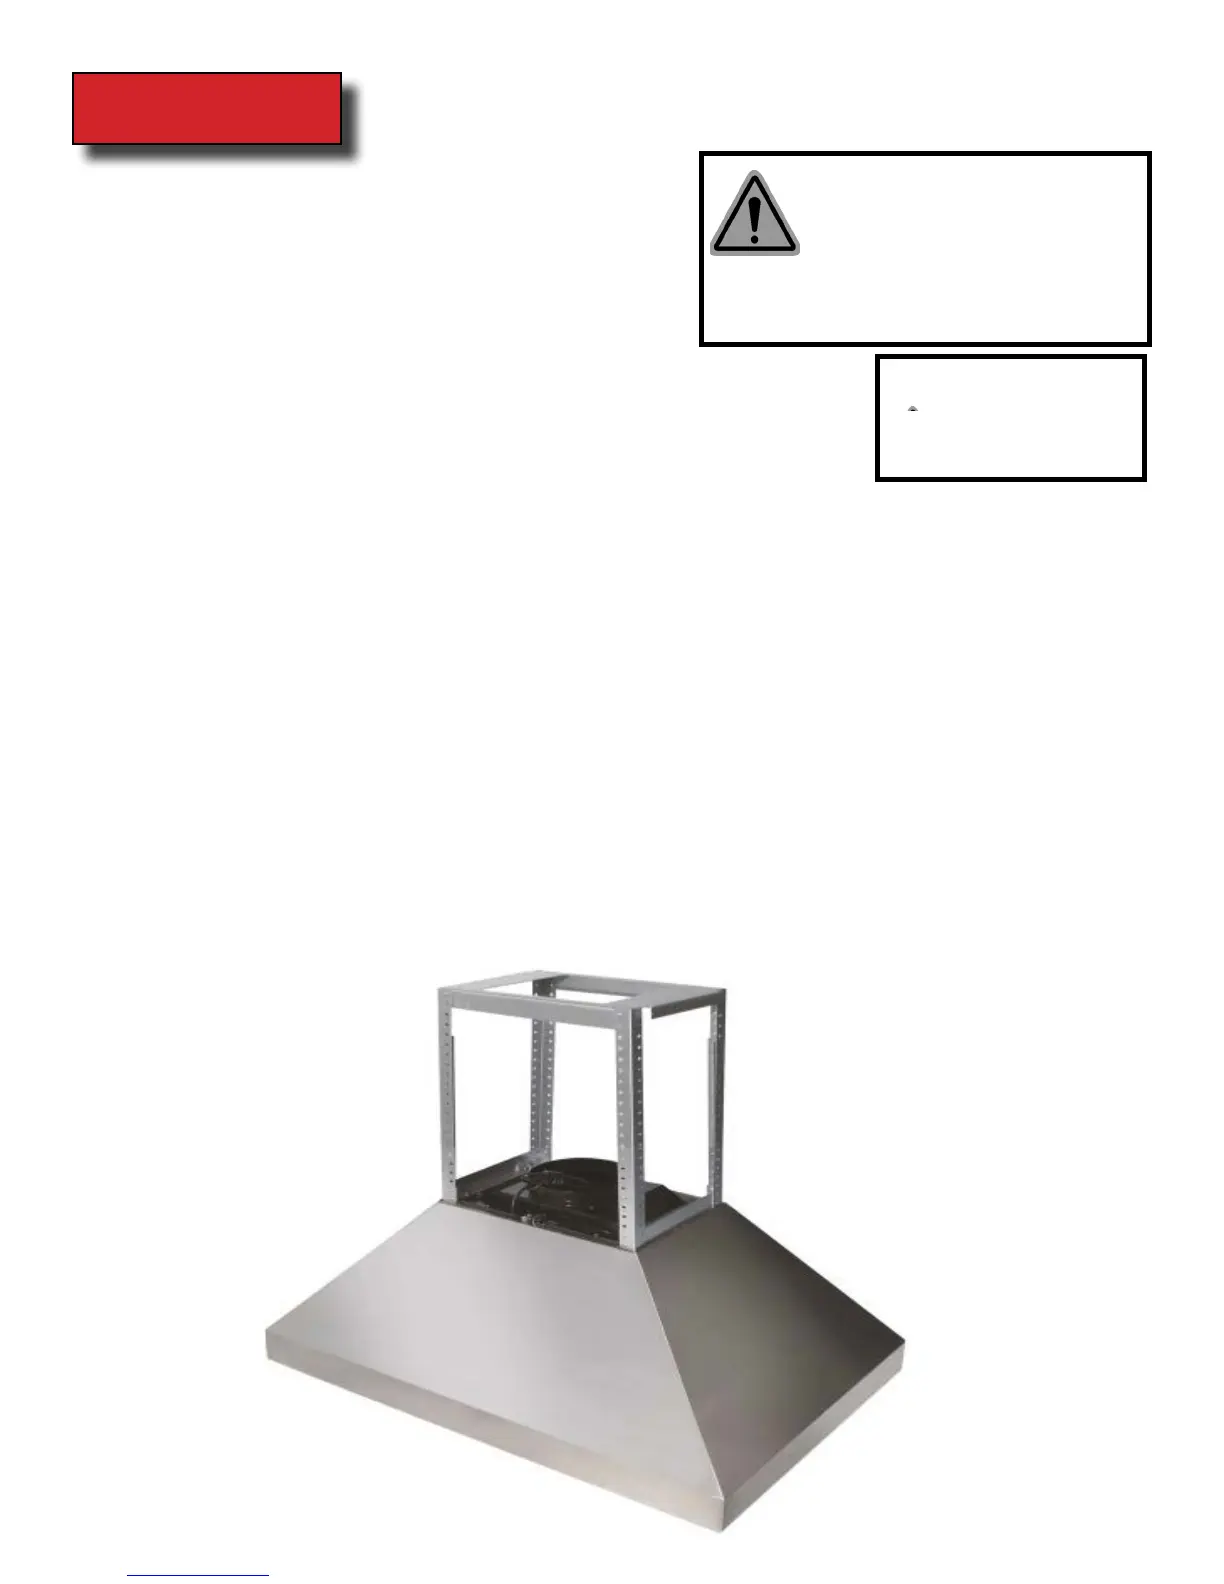
• Carefullyremovethewhiteplasticprotectivecoatfromtherangehoodcovers.
Due to the way this hood is manufactured, the main hood body does not come
with protective lm.
Preparations:
NOTE: To avoid damage to your hood, prevent debris from entering the vent opening.
• Decide the location of the venting pipe from the hood to the outside. Refer to Venting MethodsonPage7.
• Astraight,shortventrunwillallowthehoodtoperformmoreefciently.USEMIN8”DUCT.
• Trytoavoidasmanytransitions,elbows,andlongrunaspossible.Thismayreducetheperformanceofthe
hood.
• IMPORTANT:Peelwhiteplasticprotectivecoatoffthehood,ifany.
• UseALUMINUMtapetosealjointsbetweenpipesections.
• Makesureyouhaveasolidsupportboxtohangtheislandhoodfrom.
• Using references in Measurements and DiagramsonPage16,createaccessopeningforelectricalwiresand
hoodexhaustunderthecabinet.
CAUTION: If moving the cooking range is necessary to install the hood, turn OFF the power on an elec-
tric range at the main electrical box. SHUT OFF THE GAS BEFORE MOVING A GAS RANGE.
WARNING
Excessive Weight
Require three or more person to move and
install this range hood. Spinal or other bodi-
WARNING
Severe Injury
Rotating fan can cause severe
injury. Stay clear of fan when

 Loading...