14
INDUCTION LOOP GUIDE
Induction Loop Guide EN-UK - V.1.1 - 19/10/16
TESTING THE INDUCTION LOOP
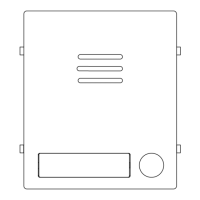
After the Induction Loop has been installed it
can be tested using the Contacta audio Induction
Loop receiver (part no. IL-RX20) or an equivalent
3rd party audio induction loop receiver.
This test equipment allows the engineer to listen
to an audio frequency Induction Loop system
using a standard pair of stereo headphones. It
has a vertically mounted pick up coil to emulate
the performance of a hearing aid switched to the
‘ T ’ (telecoil) position.
USING AN INDUCTION LOOP RECEIVER
While the steps below describe how to use the
Contacta IL-RX20 receiver the same steps can be
used as a guide when using a 3rd party induction
loop receiver. If any problems arise when testing
the troubleshooting guide (on page 13) can also
be used to help determine where the fault lies.
1. Ensure the Induction Loop has been
connected up correctly to the relevant
speaker module.
2. Connect 12Vdc power to the induction loop.
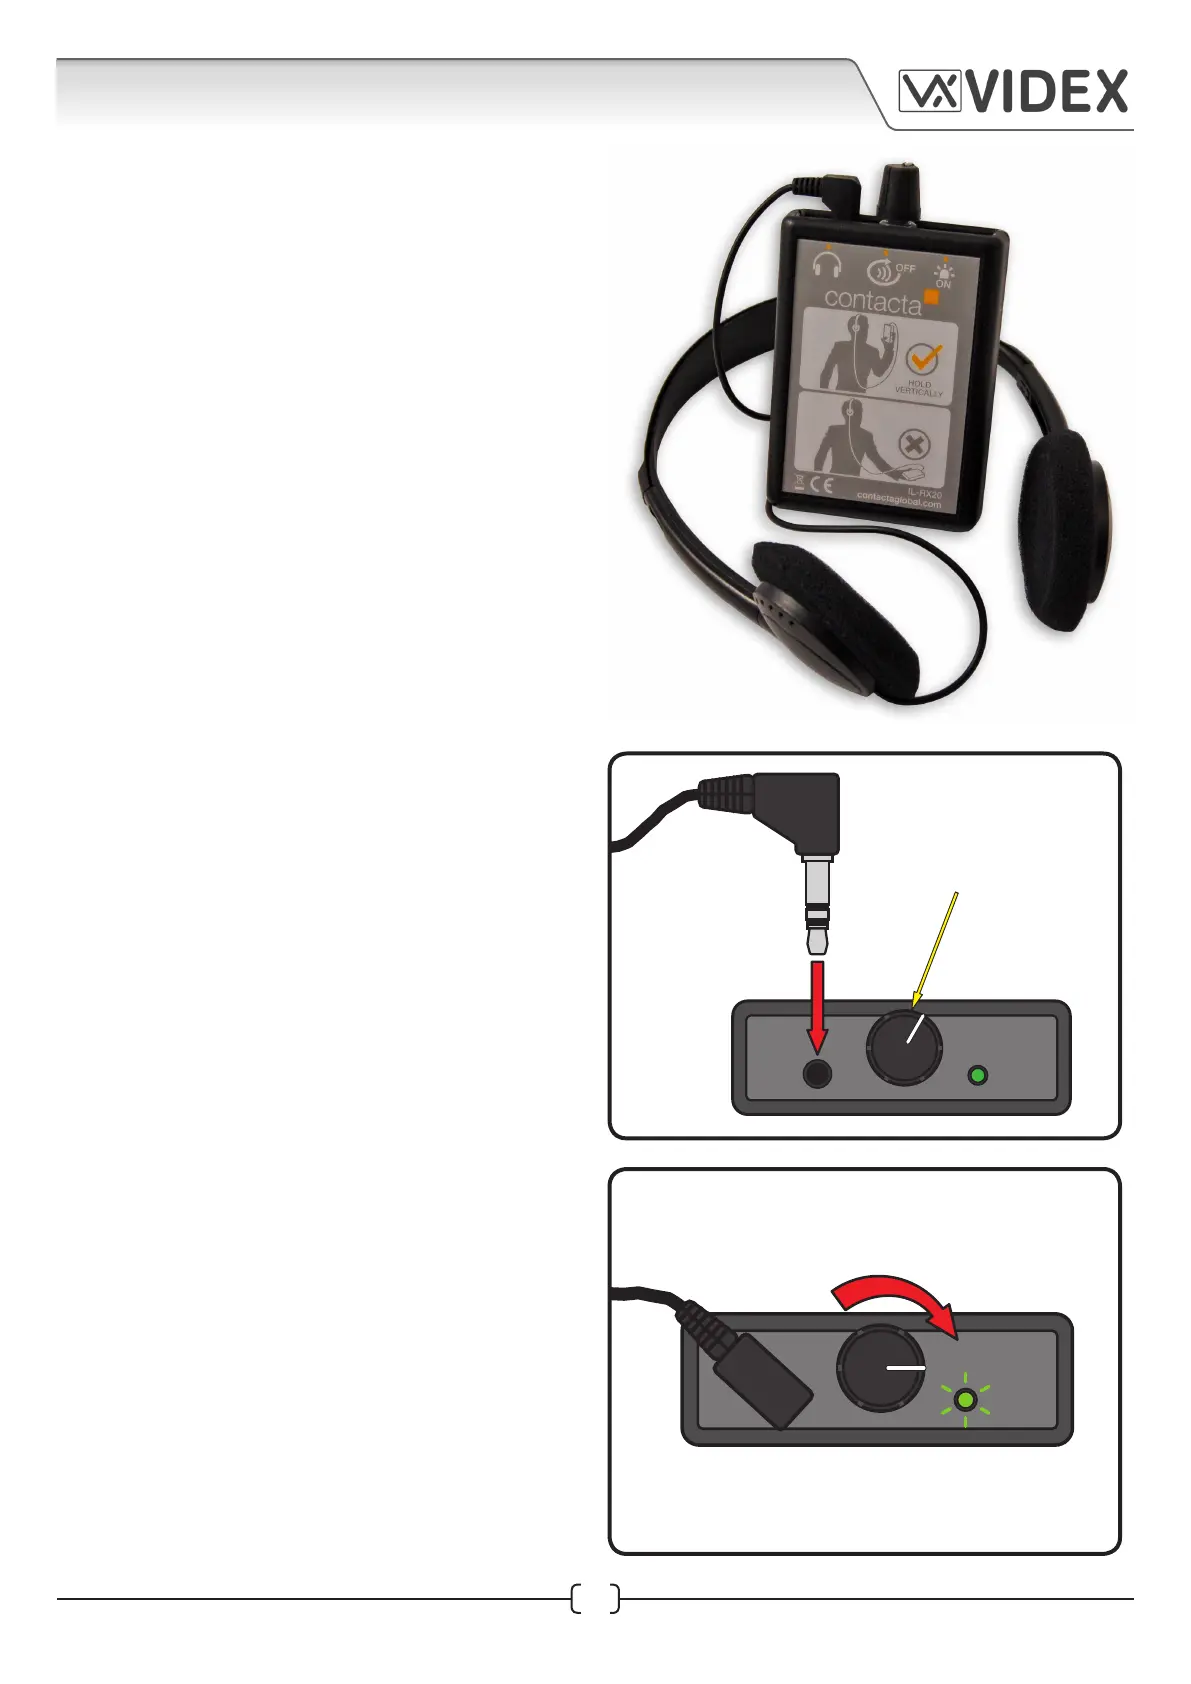
3. Plug the headphones in the jack connection
at the top of the IL-RX20 receiver, as shown
in Fig.25, and place the headphones over
both ears.
4. Slowly turn the volume control clockwise
until you hear a ‘click’ and the green
indication LED comes ON, as shown in Fig.26
(the receiver’s LED will stay illuminted while
in the ON position. To maximize battery life it
is recommended that the receiver is switched
OFF when not in use).
5. The receiver must be positioned in a vertical/
upright position and held in close proximity
to the induction loop when testing, as shown
in Fig.27 (do not hold the receiver flat).
Fig.26
Fig.25
volume control switch
 Loading...