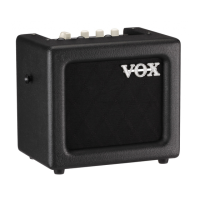
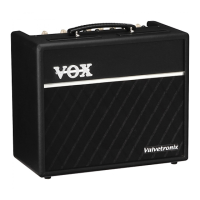
The VOX MINI GO 10/50 can be set at an angle by pulling out two stands at the bottom of the main unit (refer to
the figure on the left).
Be sure to install the stand on a flat surface. If you set the stand at an angle on a slope. it may fall over.
Do not apply an excessive load such as by leaning against the amplifier.
Auto Power Off Function
The Auto Power Off function automatically turns the power off when the amplifier is not used or when the sound is not output for approximately one hour.
When the power is turned off. it’s not restored even if a knob or selector is used. Turn on the power again. The Auto Power Off function does not work
during rhythm playback or looper operation (during recording, playback, or overdubbing).
If the volume or variation of the output sound is extremely small, the Auto Power Off function may be activated. Also, depending on the seniors and
environment, the Auto Power ON function may not be activated due to noise even if you are not playing.
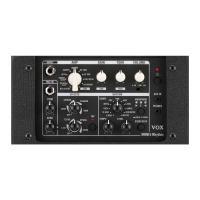
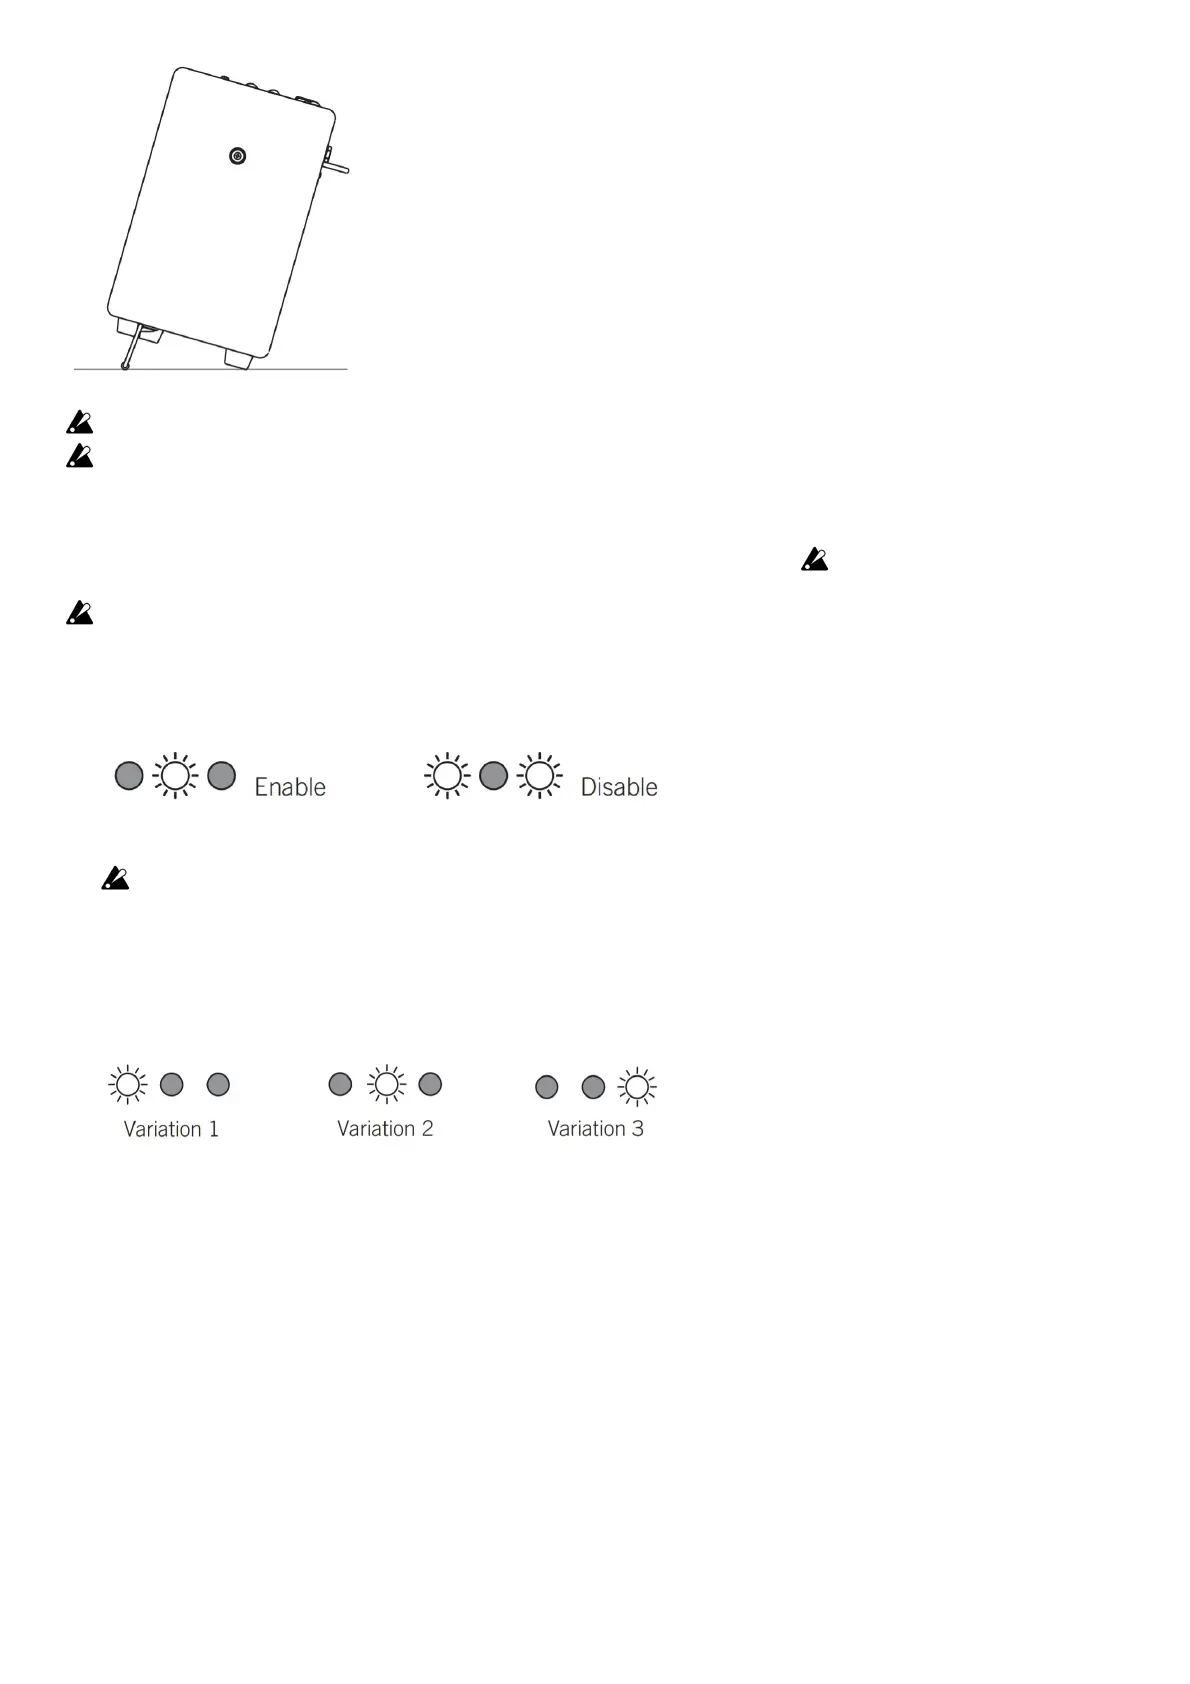
Setting the Auto Power Off function to enable or disable
1. Press and hold down the TEMPO button (16) and turn on Ute
2. The VARIATION LED (15) will indicate the current setting.
3. Press the TEMPO button (16) to switch between the enable and disable settings.
4. Wait a few seconds without using any of the buttons or controls. The unit will automatically switch to normal operation.
The Auto Power Off function enable and disable setting will be saved even when the power is turned off.
Using the Rhythm Section
Selecting a rhythm pattern
1. Select a genre for each rhythm pattern using the GENRE selector (14).
2. Select a variation for each rhythm pattern using the VARIATION button (15).
One of three VARIATION LEDs lights up green, orange, or red in the following sequence each time you press the button.
Starting and stopping the playback of a rhythm pattern
Press the RHYTHM START/STOP button (18) to start or stop playing a rhythm pattern. During playback, the VARIATIONS LED that corresponds to the
selected rhythm pattern will flash in sync with the tempo.
[TIP] The three VARIATION LEDs light up momentarily at the beginning of each bar.
Adjusting the volume of a rhythm pattern
Use the LEVEL knob (17) to adjust the volume of a rhythm pattern.
Changing the tempo of a rhythm pattern
You can adjust the rhythm tempo within the range of 40 to 240 BPM by pressing the TEMPO button twice at the required interval. [TIP] If you press the
button several times in time with the song, it will help you set the correct tempo.
[TIP] If you press the TEMPO button while playback is suspended, the VARIATION LED will blink in time with the tempo (the rhythm will not be
played back). If you change the rhythm pattern or turn the RHYTHM LEVEL knob fully counterclockwise, the blinking will stop.
Using the looper function (VOX MINI GO 10/50)
 Loading...