i
19550-142-301/0123
1
2
3
4
5
6
7
8
Boiler Piping
Visually inspect for leaks around piping, circulators,
relief valve and other ttings. Immediately call a
qualied service technician to repair any leaks.
!
Have leaks xed at once by a qualied service
technician. Continual fresh makeup water will
reduce boiler life. Minerals can build up in
sections, reducing heat transfer, overheating cast
iron, and causing section failure.
!
Do not use petroleum-based cleaning or sealing
compounds in boiler system. Severe damage
to boiler and system components can occur,
resulting in possible severe personal injury,
death or substantial property damage.
Venting System
!
Failure to inspect the vent system as noted above
and have them repaired by a qualied service
technician can result in vent system failure,
causing severe personal injury or death.
1. Visually inspect all parts or the ue gas venting
system for any signs of blockage, leakage or
joints or deterioration of the piping.
2. CGa and EG boilers:
a. With boiler ring, hold a candle or match below
lower edge of draft hood “skirt.” If ame does
not blow out, but burns undisturbed, the vent
system is working properly.
b. If ame blows out or ickers severely, the vent
system must be checked for obstructions or
other causes of improper venting.
c. Verify the vent damper opens before burners
ignite.
3. Notify your qualied service technician at once if
you nd any problem.
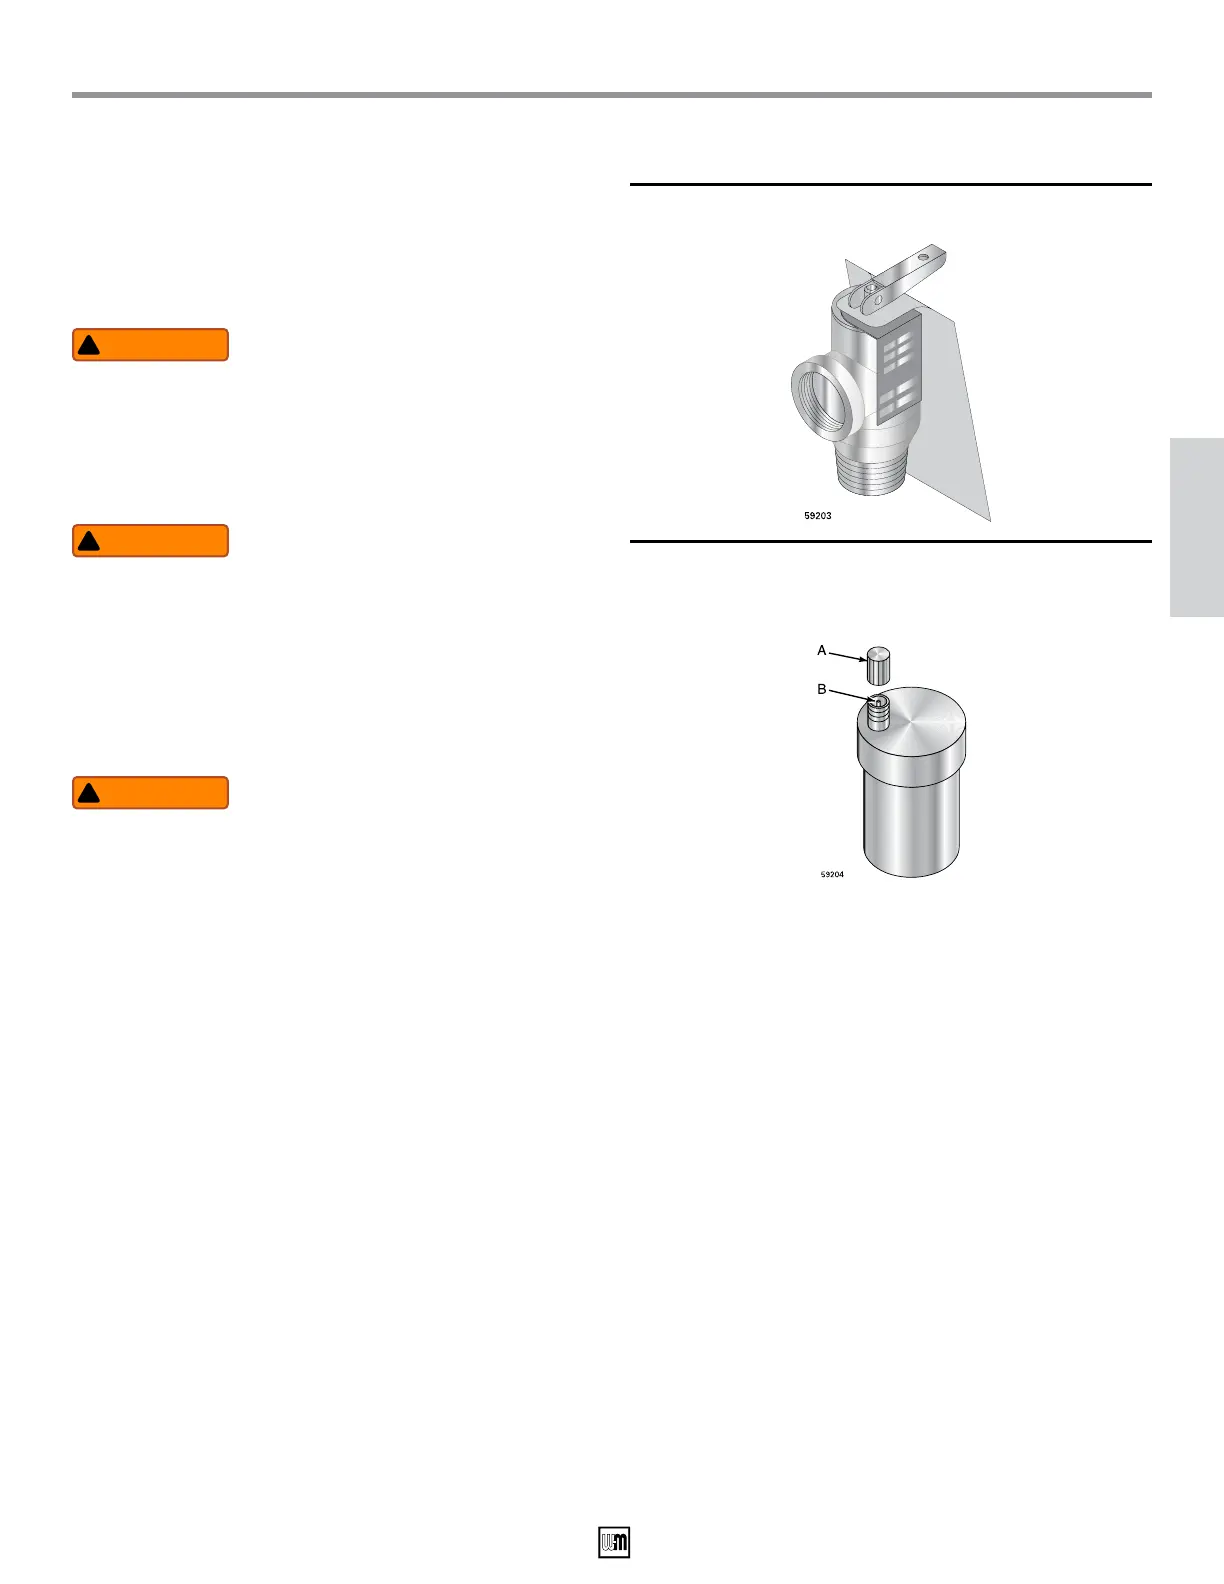
Boiler Relief Valve
1. Inspect the boiler relief valve (Figure 5) and the relief
valve discharge pipe for signs of weeping or leakage.
2. If the relief valve often weeps:
a. Water boilers — the expansion tank may not
be working properly.
b. Steam boilers — limit control may be set too
high or there may be system problems.
c. Immediately contact your qualied service
technician to inspect the boiler and system.
Automatic Air Vents (if used)
1. Remove the cap from any automatic air vent in
the system and check operation by depressing
valve B slightly with the tip of a screwdriver. See
Figure 6.
2. If the air vent valve appears to be working freely
and not leaking, replace cap A, twisting all the
way on.
3. Loosen cap A one turn to allow vent to operate.
4. Have vent replaced if it does not operate
correctly.
Maintenance Procedures — MONTHLY
(continued on the next page)
Draft - For Engineering Review ONLY Jan. 2023 HC
Figure 5 Relief valve
Figure 6 Automatic air vent
 Loading...