 Loading...
Do you have a question about the Welch Allyn Connex Vital Signs Monitor and is the answer not in the manual?
| NIBP Technology | Oscillometric |
|---|---|
| MAP Calculation | Yes |
| Connectivity | USB, Ethernet |
| Parameters Measured | NIBP, SpO2, temperature, pulse rate |
| Pulse Rate Range | 30 to 250 bpm |
| Optional Parameters | CO2 |
| Power Source | AC power adapter, Lithium-ion battery |
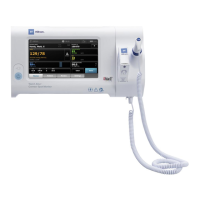
Use to obtain vital signs and other parameters for adults, pediatric, and neonate patients.
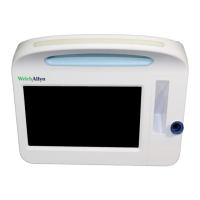
Features ergonomic design with a roll handle, night light, and ease of rolling.
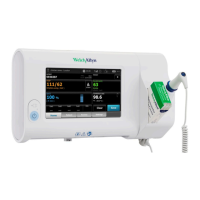
Includes a cable management system with an SpO2 holster for organized use.
Features include a holder for wipes, easy-to-clean surfaces, and probe cover storage.
Details the available ports, including Ethernet, USB, Stereo/nurse call, and EarlySense® Port.
Details the connections for SpO2/Pulse Rate and NIBP (non-invasive BP) patient cables/sensors.
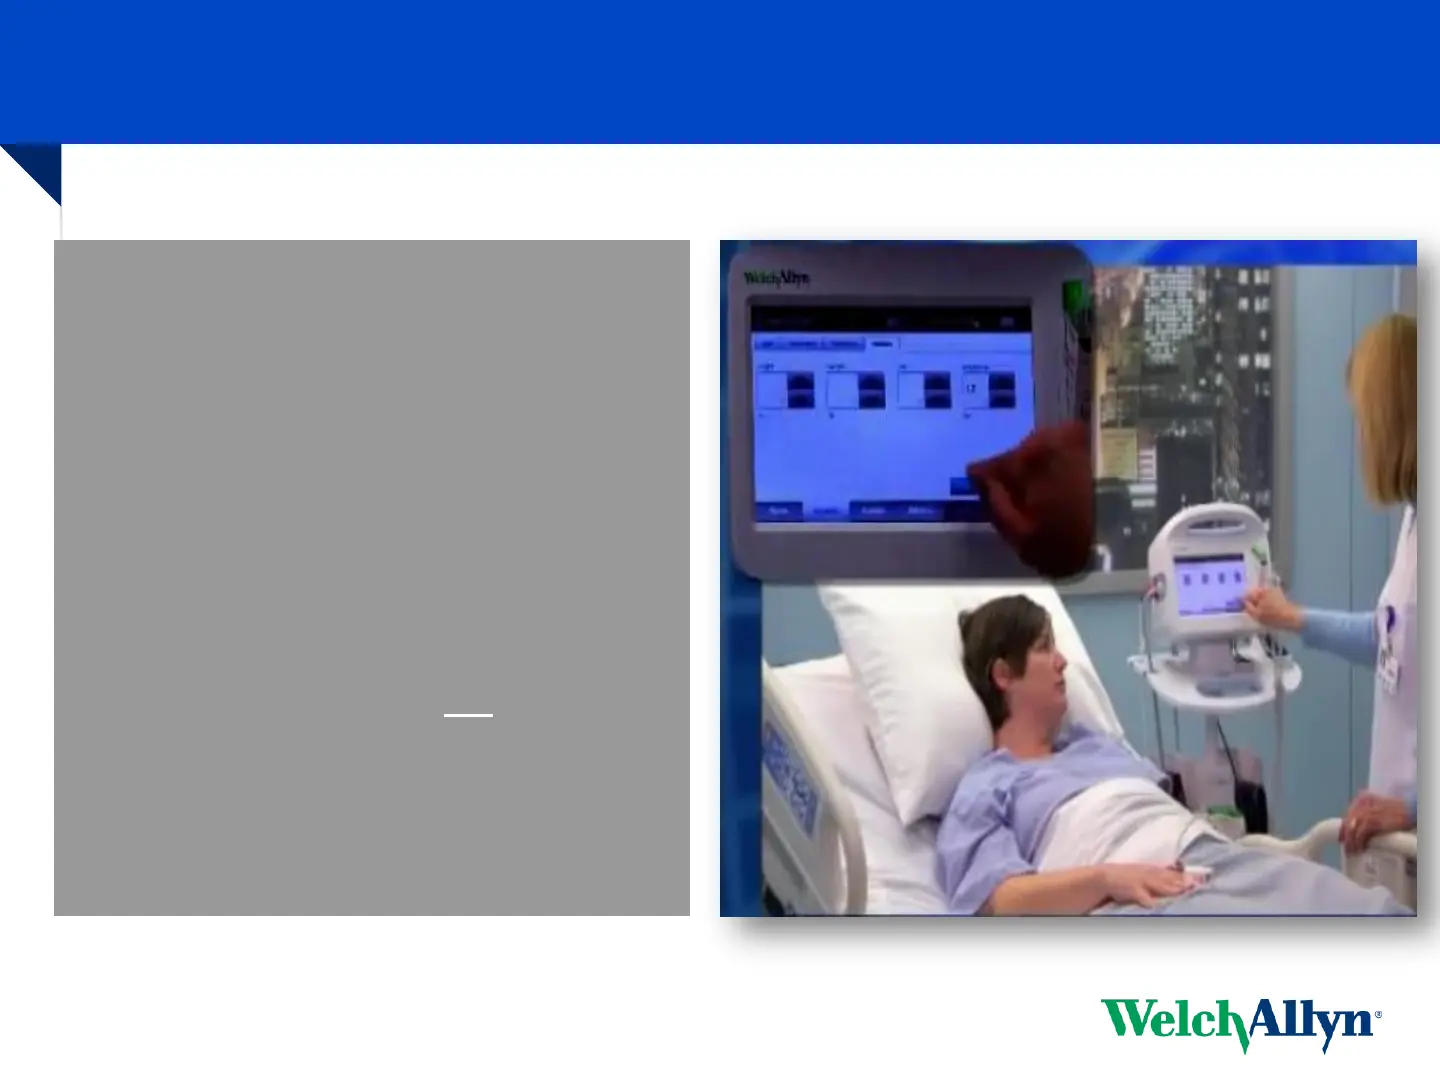
Instructions to power on the device by pressing the power button located on the side.
Procedure to power off the device by touching the battery icon and selecting 'Power Down'.
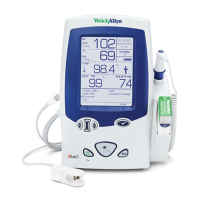
Displays device status information like Clinician ID, location, time, date, connection, and alarms.
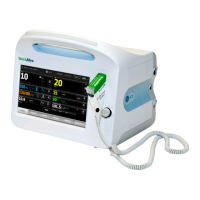
Displays vital sign measurements, patient info, manual parameters, and alarm control shortcuts.
Provides tabs for Home, Patient List, Alarms, Review, and Settings for device interaction.
Details the available tabs within the Navigation Area, noting dependence on profile selection.
Describes Spot Profile features: no alarms, no BP intervals, and taking SpO2 sensor OFF before saving.
Details Monitor Profile features: interval settings, parameter alarms, and SpO2 sensor behavior during saving.
Outlines steps to change profiles: navigate to Settings, then Profiles, select, and return to Home.
Emphasizes the importance of proper technique for accurate NIBP readings.
Highlights the use of SureBP® technology for BP measurement during cuff inflation.
Explains reversion to Step deflation method under conditions like extreme movement or artifact.
Instruction to initiate a blood pressure measurement by touching the START button.
Instruction to cancel an ongoing blood pressure measurement by touching the STOP button.
Guideline for cuff placement: ensure no more than two fingers fit between the cuff and the patient's arm.
Instruction for patient posture: sit quietly and avoid movement during BP measurement.
Guideline for patient positioning: ensure back is supported and legs are not crossed.
Instruction for arm positioning: the arm should be maintained at heart level.
Guideline for cuff placement: align the Artery Index Marker with the patient's brachial artery.
Emphasizes the importance of using a properly sized blood pressure cuff.
Instruction for FlexiPort® placement: position it on the outside/lateral aspect of the patient's arm.
Step 1: Touch the clock icon within the NIBP frame on the Home Screen to access interval options.
Step 2: Select either 'Automatic' or 'Program' mode for BP intervals.
Step 3: Adjust interval settings in minutes (Automatic) or choose an appropriate program.
Step 4: Touch 'Start Intervals' to begin the scheduled BP measurements.
Access interval settings by touching the clock icon within the NIBP frame on the device screen.
Select the desired interval mode: Automatic, Program, or Stat.
Clarifies that 'Stat' mode captures multiple BP readings within a 5-minute period.
Instructions to adjust the automatic interval setting in minutes using arrow keys or a keypad.
Press 'Start Intervals' to begin the automatic BP measurement sequence.
Select a preset program, which are configured in Advanced Settings, defining interval and duration.
Initiate the programmed BP measurement sequence by pressing 'Start Intervals'.
Procedure to stop all scheduled interval BP readings by pressing the clock icon and then 'Stop Intervals'.
Instructions on how to stop a single interval reading without interrupting the overall schedule.
Mentions the use of Nellcor® or Masimo® technology for SpO2 and Pulse Rate measurements.
Instruction to clean the SpO2 sensor using an alcohol pad before use.
Guideline: avoid nail polish or artificial nails on the finger for accurate SpO2 readings.
Instruction: ensure the extremity used for SpO2 measurement is warm and well-perfused.
Recommendation for sensor placement: use the limb opposite the BP cuff if feasible.
Explains that Pulse Rate is derived from SpO2, or NIBP if only BP is measured.
Describes Direct Mode activation when probe is out for 60s or patient is too cold for predictive measurement.
Emphasizes using only Welch Allyn Probe covers, which are single-use.
Details the removable probe well, with blue for oral/axillary and red for rectal use.
Steps for oral temperature measurement: probe handling, cover, listening for beep, placement, and release.
Steps for axillary temperature measurement: probe, cover, beep, mode selection, placement, and release.
Steps for rectal temperature: probe insertion, beep, cover, placement, lubrication, and release.
Provides a numbered, illustrated guide for performing tympanic temperature measurements with the Braun Thermoscan 4000.
Touch alarm limits control in parameter frame and enter desired upper/lower values using arrows or keypad.
Use the ON/OFF toggle button to turn alarm limits on or off for a parameter.
The alarm icon changes on the Home tab when limits are off, indicating no signals will occur.
Explains that alarms trigger when vital sign measurements exceed or fall below set alarm limits.
Describes light bar illumination: flashing red for high, flashing amber for medium, constant amber for low priority alarms.
Instructions to silence or suspend an alarm by touching the triangle or the numeric value in the parameter frame.
From the Home screen, touch the manual parameters area to enter height, weight, pain, and respirations.
Input desired patient information (height, weight, etc.) using the up/down arrows or keypad.
Press OK to confirm entries and return to the Home screen; entries are not saved otherwise.
From the Home screen, touch the Manual parameters area to access patient modifiers.
Navigate to the Modifiers tab and input desired details like BP site and cuff size.
Use OK to accept modifiers or Clear to delete all entered modifiers; entries not saved unless OK is pressed.
Touch the Save button when vital sign measurements are complete; data is saved to the Review tab.
Access saved vital sign data by touching the Review tab; select a vital to checkmark it.
Options include sending vitals to the network, printing, or deleting; an envelope icon indicates network transmission.
Refer to the DFU for specific cleaning instructions for each accessory.
Clean the CVSM and Accessory Cable Management stand routinely per facility protocols.
Lists compatible agents: Hydrogen Peroxide Wipes, Bleach Towels, 70% isopropyl alcohol, and 10% chlorine bleach solution.
Important caution: do not submerge or spray any liquid directly onto the device.
Accessible by code only; contains settings for display, parameters, alarms, and data management.
Enables users to clone device configurations using a USB drive.
Refer to Directions for Use or contact Sales Rep/Clinical Consultant for detailed information and specialized instruction.