MicroTymp
2
Completing a Test
Printing Memory Contents
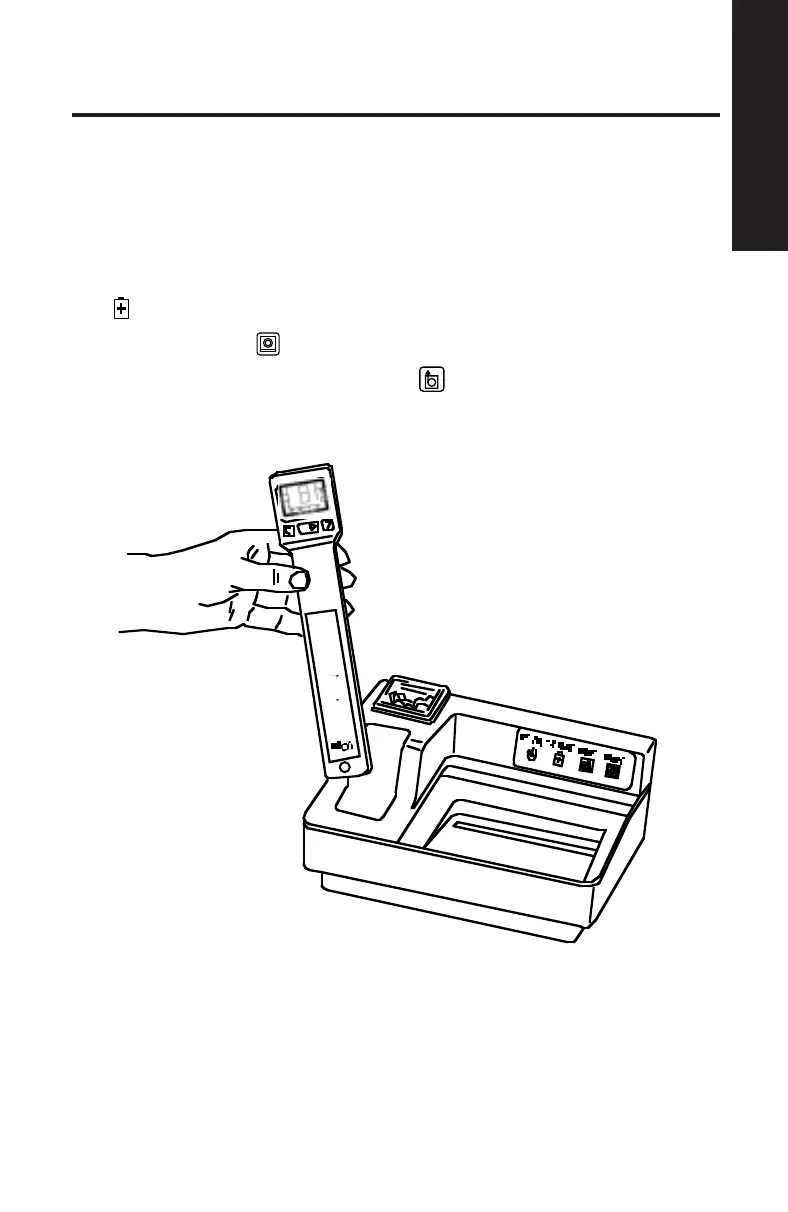
Follow the steps listed below to print tympanometric data stored in the
MicroTymp2 Handle:
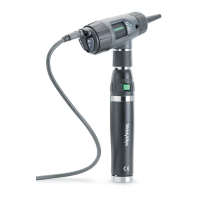
1. Place the MicroTymp2 Handle in the well with the Liquid Crystal Display
(LCD) and buttons facing you. See Figure 20.
When the MicroTymp2 is properly seated in the well, the green CHARGE
indicator illuminates.
2. Press the PRINT
button.
3. To feed extra paper, press the FEED
button. Paper continues to
feed as long as the button is depressed.
Figure 20
15
 Loading...