• If the MicroTymp 2 set has not been stored at room temperature, allow
45 minutes for it to return to operating temperature range (15-35˚C or
59-95˚F) before using.
• Do not store either the MicroTymp2 Handle or Printer/Charger at
temperatures which exceed 66˚C (150˚F). Continual exposure to ex-
tremely high temperatures can permanently damage components.
Refer to Operating Instructions manual.
DANGER: Explosion risk if Printer/Charger is used with
flammable anesthetics.
CAUTION: Disassembly of the Printer/Charger presents a
possible electrical shock hazard. Refer all servicing to Welch
Allyn or a Welch Allyn authorized service representative listed
on page E-55.
Disassembly of the MicroTymp2 Handle or Printer/Charger
beyond the extent described in this manual will void the
warranty. Refer all servicing to Welch Allyn or a Welch Allyn
authorized service representative listed on page E-55.
Disconnect from the mains via the appliance inlet.
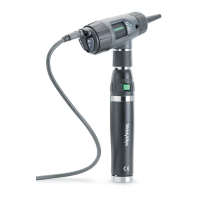
Charge only MicroTymp 2 Handle (#23640), MicroTymp Handle
(#23600), or AudioScope 3 (#23300) in the MicroTymp 2
Printer/Charger.
BATTERY REPLACEMENT: Replace with Welch Allyn model
#72900 battery only.
NOTE: The MicroTymp
2 Printer/Charger will charge and print
data from the original MicroTymp Handle. However, the original
MicroTymp Printer/Charger will neither charge nor print data
from the MicroTymp
2 Handle. A special AudioScope Charging
Stand (#71126) is available for charging only.
Setting up the MicroTymp2 Handle and Printer/Charger
• Install the MicroTymp2 rechargeable battery in the Handle by following
the instructions found on page C-43 of this manual.
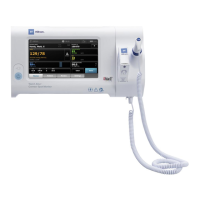
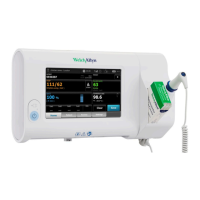
• Place the Printer/Charger on a flat, horizontal surface.
• Plug the power cord into the receptacle in the rear of the Printer/
Charger. Then connect the power cord to a receptacle of proper voltage,
frequency, and plug type. The green POWER
indicator will illuminate
to indicate that the Printer/Charger is operating properly.
See Figure 1A and 1B (pages 2 and 3).
4
!
!
!
!
!
 Loading...