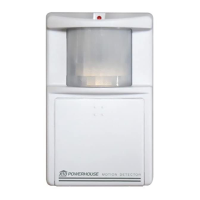
CONTROLLING YOUR MOTION DETECTOR
You can use any X-10 Controller to turn
your Motion Detector on and off. Set
the HOUSE CODE and START CODE
dials, then follow your Controller’s in-
structions to control this light.
NOTE: If you turn
the
floodlights on us-
ing a Controller, they will stay on
until
you
turn
them off with a Controller.
They will not be affected by any move-
ment in the sensing area.
SETTING THE
HOUSECODE
Set the Housecode dial
to any of its 16
positions. If you have existing X-10
Modules, you should set it to the same
Housecode
you used for those Modules
so that the Motion
Detector
can
control
those modules.
SETTING THE
START CODE
The START CODE dial serves two pur-
poses. First, the number to which you
set this dial is the Unit Code for the Mo-
tion Detector (for controlling it from a
Controller). Also, the next eight num-
bers following on from the START
CODE will be the Unit Codes for the
modules your
Motion Detector controls.
(See controlling X-10 Modules.)
Caution:
If you plan to use the Motion
Detector to control additional
Modules,
keep in mind that these Modules might
turn on when you do not expect them to
(when a small animal passes within the
sensing
area, for example). For this rea-
son, take cafe if selecting appliances to
be controlled by the Motion Detector.
You might want a stereo to turn on
when
someone
approaches your house
(to make it sound like someone is
home), but you should make sure that
the Motion Detector cannot turn on
any-
thing which
would be dangerous if it
turned
on unexpectedly. An example of
this might be a coffee pot which could
be damaged and possibly
cause
a fire if
it turns on when
it is empty.
Do
not use the
Motion Detector to
control portable heaters. This could
cause a fire if the heater turns on unex-
pectedly when
clothing is nearby.
Choose your Unit Codes carefully.
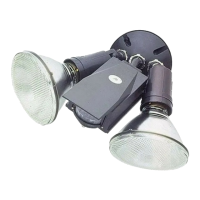
CONTROLLING OTHER LIGHTS
Your Motion Detector can turn on up
to eight other lights or appliances con-
nected to X-10
Modules. Four of
the
Modules can be activated when there
is movement in
the
covered area.
The
other four Modules can be activated
with dusk-to-dawn operation.
1. Set the Module’s Housecode to the
same letter as the Motion Detector’s
Housecode.
2. For sensor operation, set the Mod-
ule’s Unit Code to the Motion De-
tector’s Start Code plus one, two,
three, or four. (For example, if your
Motion Detector’s Start
Code
is 4,
set the Module’s Unit
Code
to 5, 6,
7, or 8.)
3. For dusk-to-dawn
operation, set the
Module’s Unit Code to the Motion
Detector’s Start Code plus five, six,
seven, or eight. (For example, if
your Motion Detector’s Start Code
is 4, set the Module’s Unit Code to
9, 10, 11, or 12.)
4. For those Modules you are control-
ling with the Motion Detector. set
the corresponding SENSOR or
DUSK switches to IN.
5. Install the Modules according to
their instructions.
Be sure to
turn
off
the power at the
main circuit breaker panel or fuse
box before installing Wall Switch
Modules or Wall Receptacle Mod-
ules.
Note: When you first install an X-10
Appliance Module it might
already be
on. If you
don’t have an
X-10 Controller
to turn it off with, and you have set
the
Module
for
dusk-to-dawn
operation,
you
might have to wait
until
the next day for
the Module to
turn
off. See troubleshoot-
ing for an alternate method of turning
the Module off.
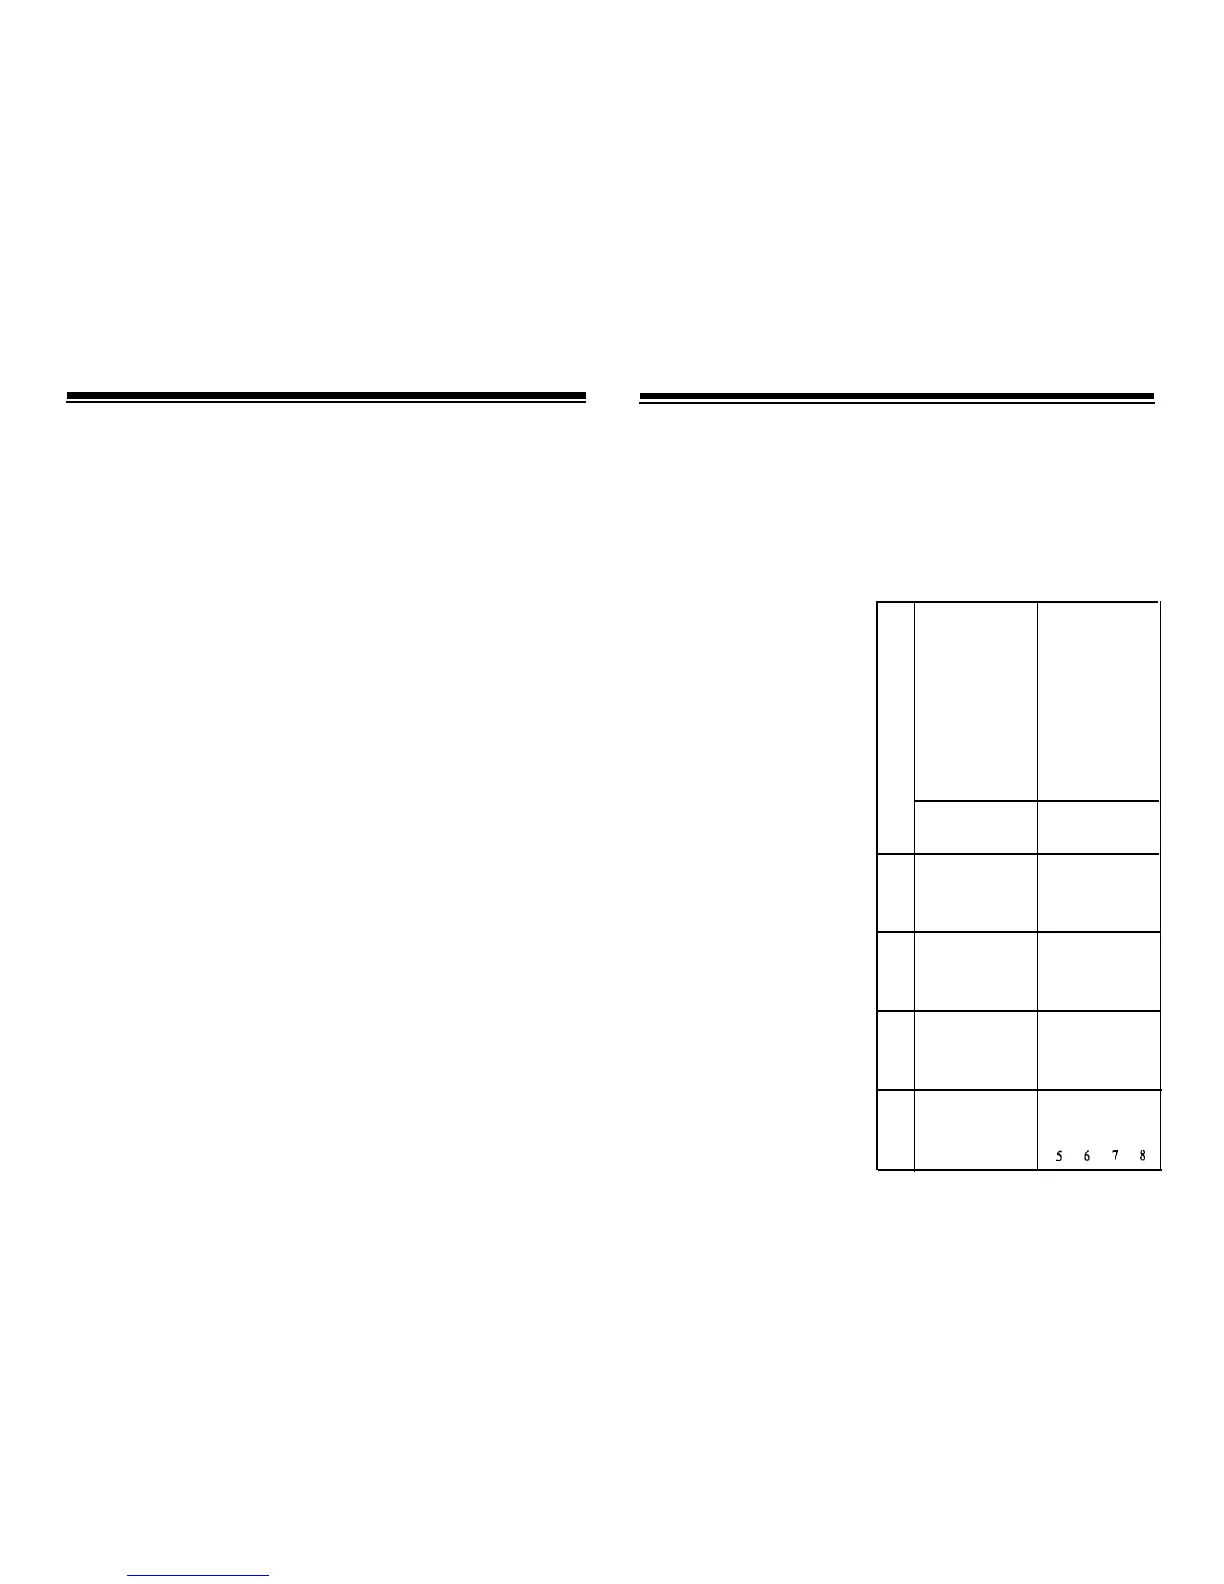
SENSOR switch
DUSK switch
S
Modules set to
Modules set to
T
these numbers
turn
these
numbers
turn
on
at dusk and off
A
on when
motion
is
detected.
at dam.
R
T
Add the SENSOR
Add the DUSK
switch
number
to
switch
number
to
C
Start Code number
the Start Code
num-
O
to determine the
ber
to determine the
Module Unit Code.
D
Module Unit Code.
E
START CODE
+
START
CODE
+
+l
+2
+3
+4
+5
+6
+7 +8
1
2345 6789
2
3456 78 9
10
3
4
5
6 7 8 9 10 11
4
5 6
7
8 9 10
11
12
5
6
7
8
9
10
11 12 13
6
7 8 9 10 11 12 13 14
7
8 9 10 11 12 13 14 15
8
9 10 11 12 13 14 15 16
9
10 11 12 13 14 15 16 1
10
11 12 13 14 15 16 1 2
11
12 13 14
15
16
1
2 3
12
13 14 15 16 1 2 3 4
13
14 15 16 1 2 3 4 5
14
15 16 1 2 3 4 5 6
15
16123 4567
16
1234
5678
 Loading...