Three ways to scan
2-16 4800/2400 Series Installation and User Guide
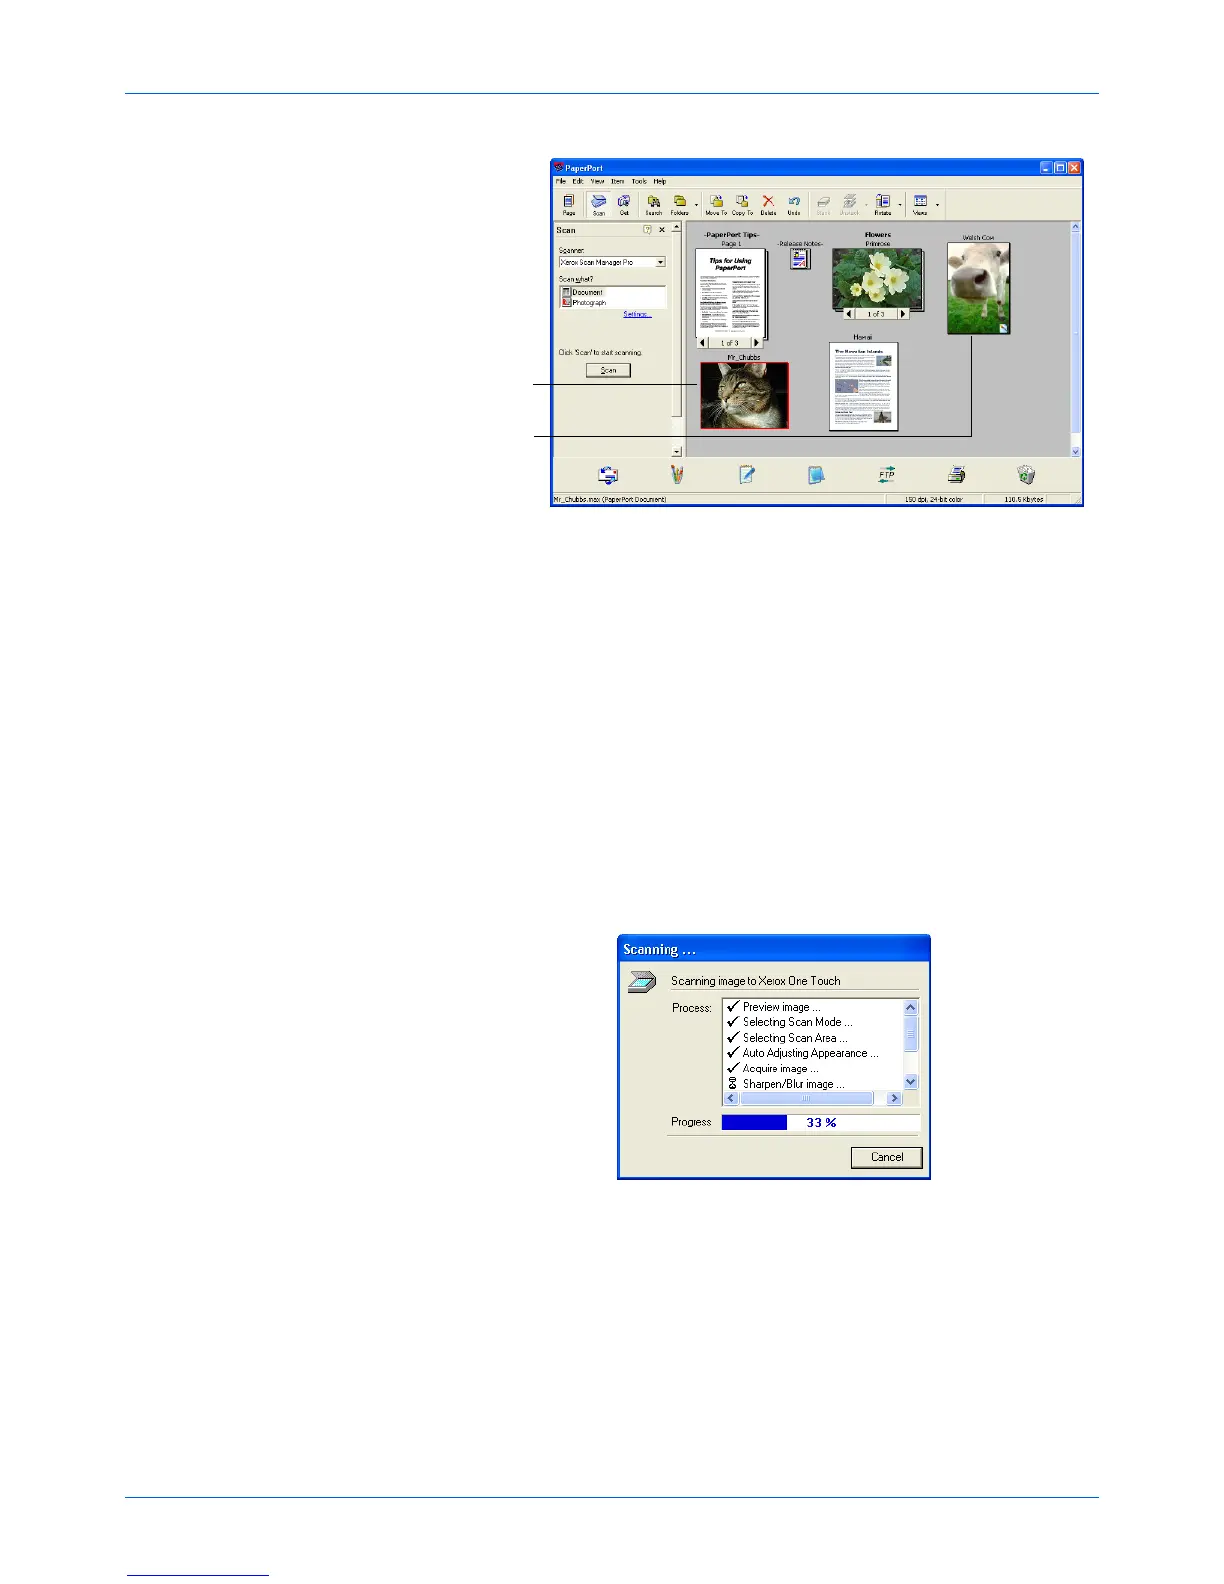
Figure 2-22 Thumbnail images in PaperPort
To scan automatically:
1. Click [AutoScan].
The scanner uses your preselected resolution setting for the
configuration you selected. See “Setting preferences” on
page 2-10 to set the AutoScan settings.
In addition, your One Touch scanner has built-in image
analysis capabilities that find the optimum combination of
settings for the item you’re scanning. When you click
AutoScan, the scanner analyzes the image and adjusts the
settings to produce the optimal scanned image.
The following dialog box appears while the scan is in progress.
Check marks indicate that phase of the process is finished.
Figure 2-23 Scanning progress
The autoscanned image appears as a thumbnail on the
PaperPort Desktop.
2. Use the PaperPort software to work with the image.
Please see the PaperPort Getting Started Guide and
PaperPort User’s Guide on the CD for more information about
using the PaperPort software.
Thumbnail
image
Bitmap
icon
 Loading...