Getting started with your new scanner
1-2 4800/2400 Series Installation and User Guide
installed in, and follow the instructions on the screen to install
the scanner software on your computer.
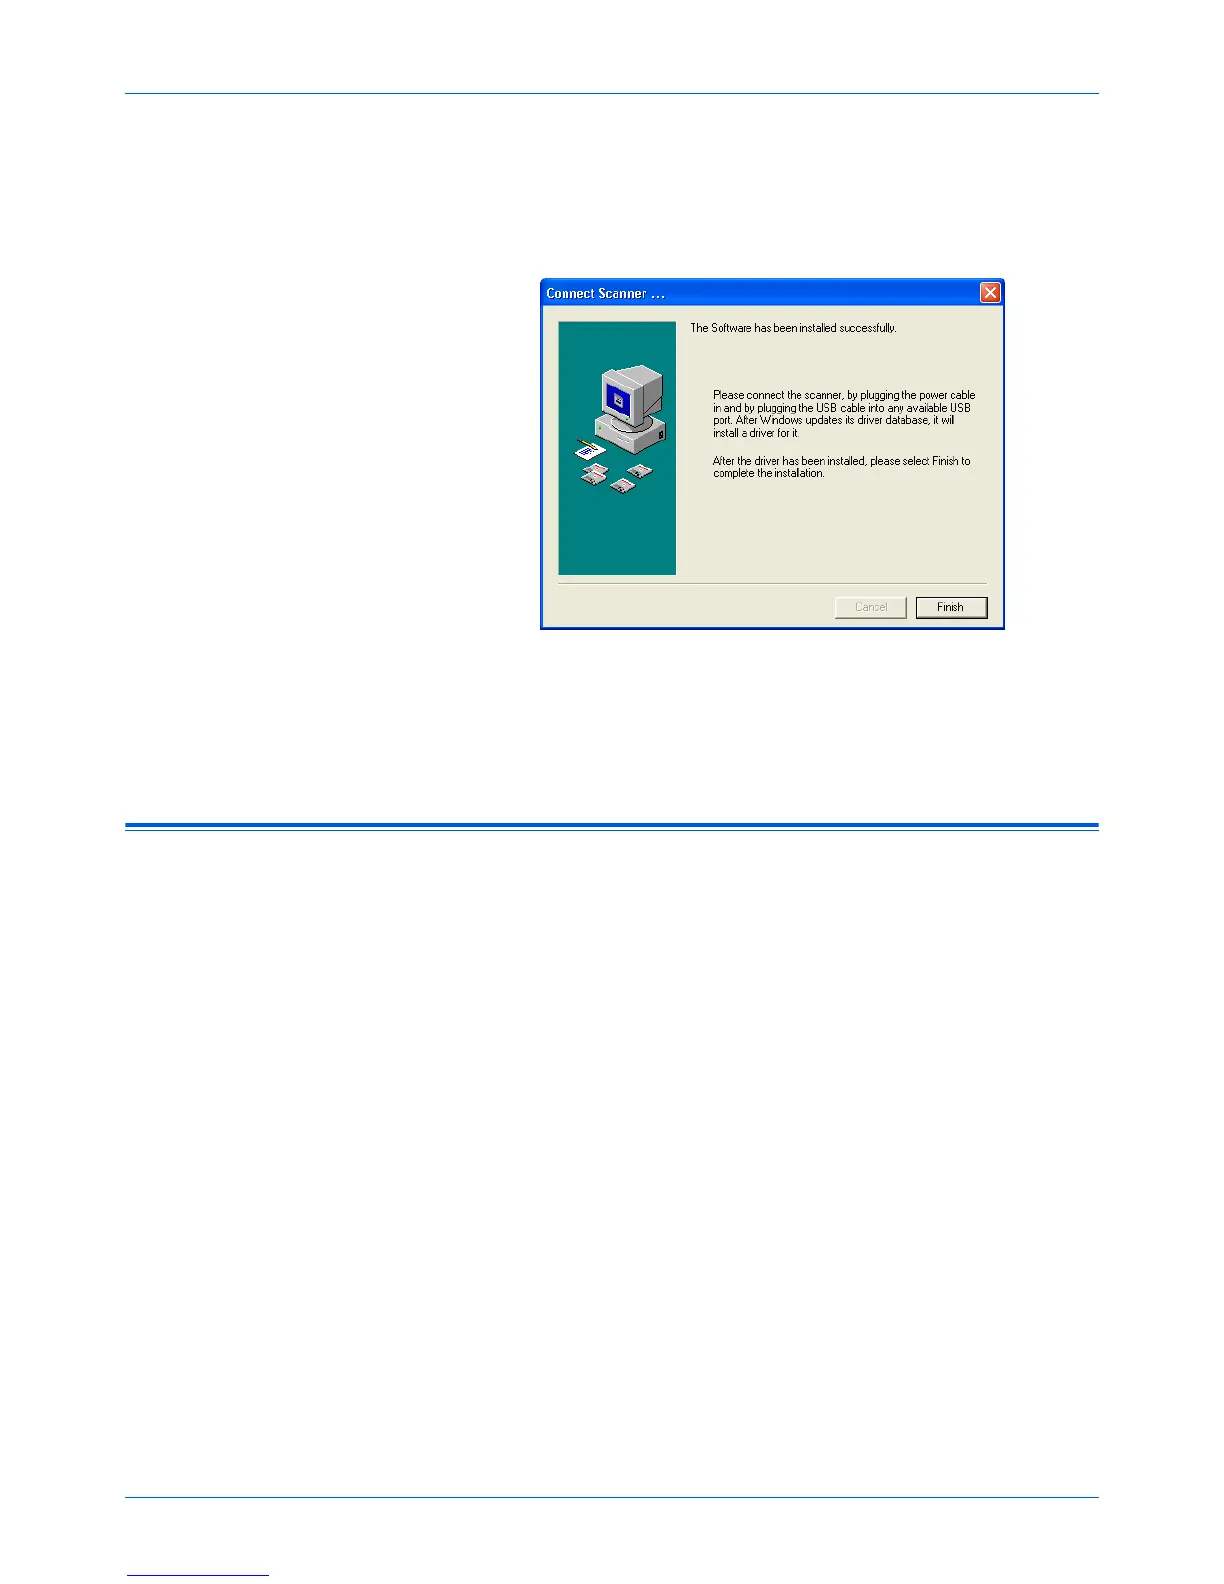
When you are finished installing the software, a message
instructs you to connect the scanner to the computer.
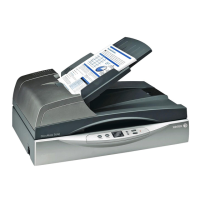
Figure 1-2 Connect scanner
4. Follow the steps in “Step 2: Connecting the scanner” to
connect the scanner. When you’re finished, click [Finish] in the
dialog box above.
Step 2: Connecting the scanner
The One Touch scanner connects to any available USB port. Check
your computer’s manual for the USB port location.
NOTE: You do not have to shut off the power to your computer
when connecting the scanner to a USB port.
To connect your One Touch scanner:
1. Your scanner may have a locking tab. Turn the scanner over to
see the locking tab on the bottom. Slide the locking tab to the
unlocked position.
 Loading...