Getting started with your new scanner
4800/2400 Series Installation and User Guide 1-5
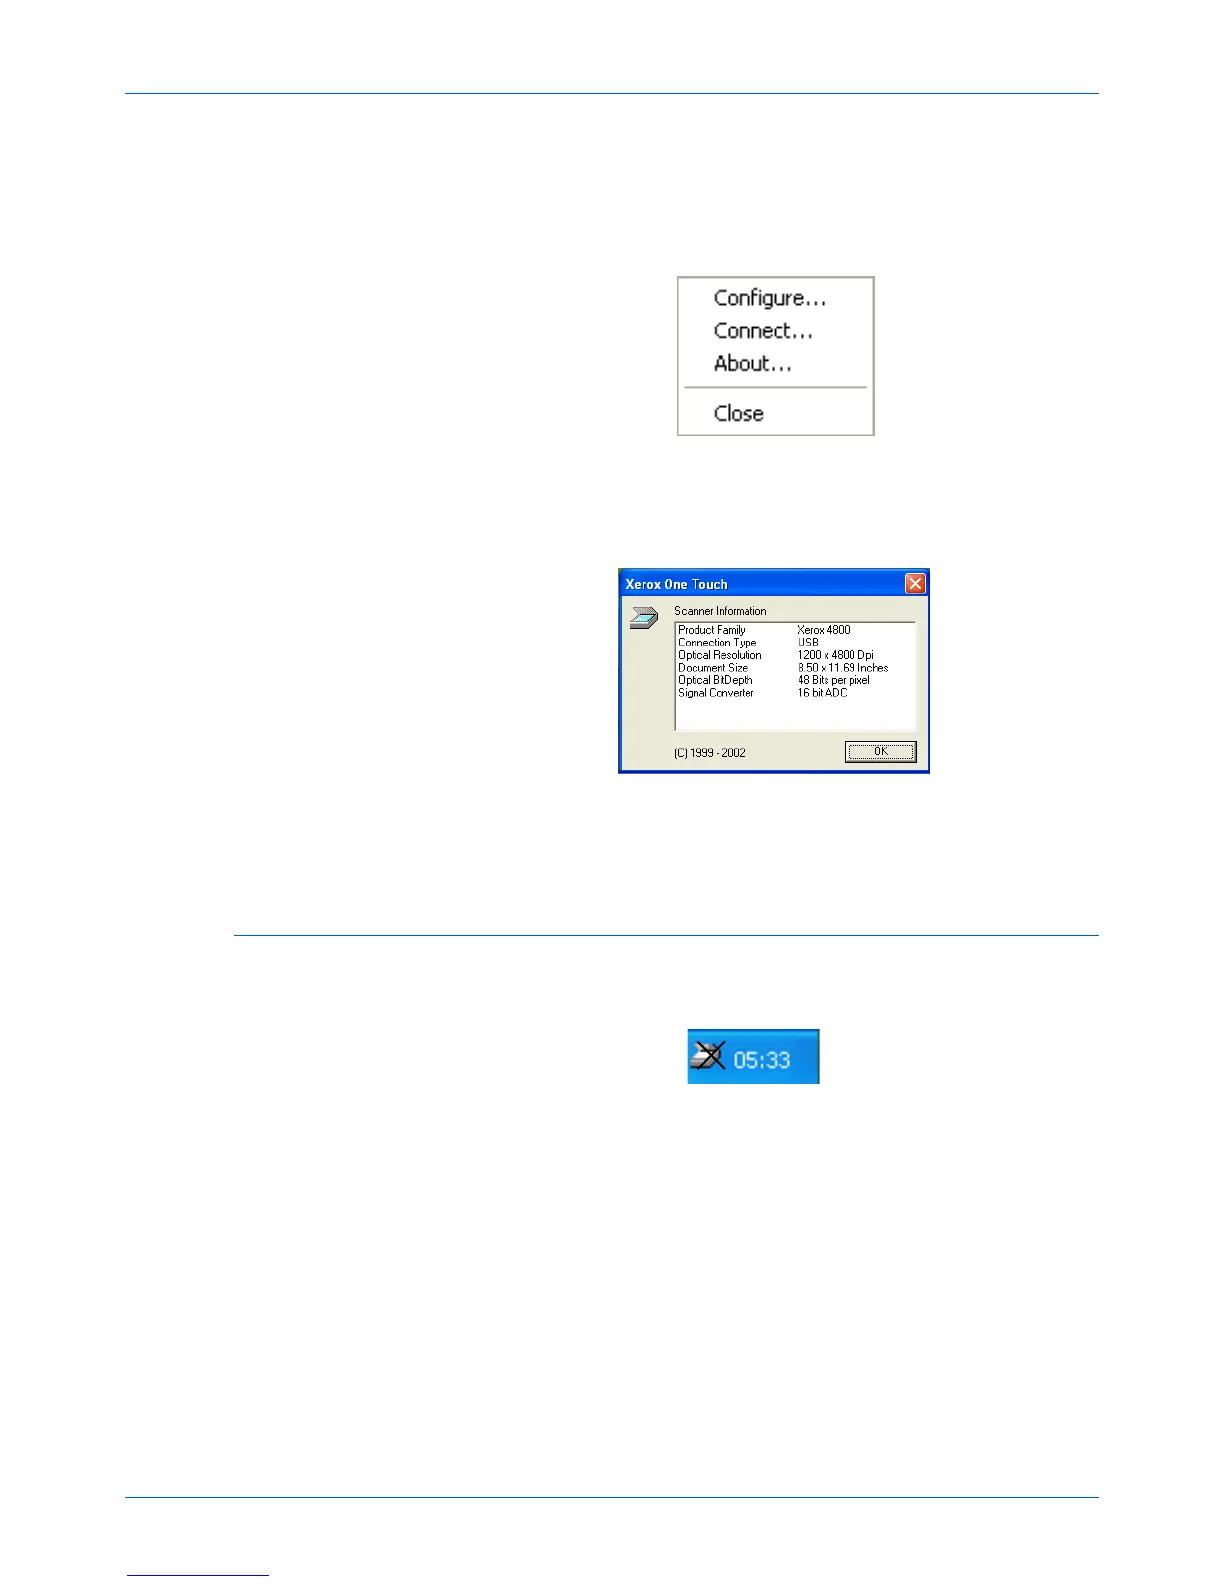
To check the status of the scanner:
1. Right-click the scanner icon.
The shortcut menu appears.
Figure 1-8 Shortcut menu
2. Choose [About] from the shortcut menu.
A dialog box confirms that the scanner is properly connected.
Figure 1-9 Scanner information
3. Click [OK] to close the dialog box. Your scanner is ready to
scan.
If the scanner is not properly connected
If the scanner icon on the Windows taskbar has a red “X” through it,
the scanner is not properly connected.
Figure 1-10 Scanner is not connected
Check for one of these possible problems:
• Is a cable loose or not plugged in securely? Inspect all cable
connections. Make sure all the cables are plugged in securely.
• Is the scanner’s locking tab in the locked position? Slide the
locking tab to the unlocked position. If you tried to scan with
the scanner locked, you must restart your computer after
unlocking the scanner.
• Did you restart the computer after installing the software? If
you didn’t restart the computer, it may not have loaded all of
the software files. Try restarting your computer.
 Loading...