Three ways to scan
4800/2400 Series Installation and User Guide 2-29
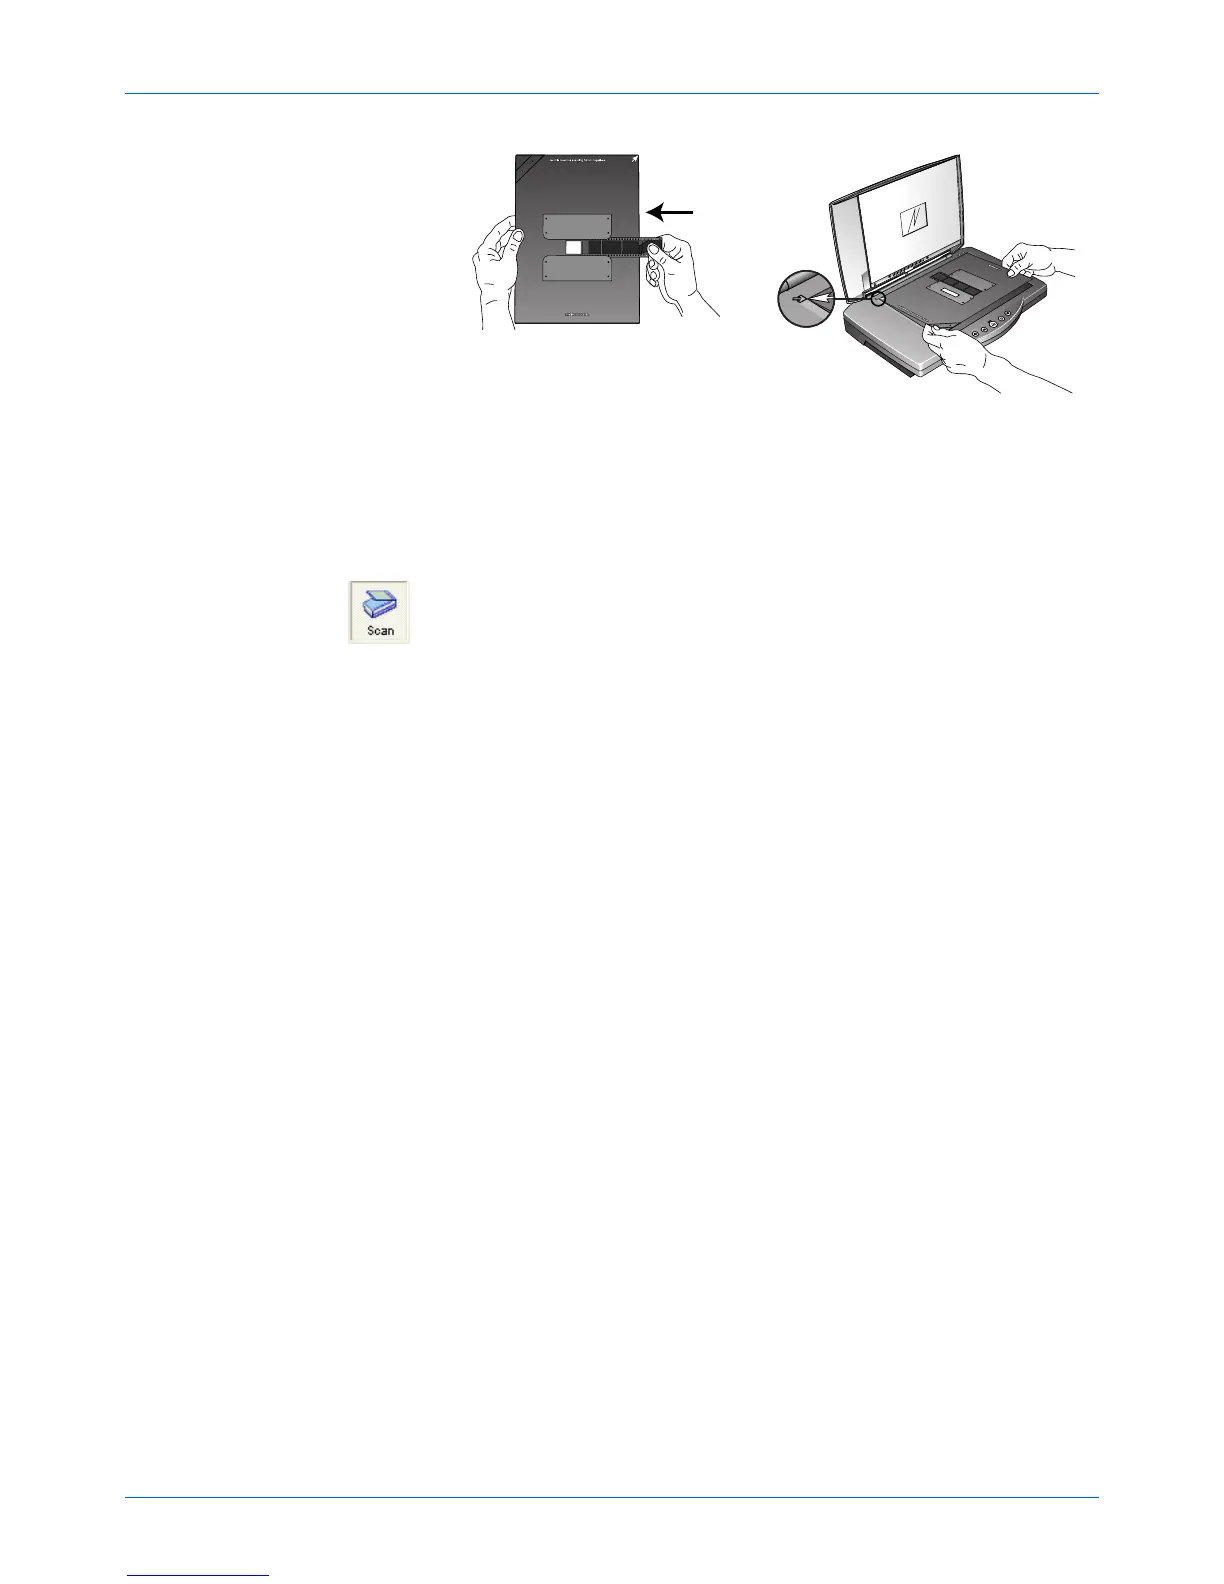
Figure 2-33 Negative placement
The 35mm negative mask also has a calibration slot. Do not
place items to be scanned in the calibration slot.
You’re now ready to scan the slide or negative.
To scan a 35mm slide or negative:
1. Start the PaperPort software, click the [Scan] icon on the
PaperPort command bar, and then click the [Scan] button in
the Scan pane.
The Scan Manager Pro appears.
HINT: You can also start the Scan Manager Pro from the scanner
buttons by setting a button to "Configure Before Scanning". See
“Configuration dialog help button” on page 2-6.
2. Click the drop-down menu at the top of the Scan Manager Pro
and choose the type of transparency to scan.
Scan 35mm Using: – Choose this option to scan 35mm slide
positives.
Scan Negative Using: – Choose this option to scan negative
film or 35mm slide negatives.
 Loading...