Setting up the printer to fax
SSeettttiinngg uupp tthhee ffaaxx ffuunnccttiioonn
• Some connection methods are applicable only in some countries or regions.
• If the fax function is enabled and not fully set up, then the indicator light may blink red.
• If you do not have a TCP/IP environment, then use the control panel to set up fax.
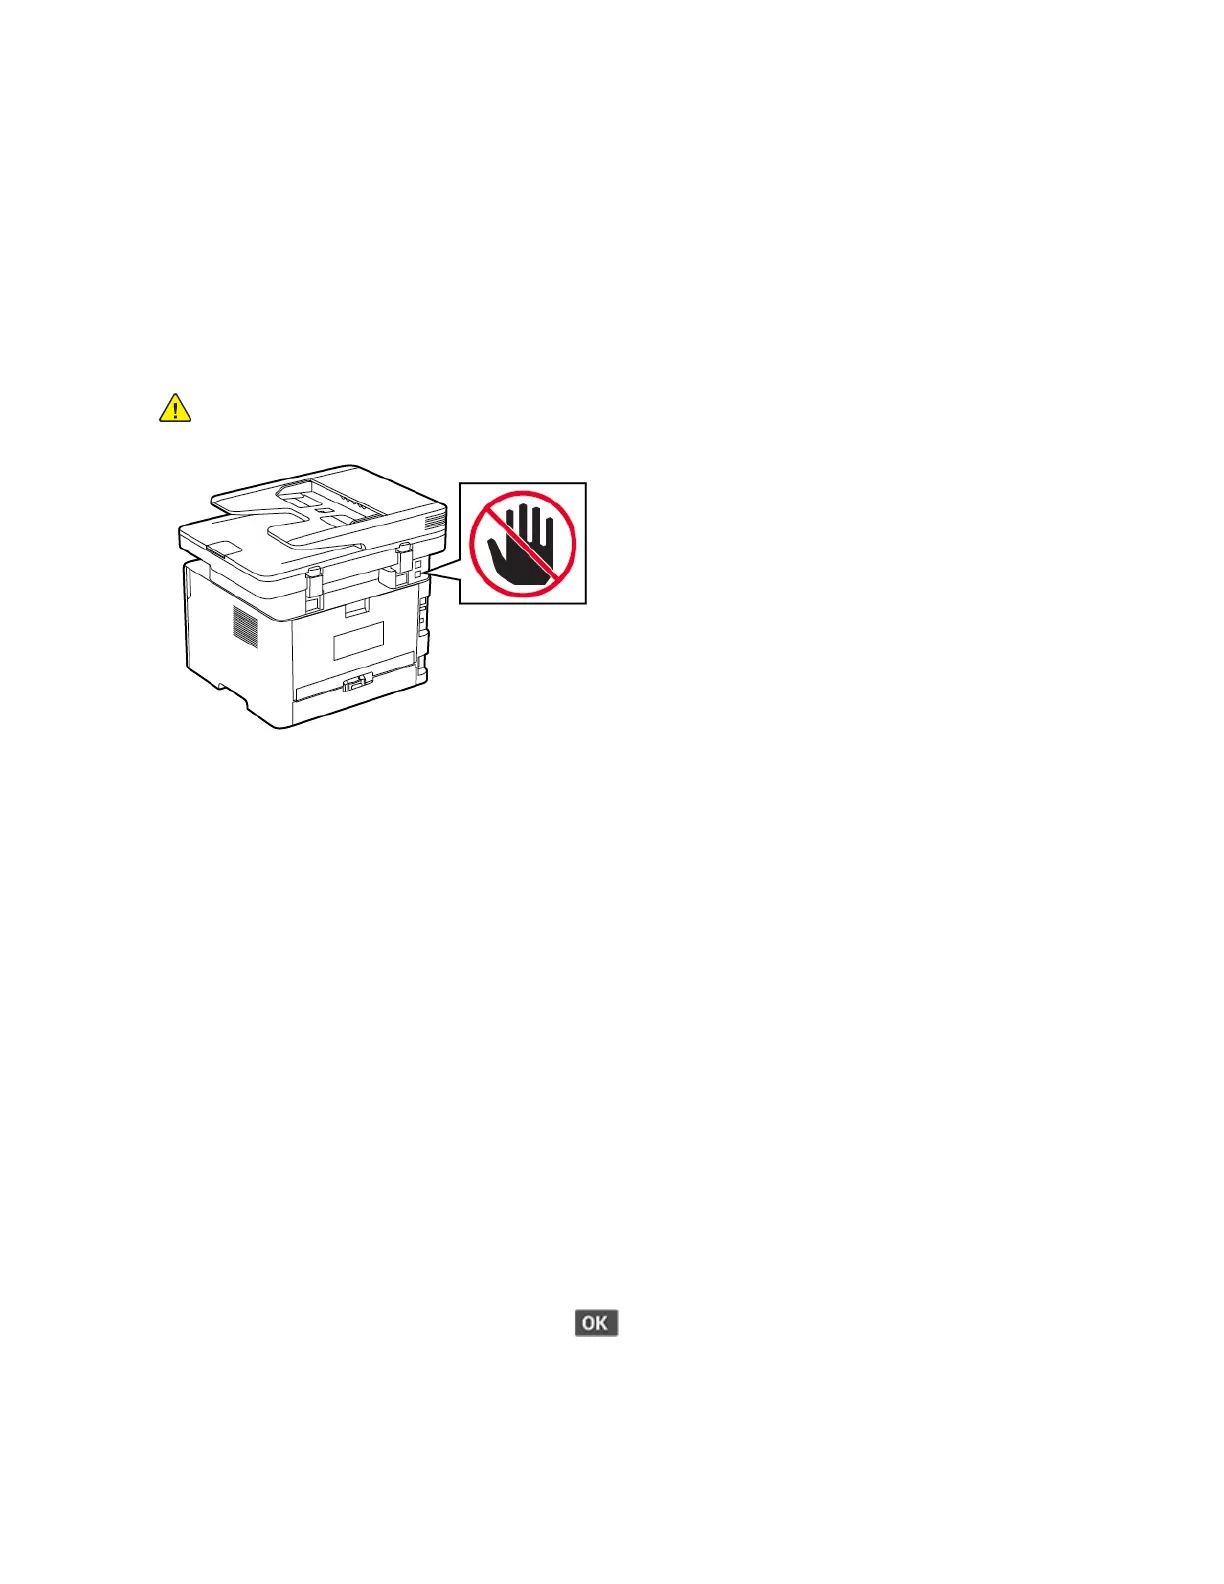
Warning: To avoid loss of data or printer malfunction, do not touch cables or the printer in the
area shown while actively sending or receiving a fax.
UUssiinngg tthhee ffaaxx sseettuupp wwiizzaarrdd iinn tthhee pprriinntteerr
• The setup wizard is available only if analog fax is not set up.
• This wizard only sets up the analog fax. To setup other fax modes, go to Settings > Fax > Fax
Setup.
• These instructions apply only to some printer models.
• Before using the wizard, make sure that the printer firmware is updated. For more information, see
Using the fax setup wizard in the printer.
1. From the home screen, touch Fax.
2. Touch Set up now.
3. Type the fax name, and then touch Next.
4. Enter the fax number and then touch Done.
UUssiinngg tthhee SSeettttiinnggss mmeennuu iinn tthhee pprriinntteerr
1. From the control panel, navigate to:
Settings > Fax > Fax Setup > General Fax settings
For non-touch-screen printer models, press
to navigate through the settings.
2. Configure the settings.
Xerox
®
B225/B235 Multifunction Printer
User Guide
39
Set up, install, and configure

 Loading...


