Networking
CCoonnnneeccttiinngg tthhee PPrriinntteerr ttoo aa WWii--FFii NNeettwwoorrkk
Before you begin, make sure that:
• Active Adapter is set to Auto. From the control panel, navigate to Settings > Network/Ports >
Network Overview > Active Adapter.
For non-touch-screen printer models, press to navigate through the settings.
• The Ethernet cable is not connected to the printer.
UUssiinngg tthhee WWiirreelleessss SSeettuupp WWiizzaarrdd iinn tthhee PPrriinntteerr
• These instructions apply only to some printer models.
• Before using the wizard, make sure that the printer firmware is updated. For more information, see
Updating Firmware.
1. From the home screen, touch Wi-Fi icon, then touch Set up now.
2. Select a Wi-Fi network, and then type the network password.
3. Touch Done.
UUssiinngg tthhee SSeettttiinnggss MMeennuu iinn tthhee PPrriinntteerr
1. From the control panel, navigate to:
Settings > Network/Ports > Wireless > Setup On Printer Panel
For non-touch-screen printer models, press
to navigate through the settings.
2. Select a Wi-Fi network, and then type the network password.
Note: For Wi-Fi-network-ready printer models, a prompt to set up the Wi-Fi network appears
during initial setup.
CCoonnnneeccttiinngg tthhee pprriinntteerr ttoo aa wwiirreelleessss nneettwwoorrkk uussiinngg
WWii--FFii PPrrootteecctteedd SSeettuupp ((WWPPSS))
Before you begin, make sure that:
• The access point (wireless router) is WPS-certified or WPS-compatible. For more information, see
the documentation that came with your access point.
• A wireless network adapter is installed in your printer. For more information, see the instructions
that came with the adapter.
• Active Adapter is set to Auto. From the control panel, navigate to:
Settings > Network/Ports > Network Overview > Active Adapter
For non-touch-screen printer models, press
to navigate through the settings.
62
Xerox
®
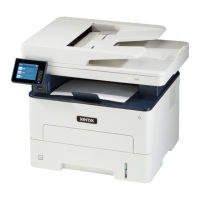
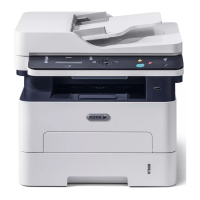
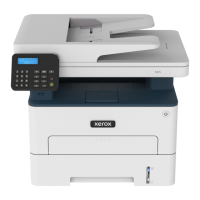
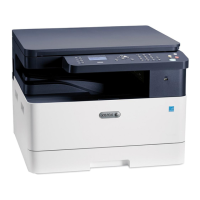
B225/B235 Multifunction Printer
User Guide
Set up, install, and configure

 Loading...


