Xerox DocuMate 4830
User’s Guide
133
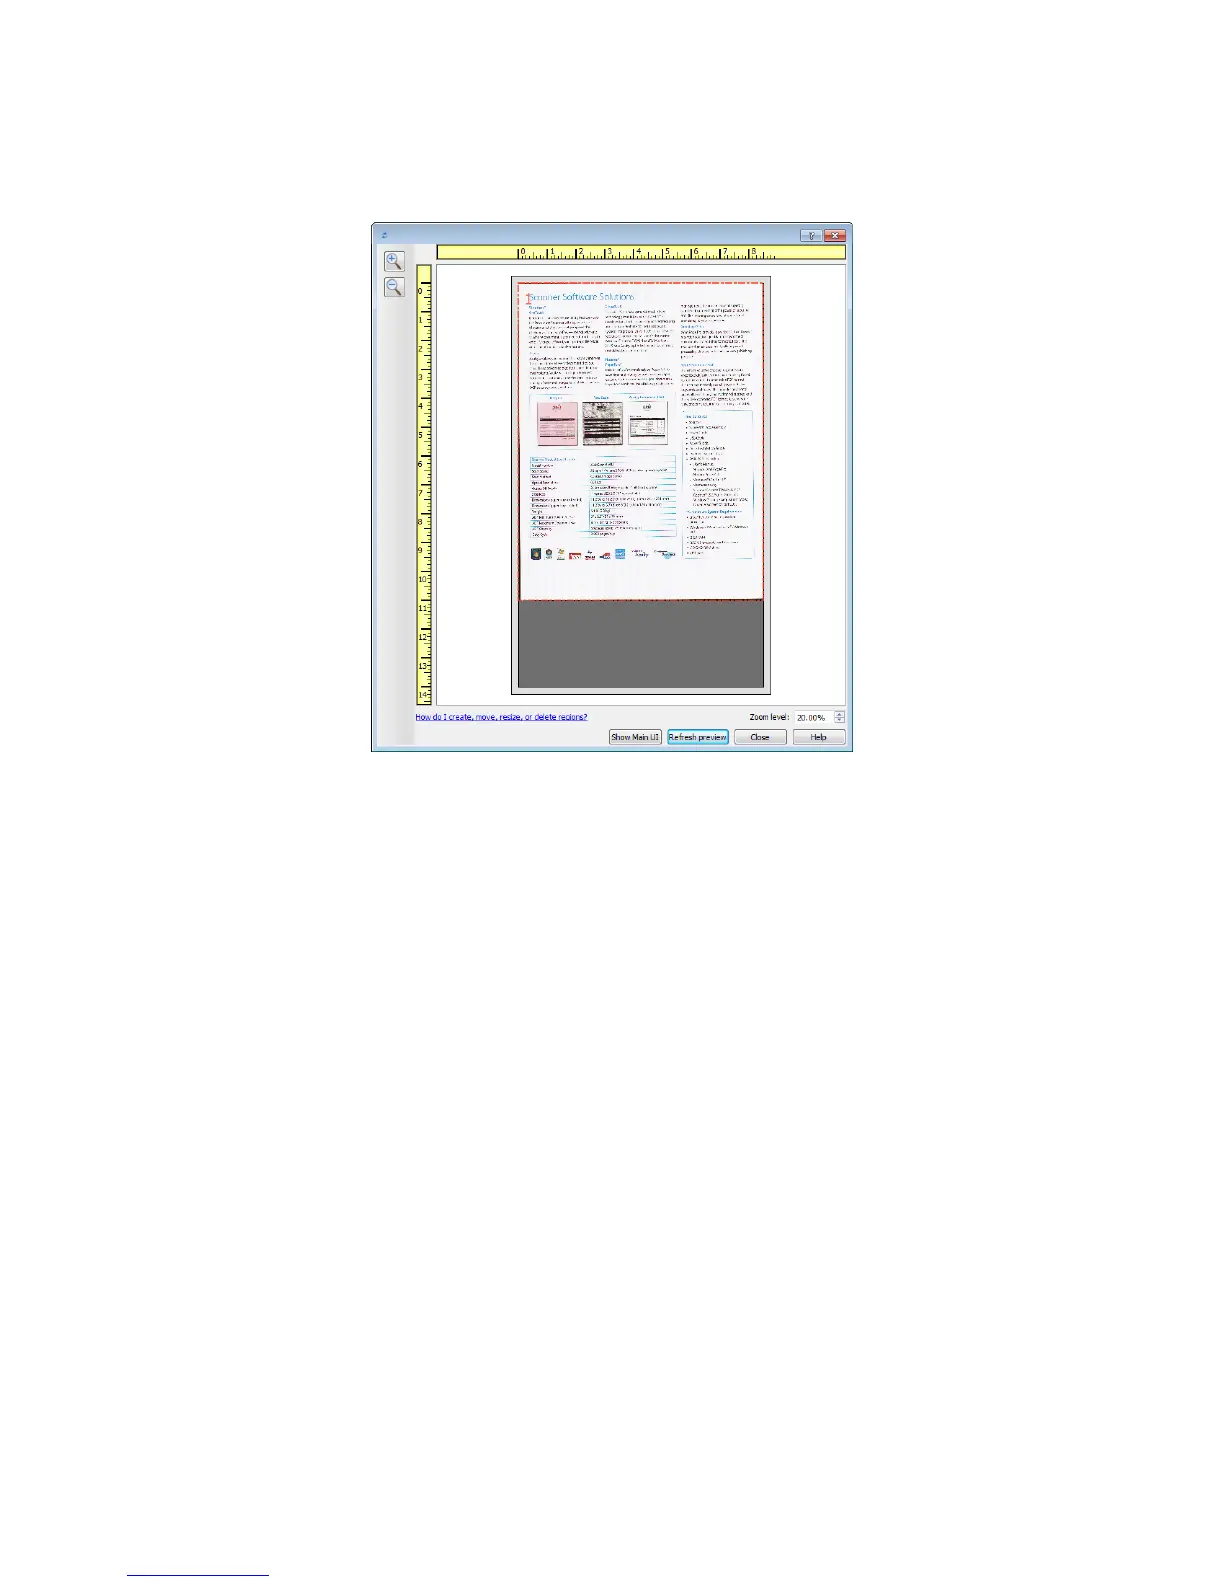
5. The scanner scans and displays a sample image in the preview area.
You can now adjust the settings in the main interface as needed.
6. Click Show main UI to bring the main scanner interface in front of the preview window for you to adjust the
scan settings.
There are some settings in the main interface, such as brightness and contrast, which will immediately update
the preview image after you adjust the setting. Other settings, such as changing from color scanning to black
and white scanning, will not automatically update the sample image.
If you select any of the document image adjustment options, such as an option to automatically crop,
straighten or rotate an image, it will not show in the sample image preview. The preview window displays an
unaltered view of the item size and position in the scanner. Any document image adjustment options will be
used while scanning and saving images.
7. After you adjust the scan settings, click Refresh preview to get a new sample image that reflects the most
current settings in the main interface.
8. When you are happy with the sample image, click Close to close the preview window and return to the main
interface window.
The sample image is not saved on your computer. Click the Scan button in the main interface to scan and save
an image with the current scan settings.
Note that the settings you modified for the sample image are not retained until you click Save in the main interface
to save the settings to the current preset, or save them to a new preset using the Save as dialogue. If you select a
different preset from the Presets list before saving the current settings, the changes you made will be discarded.
Scan Regions
You can use the preview window to create custom scan regions for the scanner to use for scanning. For example, if
you want to scan only a specific area of the image, you can move and resize a scan region to focus only on the area
you want to scan. The final image will be only the size of the region you set.
 Loading...