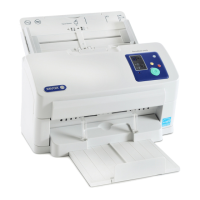
Xerox DocuMate 4830
User’s Guide
68
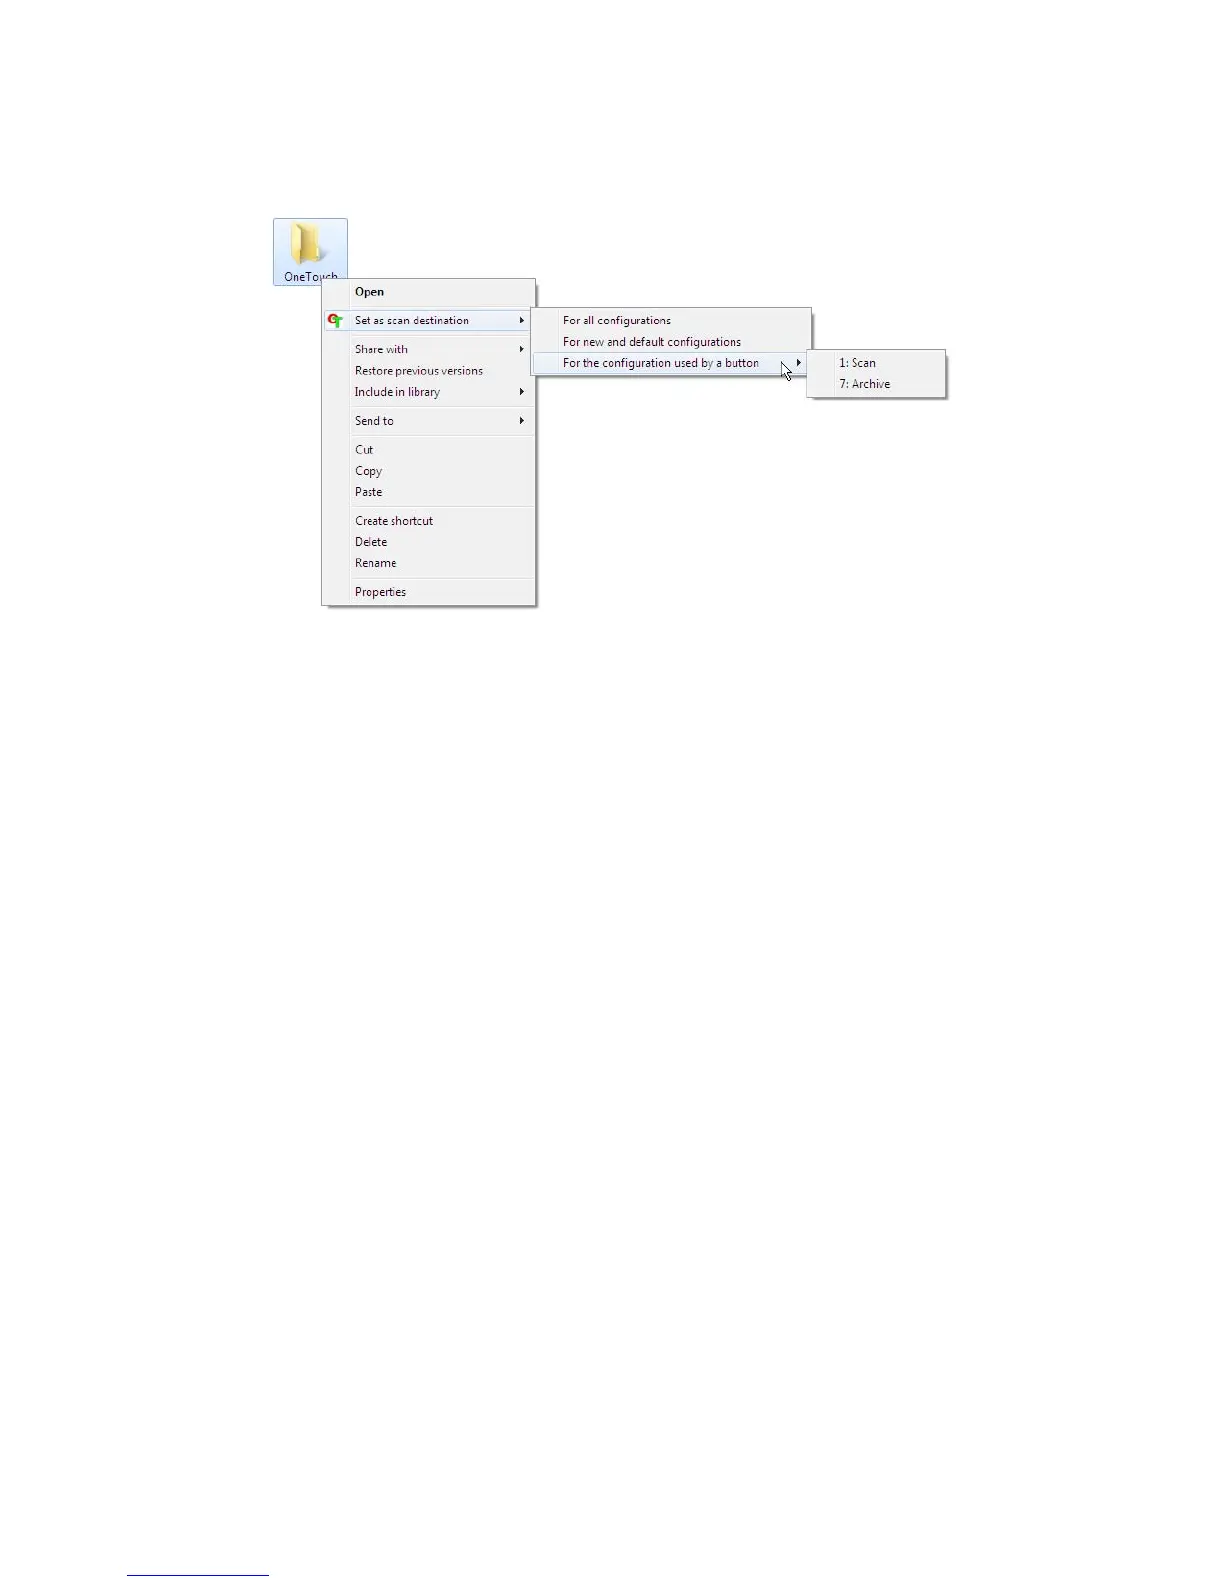
2. Hover the mouse cursor over the Set as scan destination option and the sub-menu will open to the right. Click
on the setting you want the Storage location to be updated with.
• For all configurations—select this option to have the storage location, in all scan configurations Storage
Options tabs, updated to use this location. Note that the storage Link Properties location will also update
to use this location.
• For new and default configurations—select this option to have the One Touch Link Properties storage
location updated. Any scan configurations that you have not previously updated, with custom storage
locations, will also use this location.
• For configuration used by a button—when you select this option, another sub-menu will open to the
right. The sub-menu will contain a list scanner buttons that are currently set to scan to the Transfer to
Storage destination. Select the button you want updated to use this location. This option modifies only
the scan configuration that is assigned to the button you select. If you have multiple One Touch 4.6
scanners installed, the first sub-menu will show a list of the currently connected scanners for you to select
which scanner to update.
Note that this option is disabled if there is no scanner plugged in and turned on.
Scanning to Multiple Folders
When archiving documents with Transfer to Storage option, you can scan the documents to different folders. For
example, one folder might be for “Business Receipts,” a second folder might be for “Personal Receipts,” and a third
folder might be for “Annual Receipts.”
To scan to multiple folders, you create multiple configurations, each with a different storage location for the
scanned documents. Scan one set of documents using the scan configuration with the appropriate storage location
for that set. Then switch to another scan configuration and scan the next set of documents to store them in their
folder.
Setting up multiple folders for transfer to storage
1. Using Microsoft Windows, create the folders that you want to use for storing scanned items.
2. Open the One Touch Properties window.
3. Select Transfer to Storage as the Destination Application.
 Loading...