Installation DocuMate 742
1-8 User’s Guide
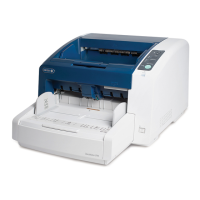
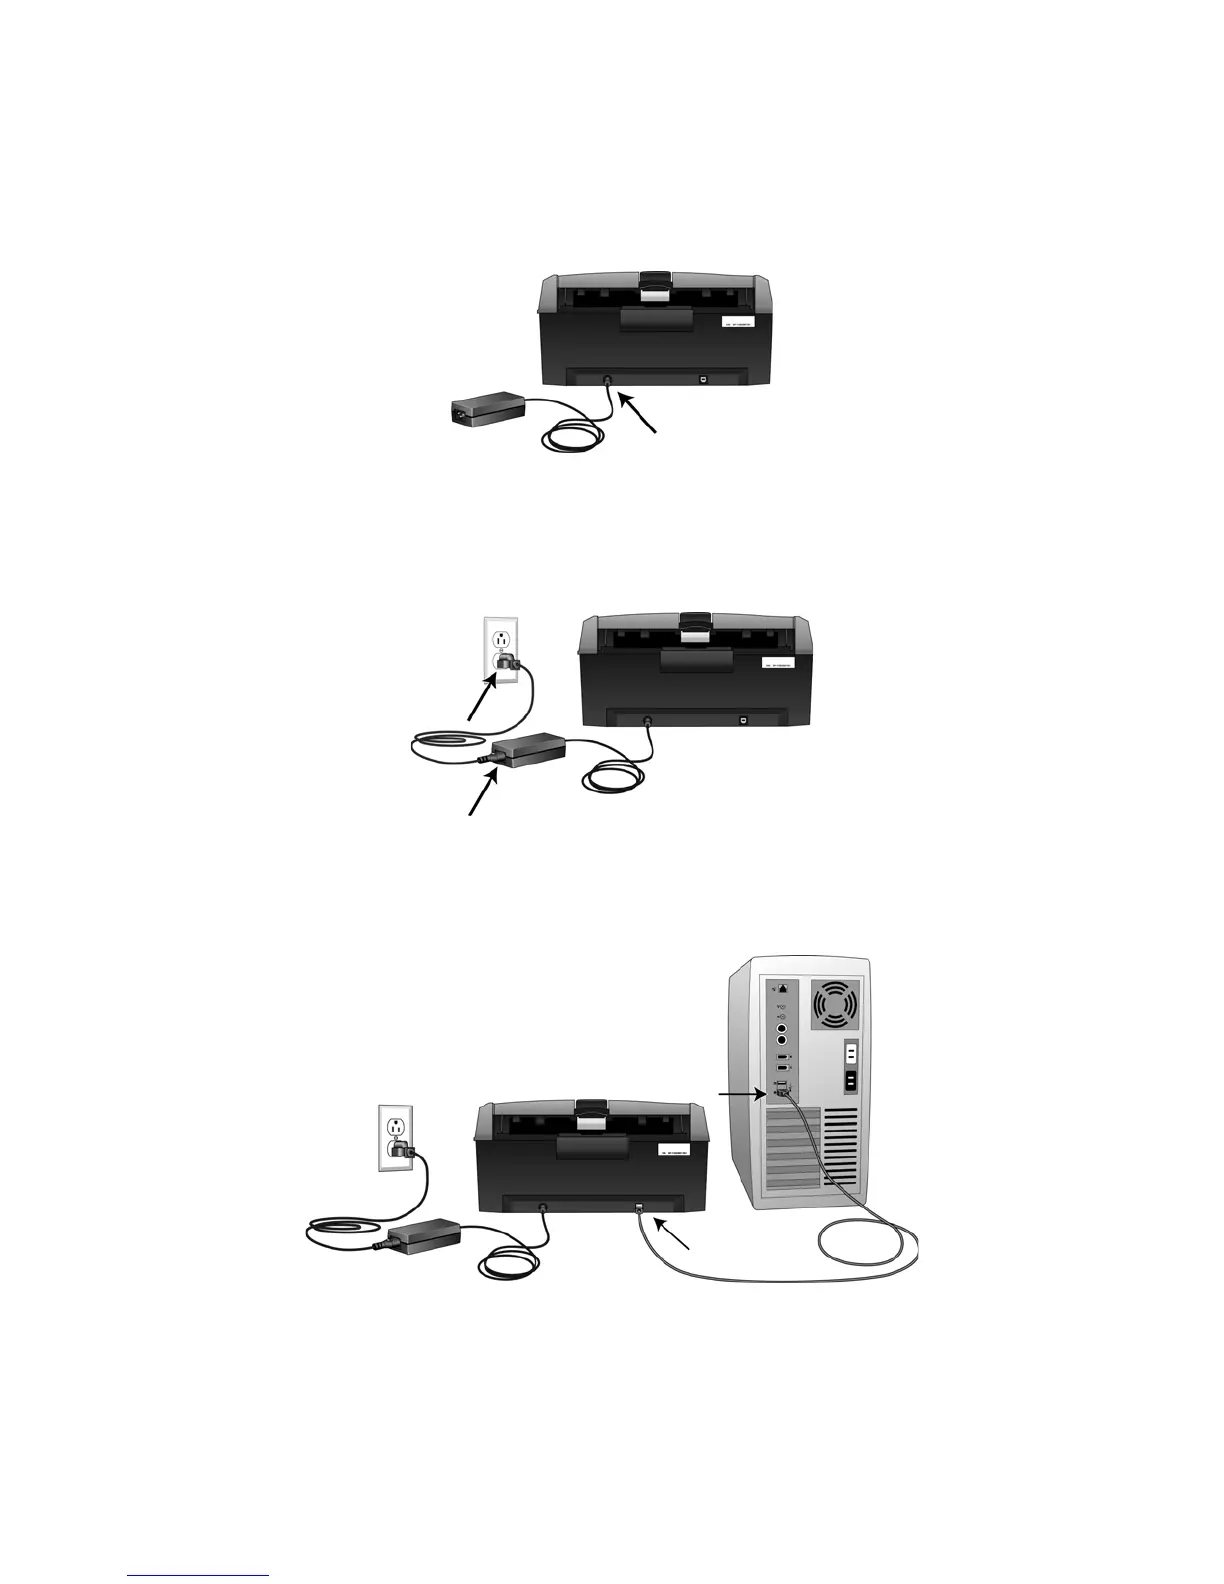
Step 3: Connect the Scanner
1. Plug the power supply into the power port on the scanner.
NOTE: Only use the power supply (HEG42-240200-7L made by HiTron) included with your
scanner. Connecting any other type of power supply may damage your scanner, and will void its
warranty.
2. Plug the power cord into the power supply and into a wall outlet.
3. Remove any tape from the USB cable.
4. Plug the flat end of the USB cable into an available USB port on the back of the computer.
5. Plug the square end of the USB cable into the output USB port on the back of the scanner.
If the plug does not attach easily, make sure that you are plugging it in correctly. Do not
force the plug into either connection.
 Loading...