Email Overview
You can use the Email app to scan images and attach them to emails. You can specify
the file name and format of the attachment, and include a subject heading and
message for the email.
Note: Before using Email, set up and configure the Email features on the
printer. For details, refer to the System Administrator Guide at www.xerox.com/
office/VLB71XXdocs.
You can adjust various settings for individual Email jobs and save settings as Presets for future jobs.
The list of features can be customized, and some features could be hidden from view when the app is
installed. To view all available features and to find out more about customizing the Email App, refer to
Customizing or Personalizing the Feature List.
For information about all the app features and available settings, refer to Apps Features.
Sending a Scanned Image in an Email
To send a scanned image in an email:
1. At the printer control panel, press the Home button.
2. To clear previous app settings, touch Reset.
3. Load your original documents.
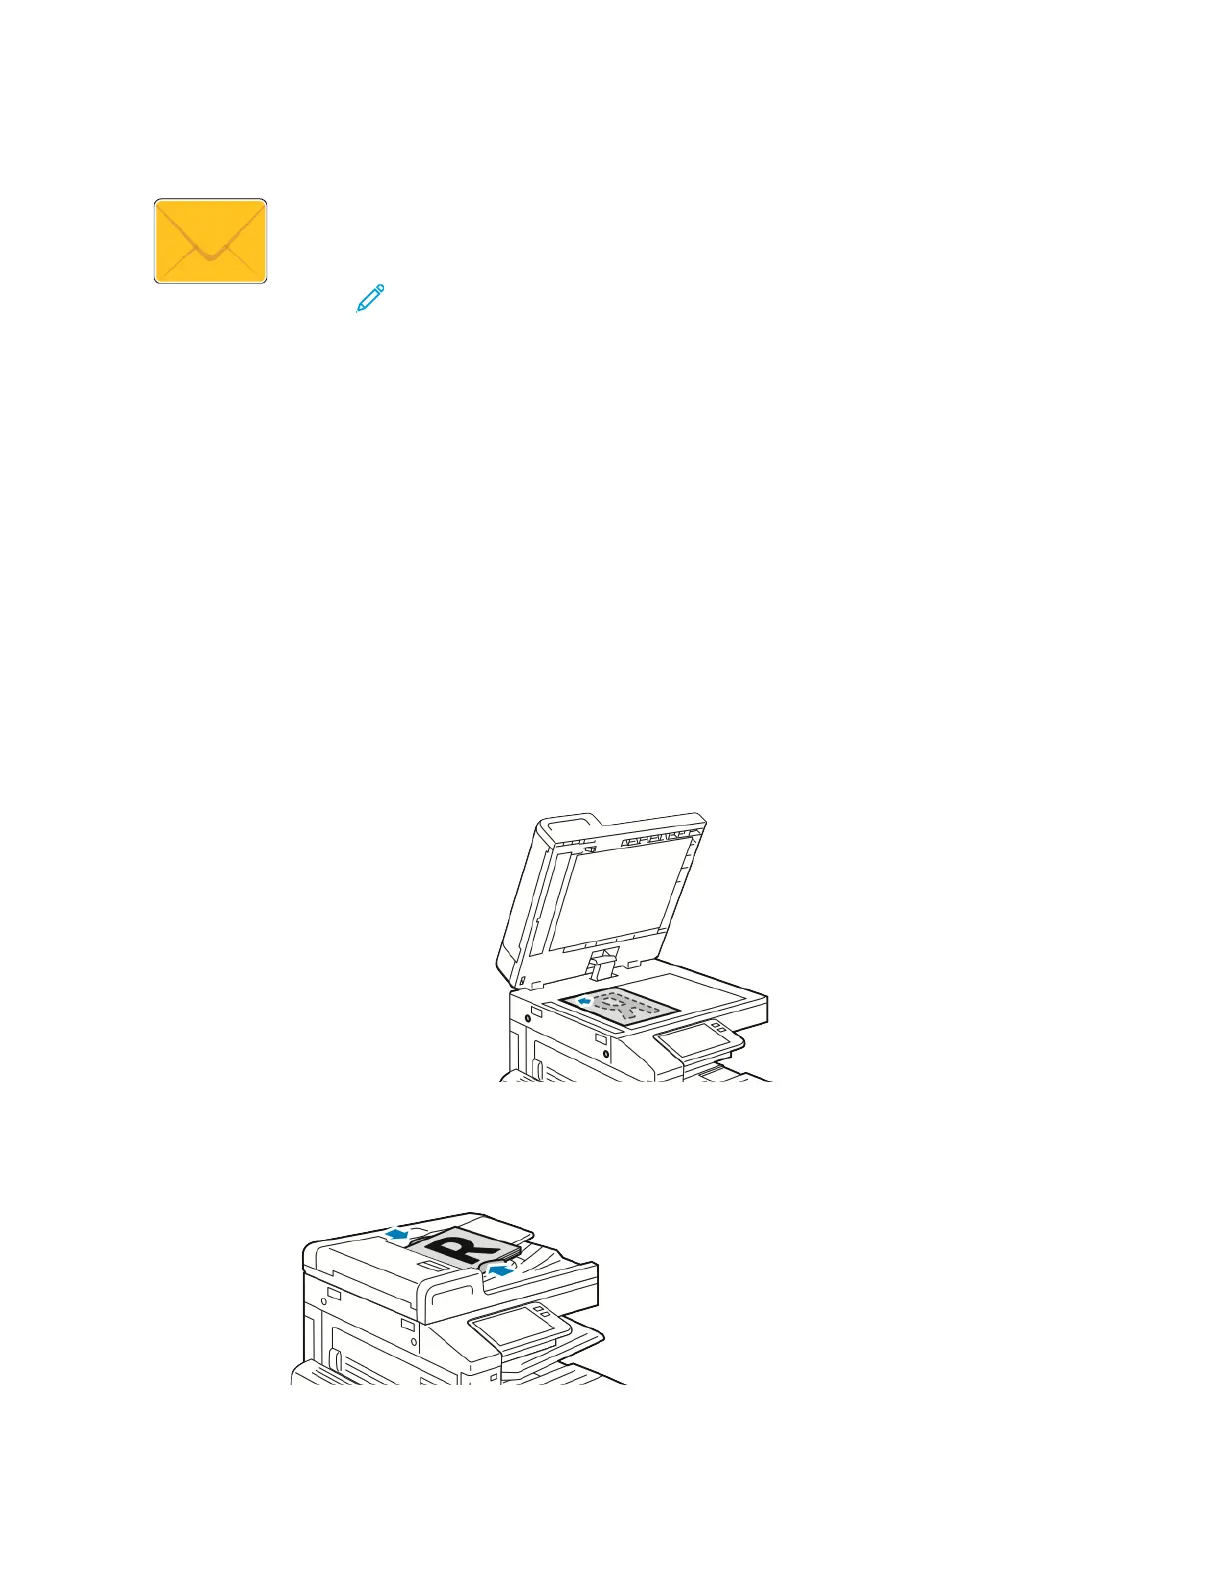
• For single pages or paper that cannot be fed using the single-pass duplex automatic
document feeder, use the document glass. Lift the automatic document feeder, then place
the original documents face down in the upper-left corner of the document glass.
• For multiple, single, or 2-sided pages, use the single-pass duplex automatic document feeder.
Remove any staples or paper clips from the pages. Insert the original documents face up in
the automatic document feeder, with the top of the page entering the feeder first. Adjust the
paper guides so that they fit against the document originals.
104
 Loading...


