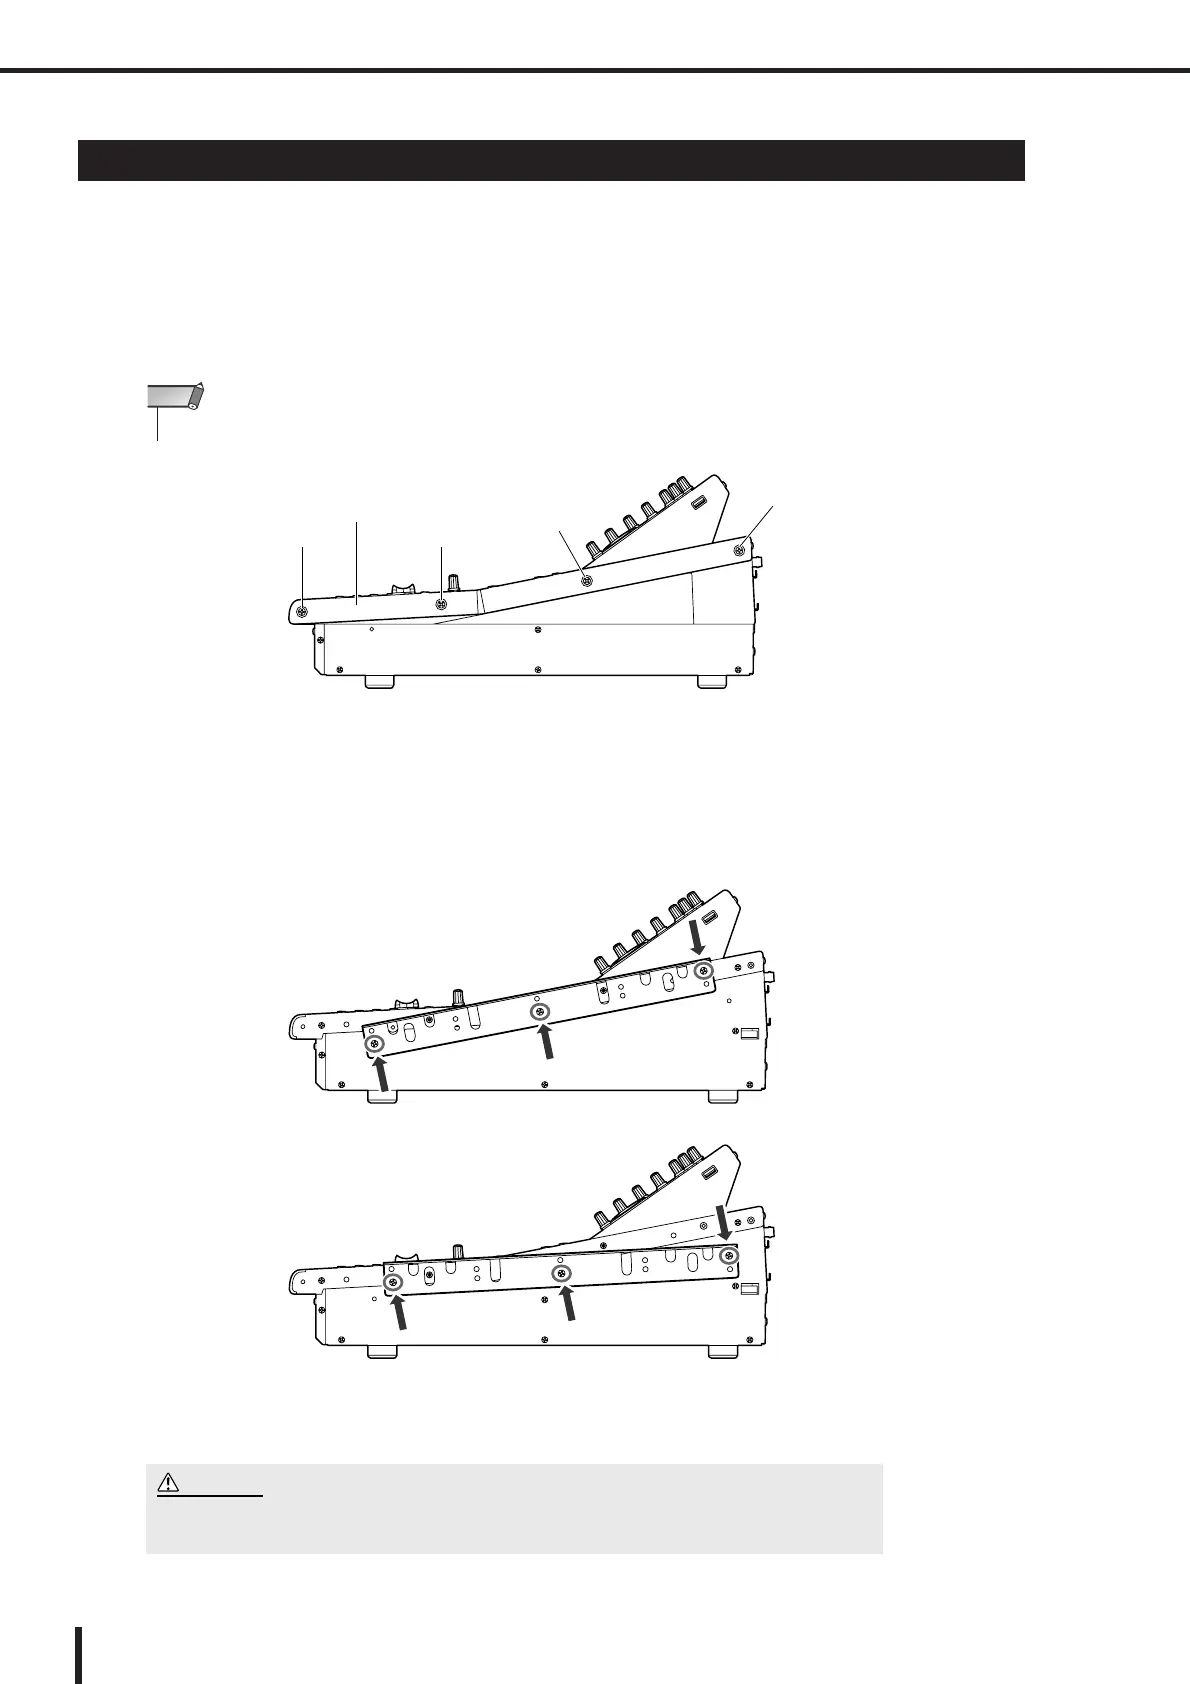
Attaching the RK1 rackmount kit (sold separately)
280
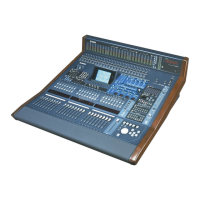
LS9-16/32 Owner’s Manual
You can attach the optional RK-1 rackmount kit to the LS9-16 or LS9-32 and mount it in a rack or an
installed system.
1
Make sure that the power is turned off.
2
Remove screws “A” and detach the side pads.
3
At the locations indicated by the arrows, tighten the screws to attach the rackmount hard-
ware.
The mixer can be attached at either of two angles, as shown in the following illustration.
4
Attach the hardware to the other side in the same way.
Attaching the RK1 rackmount kit (sold separately)
•Keep the side pad screws together with the pads you removed.
NOTE
Side pad
AA
A
A
• When attaching the RK1 rackmount kit, make sure that the power is turned off. You must use the screws
that are included with the RK1.
CAUTION
 Loading...