E-14
MONITOR OUT
When a disc is not loaded, you can use the monitor out
function to monitor the sound of the input source.
1 Press to remove the disc.
2 Press INPUT repeatedly to select the input
connected to the sound source you want to
monitor.
3 Press REC/PAUSE.
“Monitor Out” appears in the display.
Sound from the selected input will be output from this
unit’s analog and digital output terminals.
4 Start playing the sound source.
The sound is output from the MD recorder’s analog and
digital output terminals.
To cancel
Press &.
Notes
• This function is useful to monitor the sound of an external
digital component connected to the DIGITAL OPTICAL 2
IN jack.
• The digital volume can be adjusted when using the
monitor out function. However, please note that the digital
volume setting is restored to the default (0 dB) the next
time a recording is made.
1
32
/
STANDBY/ON
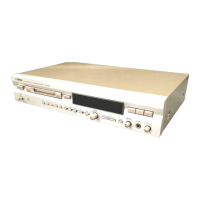
NATURAL SOUND MINIDISC RECORDER MDX-E100
INPUT
ANALOG DIGITAL
REC LEVEL
MIN MAX
REC/PAUSE
–
+
&
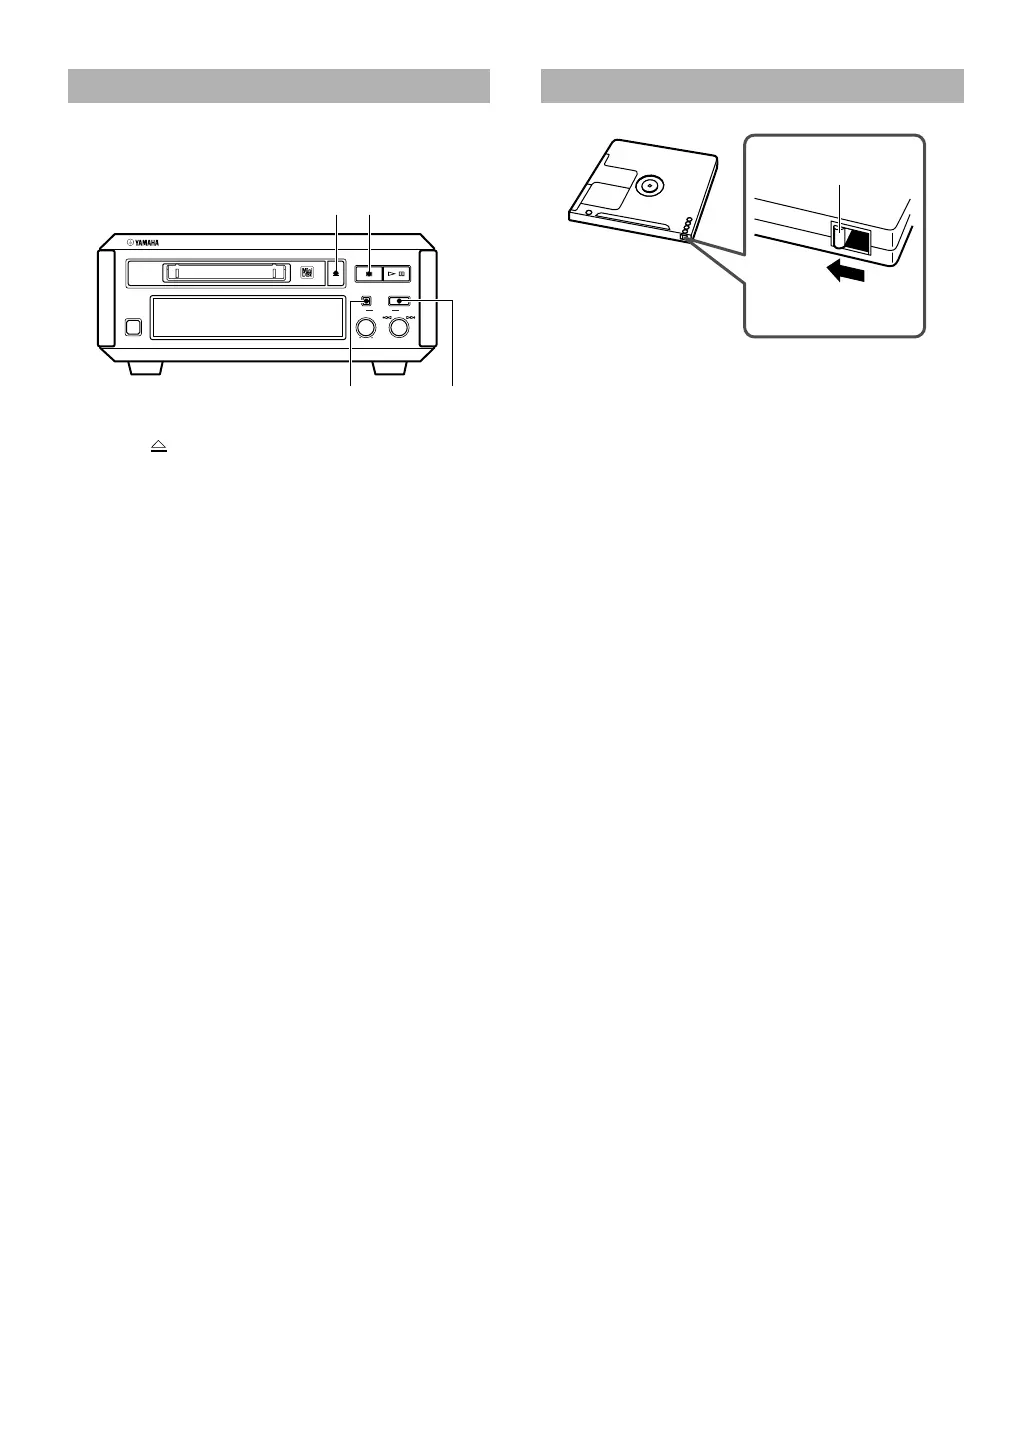
PROTECTING A RECORDED MD
Tab
Slide the tab to
open the slot.
• To protect a recorded MD, slide the tab on the side of
the MD to open the slot.
In this position, the MD cannot be used for recording,
editing, or titling. To record, edit, or title the MD,
slide the tab to close the slot.
• If the MD is protected against erasure, “Protected”
appears in the display.
 Loading...