EasyManua.ls Logo

Yamaha P-90 User Manual

Yamaha P-90
64 pages
To Next Page IconTo Next Page
To Previous Page IconTo Previous Page
Page #14 background imageLoading...
Page #14 background image
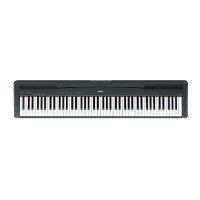
P-90 Listening to the Demonstration Tunes
ENGLISH
14
Listening to the Demonstration Tunes
Demonstration tunes are provided that effectively demonstrate each of the P-90’s voices.
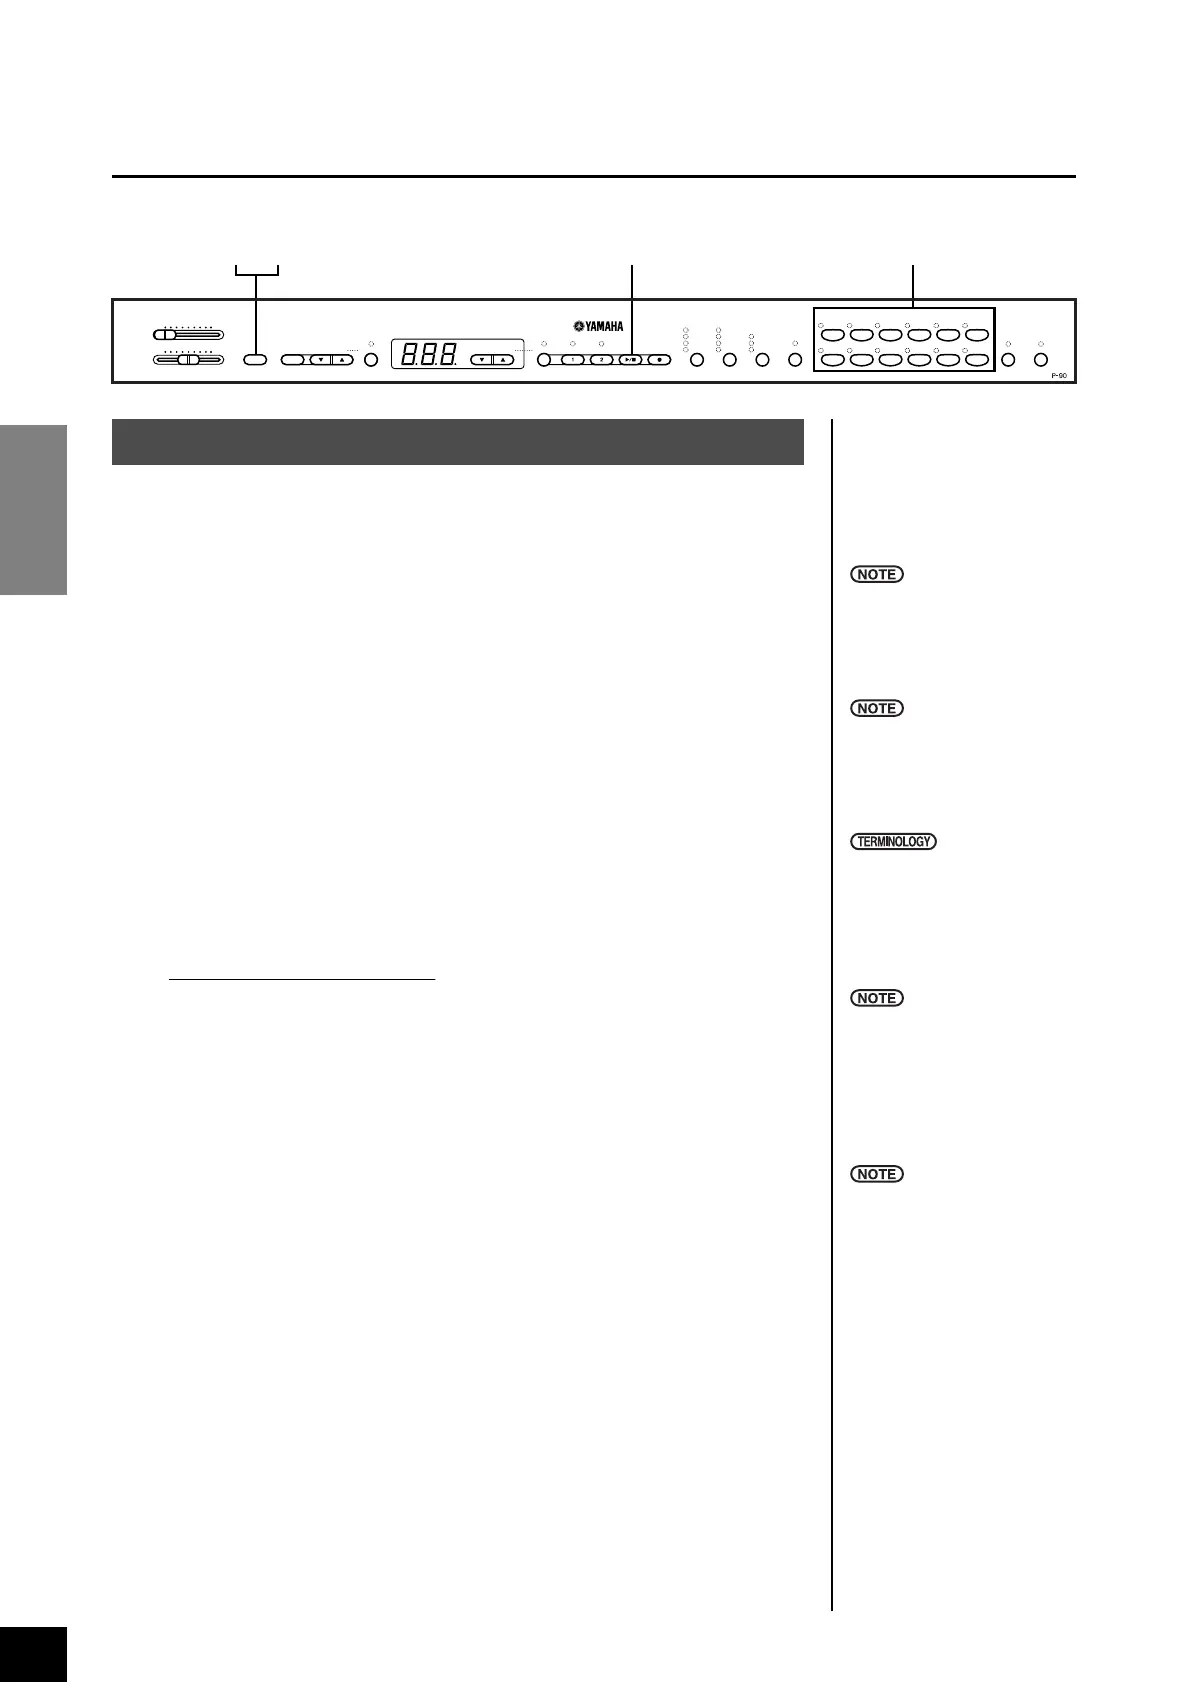
1. Turn the power on.
(In case the power is not turned ON) Press the [STANDBY/ON] switch.
When the power is turned ON, one of the voice button LEDs will light.
Initially set the [MASTER VOLUME] control about half way between the “MIN”
and “MAX” settings. Then, when you start playing, re-adjust the [MASTER
VOLUME]
control to the most comfortable listening level.
2. Engage Demo mode.
Press the [DEMO] button to engage Demo mode. The voice button indicators
will flash in sequence.
3. Play a Voice demo.
Press one of the voice buttons to start playback of all songs starting from the
corresponding voice demo tune — featuring the voice normally selected by that
voice button. (If you press the SONG [START/STOP] button instead of a voice
button, the [GRAND PIANO 1] demo tune will begin playback.)
Adjust the volume/brilliance
Use the [MASTER VOLUME] control to adjust the volume and the [BRIL-
LIANCE]
control to adjust the brilliance (page 20).
4. Stop the Voice demo.
Press the SONG [START/STOP] button or the voice button of the currently-
playing demo to stop playback.
5. Exit from Demo mode.
Press the [DEMO] button to exit from Demo mode and return to normal play
mode.
The voice button indicators will stop flashing in sequence.
3
425
MASTER VOLUME
MIN MAX
BRILLIANCE
MELLOW BRIGHT
DEMO
START/
STOP
TEMPO/
FUNCTION#
PRESET TRACK
GRAND
PIANO 1
GRAND
PIANO 2
VIBES/
GUITAR
CLAVI./
HARPSI.
E. PIANO
2
E. PIANO
1
CHURCH
ORGAN STRINGS CHOIR E.BASS
JAZZ
ORGAN
WOOD
BASS
ELECTRONIC PIANO
VARIATION SPLIT
VOICETRANSPOSEREVERBMETRONOME
TEMPO/ OTHER VALUE
SONG EFFECT TOUCH
ON
ROOM
HALL 1
HALL 2
STAGE
PHASER
CHORUS
TREMOLO
DELAY
HARD
MEDIUM
SOFT
FUNCTION
– / NO + / YES
REC
START/
STOP
Procedure
MIDI reception is not possible in
Demo Song mode.
Demo song data is not transmit-
ted via the MIDI connectors.
Demo mode cannot be
engaged while a user song
recorder (page 26) or user song
playback (page 30) is in use.
Mode:
A mode is a status under which
you can execute a certain func-
tion. In Demo mode, you can
play back demonstration tunes.
You cannot adjust the tempo of
demo songs.
You cannot use the part cancel
function (page 39) or the song
A–B repeat function (page 18)
in Demo mode.
You can demo the piano voices
with various effects by pressing
the [VARIATION] button, then
pressing the desired voice but-
ton. Refer to the “Piano Voice
Demo Description” on page 52
for the complete list of demo
sounds for the piano voices with
various effects.

Table of Contents

Questions and Answers:

Yamaha P-90 Specifications

General IconGeneral
BrandYamaha
ModelP-90
CategoryMusical Instrument
LanguageEnglish

Summary

Special Message Section

Battery Notice

Important information about battery usage, replacement, and disposal.

Disposal Notice

Instructions for product disposal according to local regulations.

Name Plate Location

Details on where to find model and serial number information.

Precautions

Warning and Caution Statements

Essential safety precautions and warnings to avoid injury or damage.

Accessories

Features Overview

Before Using the P-90

Music Rest Installation

Instructions for attaching the music rest to the instrument.

Connecting AC Power and External Equipment

Guide to connecting the power adapter and other devices.

Standby/On Switch

Details the power switch operation and its standby state.

Connectors for Audio and MIDI

Explains output, phones, sustain, MIDI, and host connectors.

Powering On and Adjusting Volume

Steps for turning on the instrument and setting the initial volume.

Control Panel Layout

Volume and Brilliance Controls

Adjusting overall volume and tone brightness.

Function and Mode Buttons

Explains control buttons for functions, demos, songs, and effects.

Listening to Demonstration Tunes

Listening to 50 Piano Preset Songs

Practicing a One-Hand Part

How to practice individual parts of preset songs using part cancel.

Synchro Start Function

Enables playback to start automatically when playing the keyboard.

A-B Repeat Function

How to repeat a specific phrase within a preset song for practice.

Selecting & Playing Voices

Selecting Individual Voices

How to choose and play different instrument sounds.

Adding Sound Variations: Brilliance and Reverb

Adjusting tone brightness and adding digital reverb effects.

Touch Sensitivity and Effects

Applying sound effects and adjusting keyboard response.

Transposition Function

Shifting the entire keyboard pitch up or down.

Combining Two Voices (Dual Mode)

Playing two voices simultaneously across the keyboard.

Splitting Keyboard Range (Split Mode)

Playing different voices with left and right hands.

Using the Metronome

Recording Your Performance

Recording to the First Track

Steps for recording onto the first track of the user song recorder.

Engaging Record Mode and Re-recording

How to start, stop, and re-record a track.

Recording to the Second Track

Steps for recording onto the second track of the user song recorder.

Changing Initial Song Settings

How to modify recorded settings like voice or tempo after recording.

Playing Back Recorded Songs

Useful Playback Functions

Features for track control and auto-playback synchronization.

Detailed Settings: Function Parameters

Basic Procedure in Function Mode

Step-by-step guide on how to use the instrument's functions.

Fine Tuning of the Pitch (F1)

Adjusting the instrument's pitch by small increments.

Selecting a Scale (F2)

Choosing different tuning scales like Equal Temperament or Pythagorean.

Dual Mode Functions (F3)

Adjusting settings for combining two voices.

Split Mode Functions (F4)

Customizing settings for playing different voices with left/right hands.

MIDI Functions (F8)

Configuring MIDI transmit/receive channels and local control.

Backup Functions

About MIDI

Connecting a Personal Computer

Serial Port Connection (TO HOST)

How to connect via the serial port using a serial cable.

MIDI Interface Connection

Connecting via MIDI interface and cables.

USB Interface Connection

Connecting via USB interface for computer communication.

Troubleshooting

Preset Voice List

Demo Song List

Preset Song List

Factory Setting List

MIDI Data Format

System Exclusive Messages (Yamaha MIDI Format)

Detailed system exclusive message formats for Yamaha MIDI.

System Exclusive Messages (XG Standard)

XG standard system exclusive messages and data formats.

System Exclusive Messages (Others)

Other system exclusive messages and MIDI tables.

MIDI Implementation Chart

Specifications

FCC Information (U.S.A.)

Related product manuals