Trouble Recovery
90
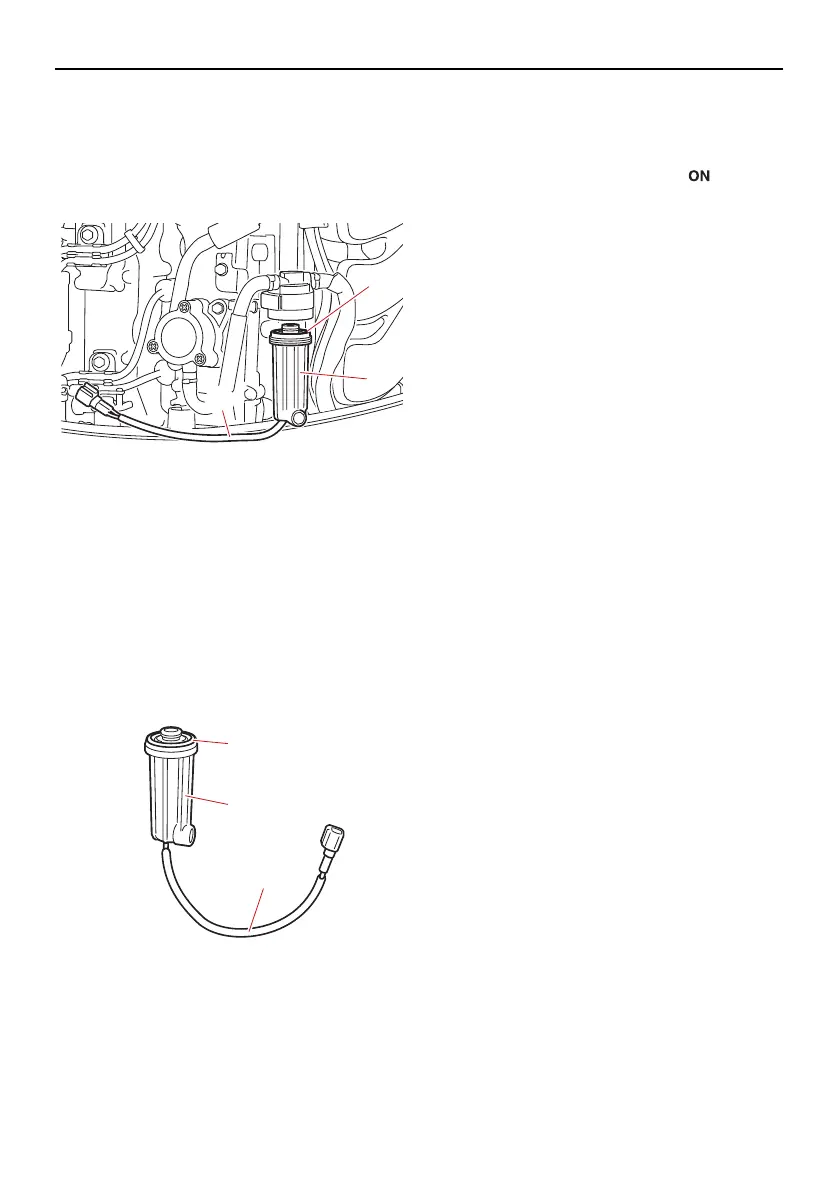
(6) Unscrew the filter cup, and then remove
the O-ring from the filter cup. NO TICE:
Be careful not to twist the water de-
tection switch lead when unscrewing
the filter cup.
[ECM01961]
(7) Drain the water in the filter cup by soak-
ing it up with a rag.
(8) Put the O-ring on the filter cup in its orig-
inal position, and then install the filter cup
onto the filter housing. NOTICE: Be
careful not to twist the water detec-
tion switch lead when screwing the fil-
ter cup onto the filter housing.
[ECM01971]
(9) Fit the fuel filter into its holder, and then
fasten the hoses with the hose holder.
(10) Install the cover.
(11) Connect the water detection switch cou-
pler securely until a click is heard.
(12) Install the top cowling.
(13) Turn the main switch to the “ ” (on) po-
sition and check that the water separa-
tor-alert indicator remains off and the
buzzer does not sound. If the water sep-
arator-alert indicator blinks or the buzzer
sounds, have your Yamaha dealer check
the outboard motor. NO TICE : Although
the buzzer will stop when the engine is
started and the remote control lever is
moved to the forward or reverse posi-
tion, do not use the outboard motor.
Otherwise, serious engine damage
could occur.
[ECM02391]
EMU33502
Treatment of submerged motor
If the outboard motor is submerged, immedi-
ately take it to a Yamaha dealer. Otherwise
some corrosion may begin almost immedi-
ately. NOTICE: Do not attempt to run the
outboard motor until it has been com-
pletely inspected.
[ECM00402]
1. O-ring
2. Filter cup
3. Water detection switch lead
1. O-ring
2. Filter cup
3. Water detection switch lead
U6FN36E0.book Page 90 Tuesday, November 30, 2021 8:08 AM
 Loading...