| Basic Settings of Teams Room Systems | 54
Controlling Camera
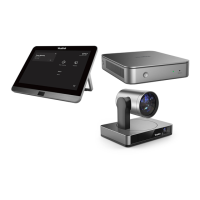
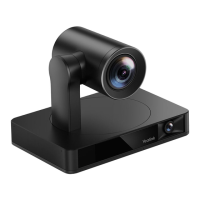
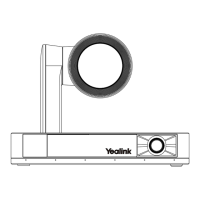
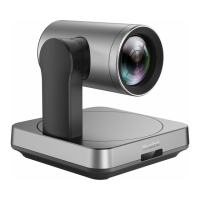
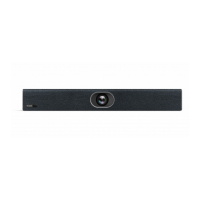
When UVC40/UVC30 Room camera is in manual control mode, you can pan or tilt the camera. For UVC80/
UVC50, you can pan or tilt the camera at any time.
Procedure
1.
Tap to go to the Camera Control page.
If you are in a meeting, tap > to go to the Camera Control page.
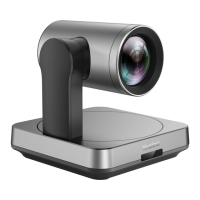
2. If you use MVC940/MVC900/MVC900
Ⅱ,
select the corresponding UVC84/UVC80 camera.
3.
Tap / to zoom in or zoom out the camera.
4. Press the navigation keys to pan or tilt the camera.
Note: The settings among the cameras of MVC940/MVC900/MVC900
Ⅱ
are independent of
each other. In other words, other cameras' settings remain unchanged, even though you change
the settings of one camera.
Related tasks
Enabling Manual Control Mode
Resetting the Camera to Home Position
When UVC40/UVC30 Room camera is in manual control mode, you can reset the camera to home
position. For UVC84/UVC80/UVC50, you can reset the camera to home position at any time.
Procedure
1.
Tap to page to the Camera Control page.
If you are in a meeting, tap > to go to the Camera Control page.
2. If you use MVC940/MVC900/MVC900
Ⅱ,
select the corresponding UVC84/UVC80 camera.
3. Tap Reset.
Note: The settings among the cameras of MVC940/MVC900/MVC900
Ⅱ
are independent of
each other. In other words, other cameras' settings remain unchanged, even though you change
the settings of one camera.
Related tasks
Enabling Manual Control Mode
Creating the Preset Position on the Yealink RoomConnect Plug-in
Presets are the pre-saved settings of both the angle and the focal length for the camera. You can use it to
quickly point a camera at a pre-defined location. Note that only the administrator has the permission to use
Yealink RoomConnect.
Procedure
1. Log in as an administrator.
2. Run Yealink RoomConnect.
3. Tap the camera and then select Preset Position.
4. If you use MVC940/MVC900/MVC900
Ⅱ,
select the corresponding UVC84/UVC80 camera.
5. Tap the navigation keys to pan or tilt the camera.
6.
Tap or to zoom in or out the camera.
 Loading...