5353649-UIM-A-0617
4
LIMITATIONS
These coils should be installed in accordance with all national and local
safety codes.
SECTION III: COIL METERING DEVICES
An orifice or a TXV to be installed in the field. Refer to installation man-
ual with TXV kit. It is recommended to install the orifice or TXV kit prior
to installation of coil in cabinet and brazing line sets.
Consult the outdoor installation guide for outdoor units that require an
orifice as a metering device for the indoor coil. The orifice and the
Schraeder core are supplied with the outdoor unit. Install Schraeder
core in the suction line Schraeder body and cap with the supplied plas-
tic cap.
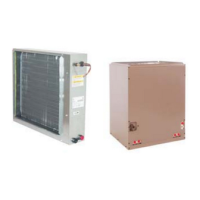
SECTION IV: COIL INSTALLATION
DUCT FLANGES
Four flanges are provided to attach ductwork to the coil. These flanges
are rotated down for shipment. In order to use the flanges, remove the
screw holding an individual flange, rotate the flange so it is in the
upward position and reinstall the screw then repeat this for all 4 flanges.
If the flanges are not used, they must remain in the down position as
shipped.
TABLE 4:
Coil Air Flow Limits
Coil
Size
Outdoor Unit
Tons
CFM Limits
Minimum Maximum
18 1-1/2 525 675
24
1-1/2 525 675
2 700 900
30, 32
2 700 900
2-1/2 875 1125
35
2-1/2 875 1125
3 1050 1200
36, 37, 38
2-1/2 875 1125
3 1050 1350
42
3 1050 1350
3-1/2 1225 1575
43
3 1050 1350
3-1/2 1225 1575
48, 49
3 1050 1350
3-1/2 1225 1575
4 1400 1800
60, 62, 64
4 1600 1800
5 1750 2250
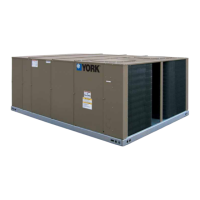
FIGURE 3: TXV Bulb Installation
Vapor
Line
Thermal
Expansion
Valve Bulb
Thermal
Expansion
Valve
Distributor
Body
Liquid
Line
TXV
Equalizer
Line
(Wrapped with
insulation)
FIGURE 4: Proper Bulb Location
CAUTION
COIL UNDER PRESSURE.
Relieve pressure by depressing schrader stem. Coil requires orifice
or TXV to be added. See outdoor unit documentation for correct ori-
fice or TXV to be used.
NOTICE
The coil should be open to the air for no more than 2 minutes to keep
moisture and contaminates from entering the system. If the coil can-
not be brazed into the refrigeration system in that time, the ends
should be temporarily closed or plugged. For a short term delay, use
masking tape over the ends of the copper tubing to close the tube to
the air. For a longer term delay, use plugs or caps. There is no need
to purge the coil if this procedure is followed.
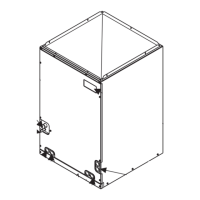
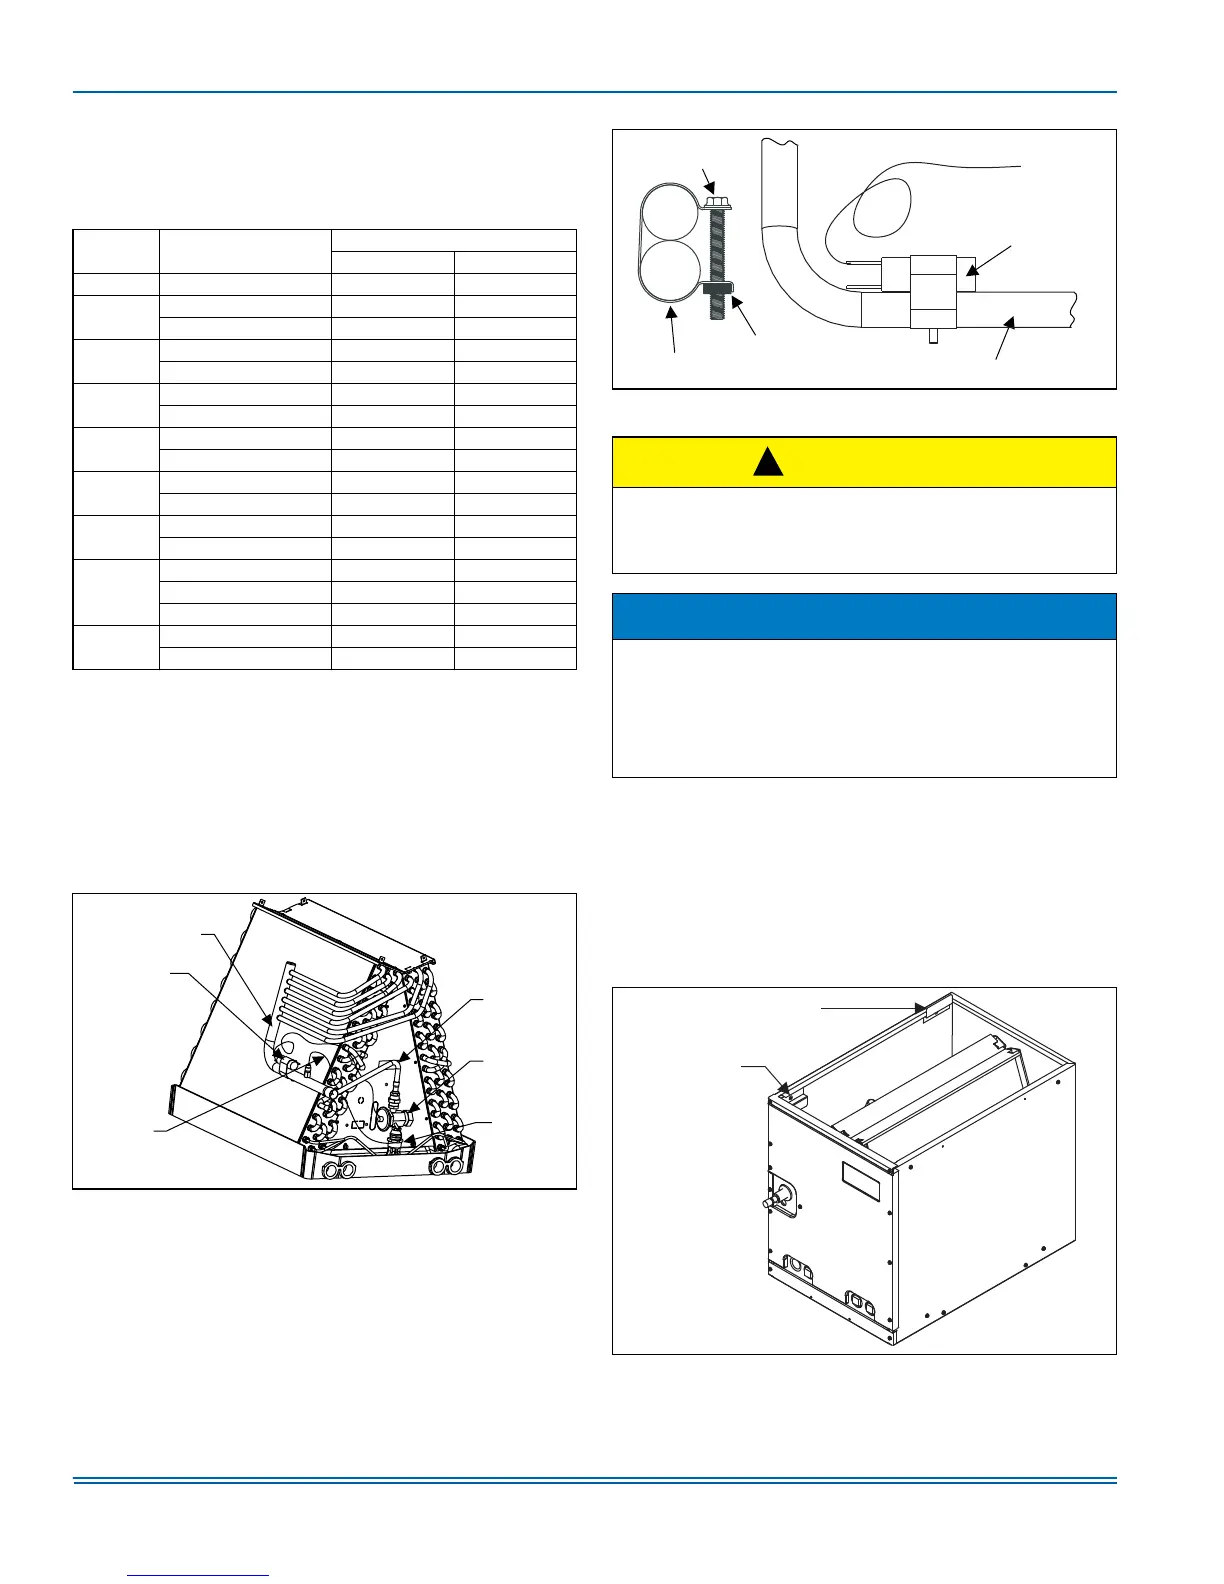
FIGURE 5: Duct Flanges - Coils FC/MC
TXV BULB
(Cover completely
with insulation)
SCREW
CLAMP
NUT
SUCTION LINE
!
DUCT ATTACHMENT
IF NEEDED
FACTORY
INSTALLED
 Loading...