AP3/30_AP3/50_AP3/80_AP3/100_Instructions. V1.01 Page 11 August / 2012
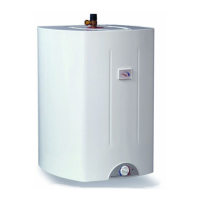
Whendecidingthenallocationoftheheaterconsiderationshouldbegiventothesafeand
visible disposal of any water resulting from leaks or seepage.
This is particularly relevant when the heater is located in a roof space, cupboard or any
concealed location. For guidance please ring Zip Heaters on 0845 602 4533.
Plumbing
1. The unit should be provided with a continuous cold water supply via 22mm pipework.
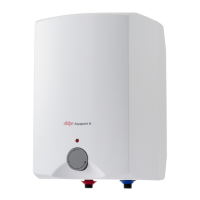
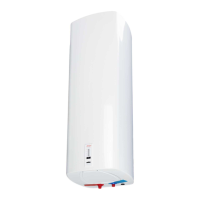
2. The water connections are 1/2” BSP at the bottom of the appliance. When viewed from
the front, the cold feed connection is to the right and colour coded blue, the hot outlet
from the heater is to the left and colour coded red.
3. Theinletandoutletpipestotheheatershouldbesealedusingbrewashers.Complete
the seal by applying PTFE tape to the threads, but do not over apply or extend beyond the
limits of the thread as this will lessen the effectiveness of the joint.
4. Anisolatingvalve(notsupplied)shouldbettedinthecoldwatersupplypipeworktothe
inlet manifold assembly to enable isolation of the water supply to the unit for servicing or
replacement.
5. Fit the inlet manifold assembly to the 22mm supply pipework with the valve caps facing
upwardsandinthecorrectdirectionofowasindicatedbythearrows.
6. The pressure gauge connection point on the cold inlet set assembly should be accessible
for connection of a pressure gauge if necessary.
7. ProvidesuitabledrainagefromtheExpansionreliefandTemperature&PressureRelief
Valves via the tundish using 15mm copper tube. Refer to installation requirements.
8. Connect the expansion vessel to the cold inlet set assembly take off (see page 6).
9. A balanced mains pressure cold water supply for a shower may be provided from the
connection provided on the cold inlet set, otherwise this should be blanked.
Note: This connection should not be used to supply cold taps.
10.Flushallpipeworkthoroughlybeforemakingthenalconnectionsfromthecoldsupply
to the manifold assembly to ensure that any debris is removed. Failure to do this may
result in irreparable damage to the controls and will invalidate the warranty.
11. Connect the hot water supply pipe to the outlet from the heater.
12. Connect the discharge pipe from the tundish. Refer to Installation Requirements.

 Loading...
