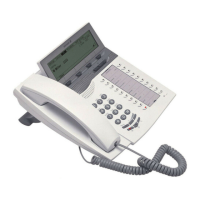
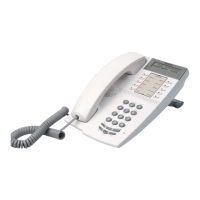
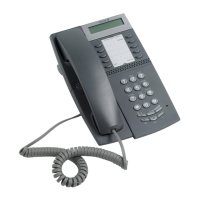
13MD Evolution – Dialog 4425 IP Vision
Your Extension’s Accessories
Installing Add-on Key Panels
You can install add-on key panels without any particular tools or
accessories.
These add-on key panels are connected using a rigid connector
designed to attach the first satellite to the underside of your
extension, and each subsequent satellite to the underside of the
previous one.
These modules are held in place by a tulip-shaped pin that is
inserted in the appropriate hole on the underside of your extension
or the previous satellite, as well as the plastic slots located along
the edge of your extension or satellite.
So, to install any satellite, simply follow the directions illustrated in
the following diagram:
• With your extension upside down, position the new satellite
along the edge of your extension or of a previous satellite.
• Press firmly on the bottom of the satellite in order to correctly
insert it onto your extension or of the previous satellite.
When removing a satellite, press firmly on the top of it in order to
disconnect the plastic connector and the tulip-shaped pin.
Just as with your extension, each satellite has a support foot that
can be installed and adjusted to one of two positions, according to
the angle you have set for your extension.
 Loading...
