Chapter 3 56
Disassembling the LCD Module
Removing the LCD Bezel
1. See “Removing the Battery” on page 50.
2. See “Removing the Middle Cover” on page 53.
3. See “Removing the Keyboard” on page 53.
4. See “Removing the Fan, the CPU Thermal Module and the CPU” on page 53.
5. See “Removing the Wireless LAN Card” on page 54.
6. See “Removing the LCD Module” on page 55.
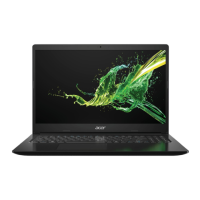
7. Detach the two rubber pads and the two screw pads.
8. Remove the four screws securing the LCD bezel.
9. Detach the LCD bezel carefully.
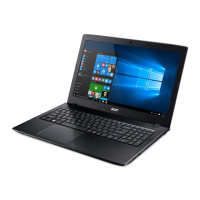
10. Remove the nine screws securing the LCD to the LCD panel.
11. Take out the LCD assembly from the LCD panel.
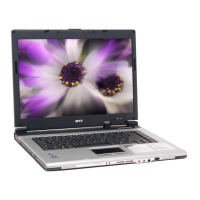
12. Disconnect the LCD inverter cable.
13. Discnnect the LCD inverter board.
14. Turn over the LCD.
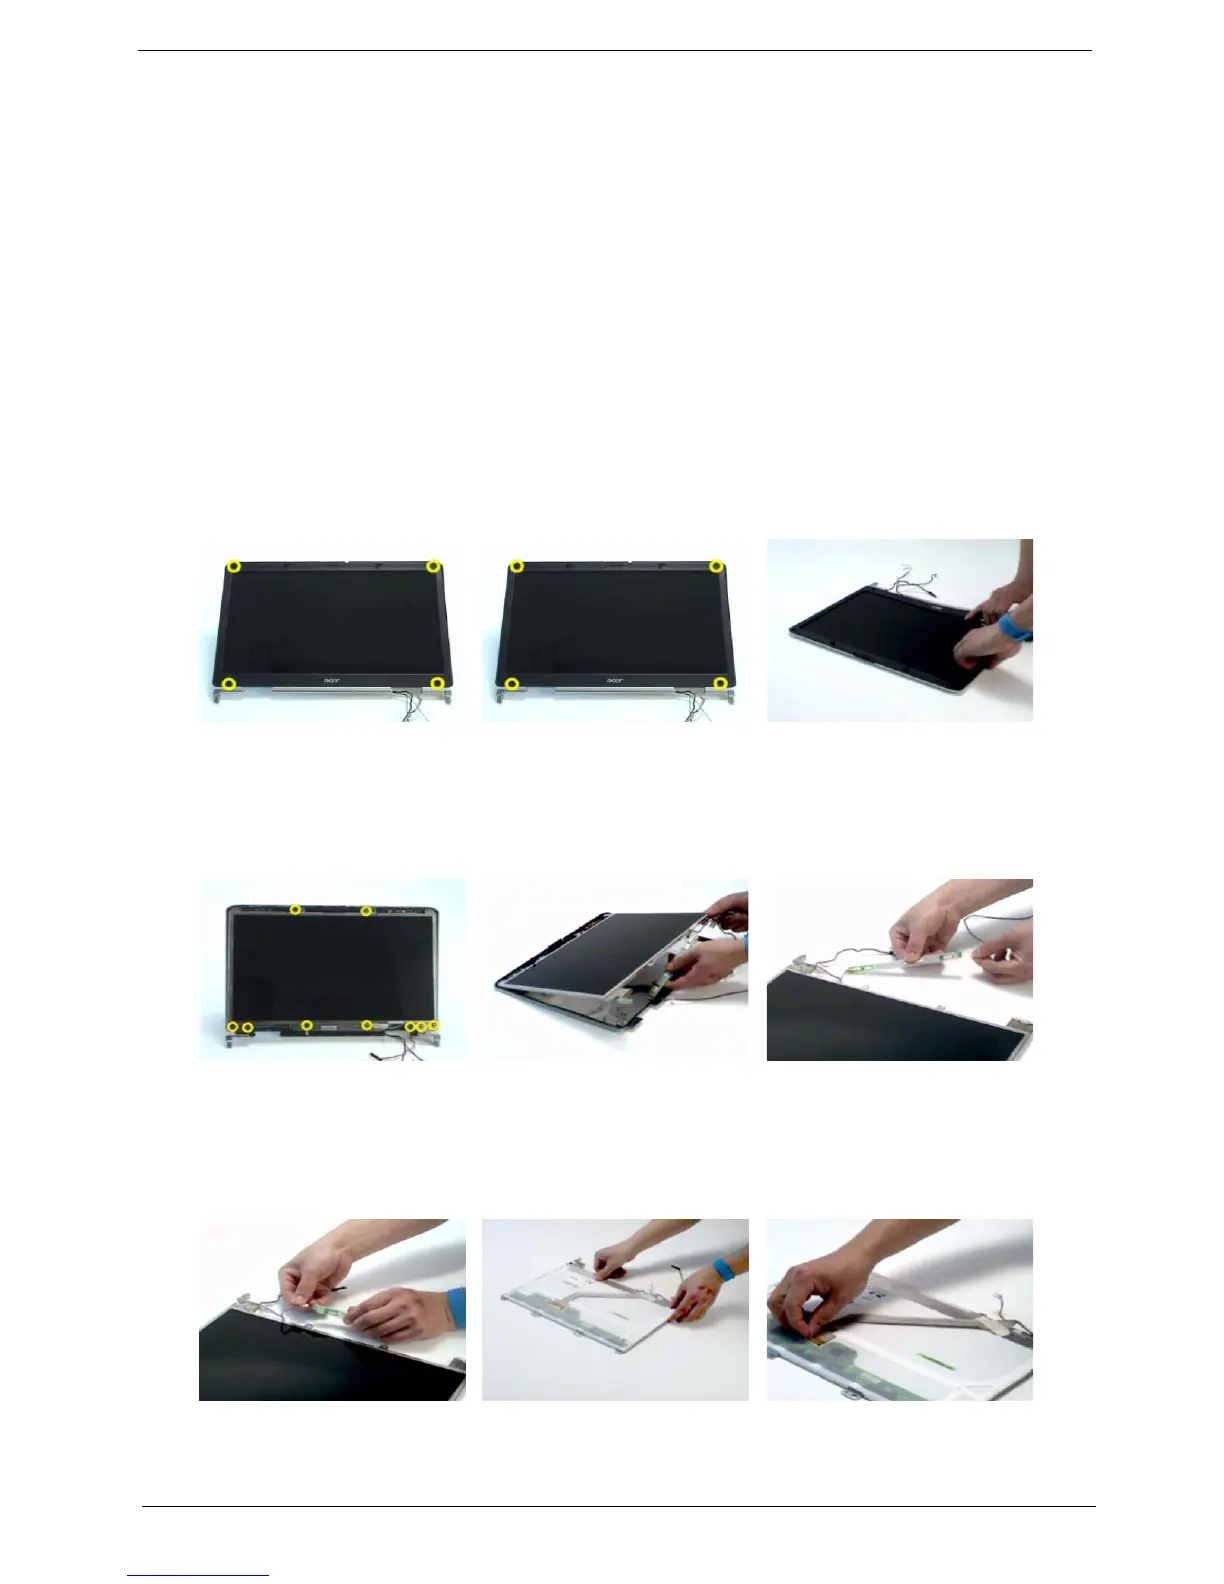
15. Disconnect the LCD cable.
16. Remove the four screws securing the right LCD bracket, then remove the right bracket.
17. Remove the four screws securing the left LCD bracket, then remove the left bracket.
 Loading...