 Loading...
Do you have a question about the Acer PH110 and is the answer not in the manual?
| Display Type | DLP |
|---|---|
| Projection Technology | DLP |
| Connectivity | HDMI, USB |
| Zoom Ratio | 1.1x |
| Keystone Correction | +/-40° (Vertical, Manual) |
Essential safety warnings and precautions for operating the projector to ensure user safety and device longevity.
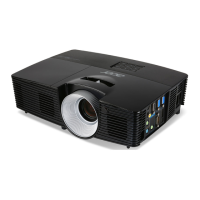
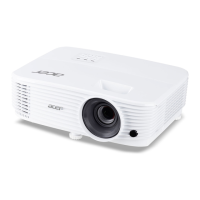
Lists the key technical specifications and outstanding features of the Acer projector.
Details the items included in the projector's package, ensuring completeness upon purchase.
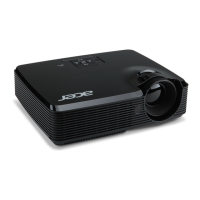
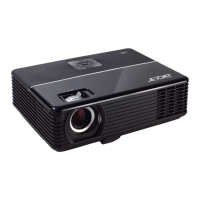
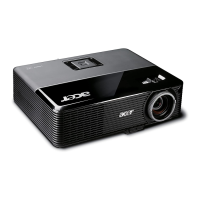
Identifies the main physical components and ports of the projector unit.
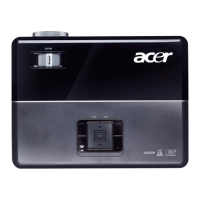
Describes the buttons and LED indicators located on the projector's physical control panel.
Explains the various input and output connectors on the projector for signal and power.
Explains the function of each button on the provided remote control for projector operation.
Illustrates how to connect different video sources and power to the projector.
Step-by-step guide for turning on the projector and initiating the display process.
Provides instructions for safely shutting down the projector, including cooling procedures.
Explains the meaning of the projector's indicator lights (Lamp, Temp) and associated warnings.
Details how to adjust the projector's height using the built-in elevator foot.
Guides users on manipulating the zoom and focus rings for image clarity.
Offers a chart correlating projection distance with desired screen sizes.
Introduces the two primary interfaces for controlling projector functions.
Explains specific functions controllable via the remote, such as Keystone, Hide, and Freeze.
Guides on navigating the projector's OSD menus for comprehensive settings adjustment.
Instructions for selecting the preferred language for the On-Screen Display.
Details how to adjust image color parameters like brightness, contrast, and temperature.
Covers image settings specific to computer inputs, including aspect ratio and keystone.
Explains image adjustments for video inputs, focusing on aspect ratio and sharpness.
Details how to manage volume and mute settings for audio output.
Covers system management functions like projection mode, source lock, and lamp hour tracking.
Instructions on how to customize or select the projector's default startup screen.
Provides solutions for common operational problems and display issues.
Explains the diagnostic meaning of various LED status indicators on the projector.
Details user notifications for lamp replacement and standby state triggers.
Describes conditions that cause the projector to enter standby mode, often related to environmental factors.
Step-by-step instructions for safely replacing the projector's lamp module.
Lists the detailed technical specifications, dimensions, and environmental requirements.
Outlines supported video modes, resolutions, and frequencies for optimal display.