114 Agilent U1251A/U1252A User’s and Service Guide
5 Maintenance
4 To test Fuse 2, place and touch the tip of the test probe
on the right half of input terminal . Ensure that the
probe tip touches the metal inside the input terminal.
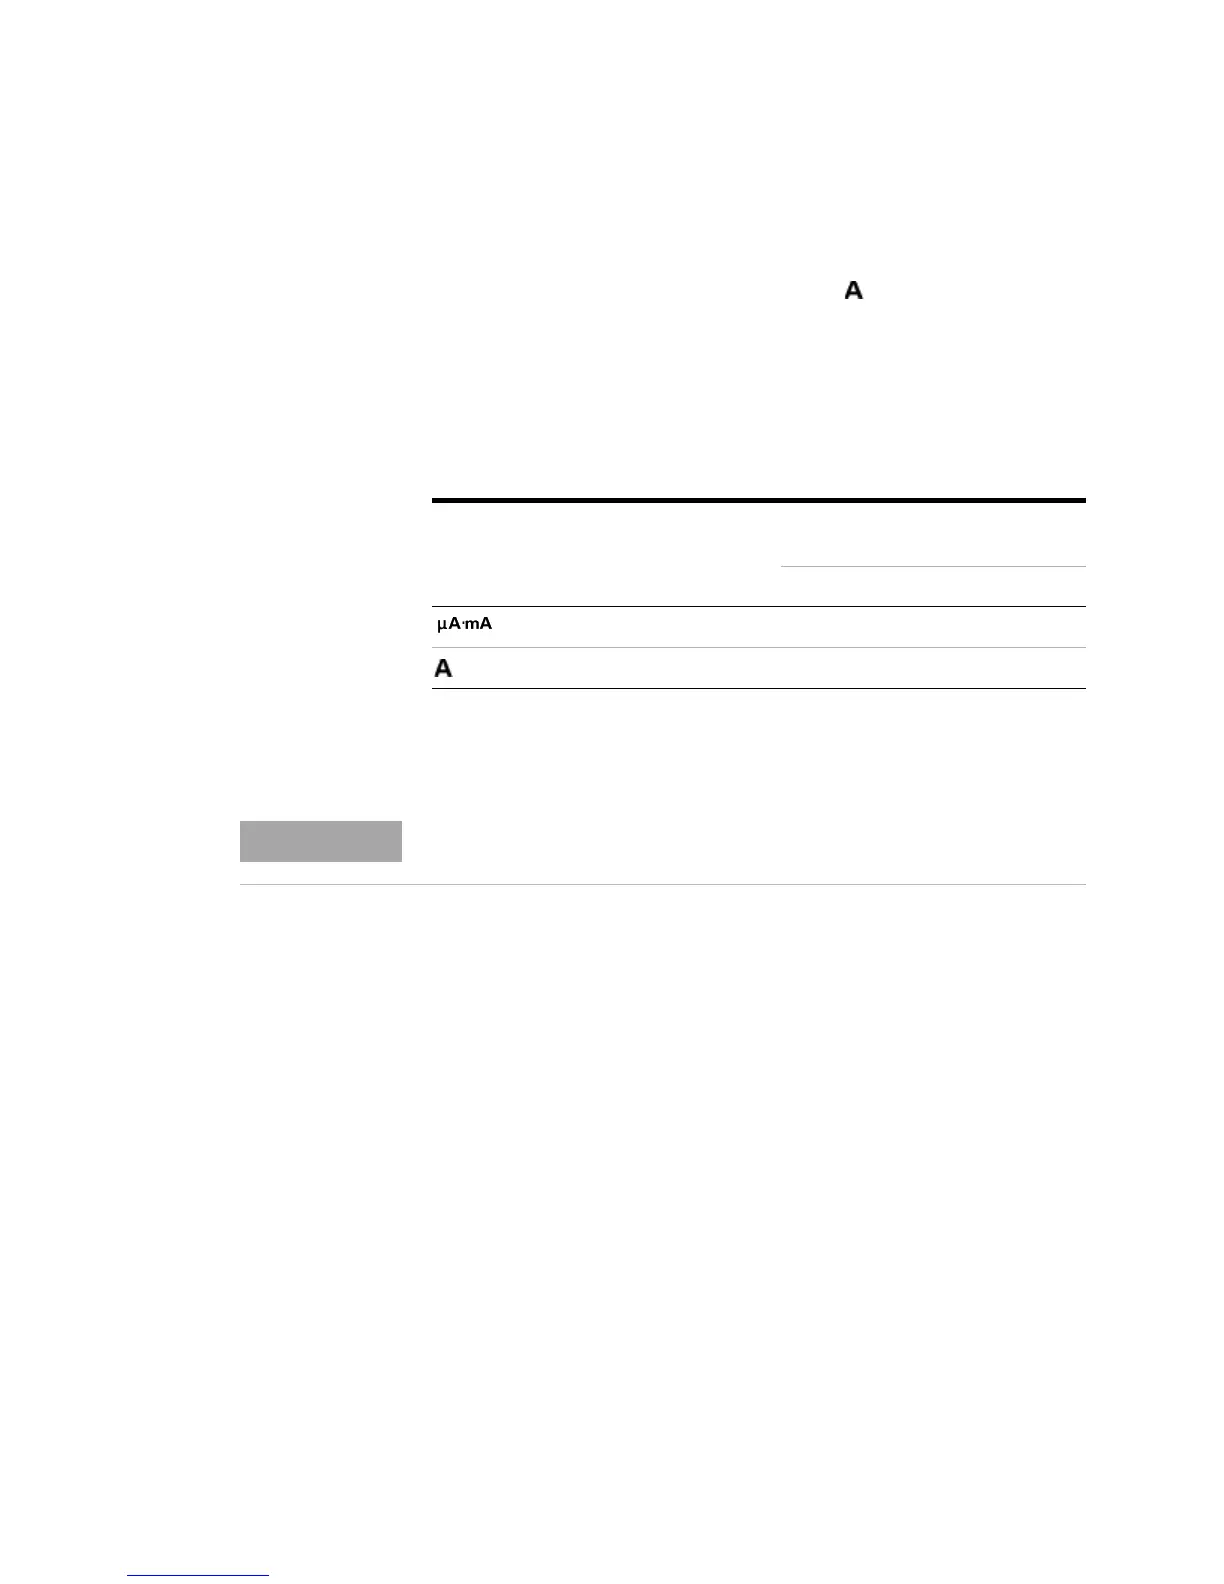
5 Observe the reading on the instrument's display. Refer to
the table below for the possible readings that could
appear).
6 Replace the fuse when OL is displayed.
Replacing the Fuse
Follow the procedures below to replace the fuse.
1 Turn the meter off and disconnect the test leads from the
external equipment. Make sure to remove the adaptor.
2 Wear clean/dry gloves and do not touch any other
component except the fuse and plastic parts. The current
calibration is considered shunt only, so do not recalibrate
the meter after replacing the fuse.
3 Remove the battery cover compartment to replace the
fuse.
4 Loosen the two screws on the bottom case and remove
the cover.
5 Loosen the two screws on the top corners to lift the
circuit board.
Current input
terminal
Fuse Fuse rating
Fuse OK
(approximately)
Replace fuse
Displayed readings
1 440 mA/1000 V 6.2 MΩ OL
2 11 A/1000 V 0.06 Ω OL
This manual provides only the fuse replacement procedures, but not the
fuse replacement markings.
 Loading...