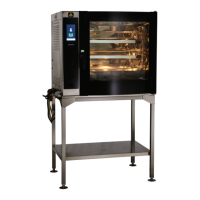
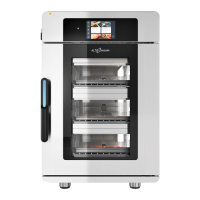
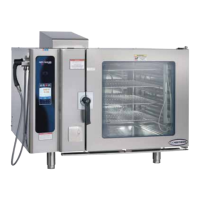
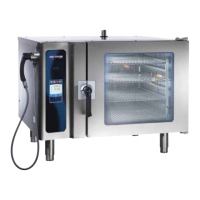
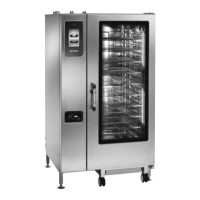
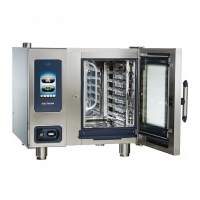
#6001 COMBITHERM ELECTRIC INSTALLATION AND MAINTENANCE MANUAL
PG. 13
CLEARANCES:
All clearances must conform with the standards set by Alto-Shaam as indicated in
the installation manual. Standards include a minimum 20” (50cm) clearance from
any heat-producing device such as an open burner range, flat top grille, fryer,
steamer, etc. Also make sure sufficient service access is provided on the left side
of the oven. There must be an allowance of free air access to all vents.
RIGHT SIDE CLEARANCE: ______________
LEFT SIDE CLEARANCE: ______________
REAR CLEARANCE: ______________
UPPER CLEARANCE: ______________
WATER SUPPLY AND DRAINS:
Verify hook-up to cold water supply with a
3
/
4
” (19mm) single water connection
supply line. Verify inlet water pressure is at a minimum of 30 PSI (2 bar) for electric
ovens. Maximum pressure is not to exceed 90 PSI (6 bar). Verify the installation of a
water filter and the installation of a water conditioner if water supply is over 10 grains
of hardness. Verify drain diameter of 1-
1
/
4
” (32mm) with a positive descending slope,
and with a 2” (51mm) air gap which is free of obstructions before connection to the site
drain. Verify
1
/
8
” (3,2mm) pitch to 10’ (305cm) of drain line. After pressure is
adjusted, seal screw with enamel such as nail polish.
WATER SUPPLY LINE DIA: ______________
COLD WATER:
■■ YES ■■ NO
WATER INLET PRESSURE: ______________
DRAIN LINE DIA: ______________
2” (51mm) AIR GAP:
■■ YES ■■ NO
ELECTRICAL CONNECTIONS:
Verify electrical power requirements
for oven. Verify voltage at terminal
block. Verify correct power cable
size. Verify equipment disconnect per NEC or applicable local
codes. Motor direction should correspond with the direction of
the arrow on the motor. Verify clockwise motor rotation from
the rear of the motor. Check all terminals for tightness.
LINE VOLTAGE AT TERMINAL BLOCK (TO GROUND):
➥ LINE 1: _________ LINE 2:_________ LINE 3: _________
LINE VOLTAGE (
PHASE TO PHASE): LINE 1 to 2: __________
LINE 2 to 3: __________
LINE 3 to 1: __________
ELECTRICAL SUPPLY LINE SIZE: ______________
CORRECT MOTOR ROTATION:
■■ YES ■■ NO
ALL ELECTRICAL TERMINALS TIGHT:
■■ YES ■■ NO
VO LTAGE: ______________
PHASE: ______________
CONTROL BOARD CONNECTIONS & OPERATION:
Verify all control board connections are tight including tightness
and proper connection of ribbon/computer cables. Verify all
buttons and lights illuminate. With the Power Key
OFF, press and
hold the Chef Function Key to access software version, and record.
Verify all functions operate.
ALL BOARD CONNECTIONS TIGHT: ■■ YES ■■ NO
ALL FUNCTIONS LIGHT UP: ■■ YES ■■ NO
ALL FUNCTIONS OPERATE:
■■ YES ■■ NO
SOFTWARE VERSION:
BM_____________ SM_____________ KM_____________
PHYSICAL CONDITION: ✔
Bottom of oven has been checked for damage due to improper positioning on site. . . . . . . . . . . . . . . . . . . . . . . . . . . . . . . .■■
Verify all gaskets, hoses, and carts are in place and function properly. . . . . . . . . . . . . . . . . . . . . . . . . . . . . . . . . . . . . . . . .■■
If oven includes a cart, verify proper installation of the rack guide. . . . . . . . . . . . . . . . . . . . . . . . . . . . . . . . . . . . . . . . . . . .■■
Verify the installation of drip pans, racks, shelves, drain screen, spray hose. . . . . . . . . . . . . . . . . . . . . . . . . . . . . . . . . . . .■■
Verify the oven is level and installed on a solid, water resistant floor. . . . . . . . . . . . . . . . . . . . . . . . . . . . . . . . . . . . . . . . . .■■
SERVICE AGENCY:_____________________________________ START-UP DATE: _____________________________________
INSTALLATION NAME:_________________________________
SIGNATURE
:
___________________________________________ SIGNATURE
:
_________________________________________
CUSTOMER
TECH
ELECTRIC COMBITHERM INSTALLATION CHECKLIST
Use this list as a final check of oven installation conformance. Damage directly attributed to
improper set up, installation, or cleaning can invalidate warranty claims.
 Loading...
