DIP Switch Configuration
16
PRO-DP8 Decor 8-Button Wall Panel
Using Switches 1, 2 and 3 to Set Button Offset Values
The default setting for the DIP switch is all off. Thus, by default, there is no offset assigned to the
panel pushbuttons (1-8). Use DIP switches 1-3 to set offsets by factors of four, as shown in the
following table.
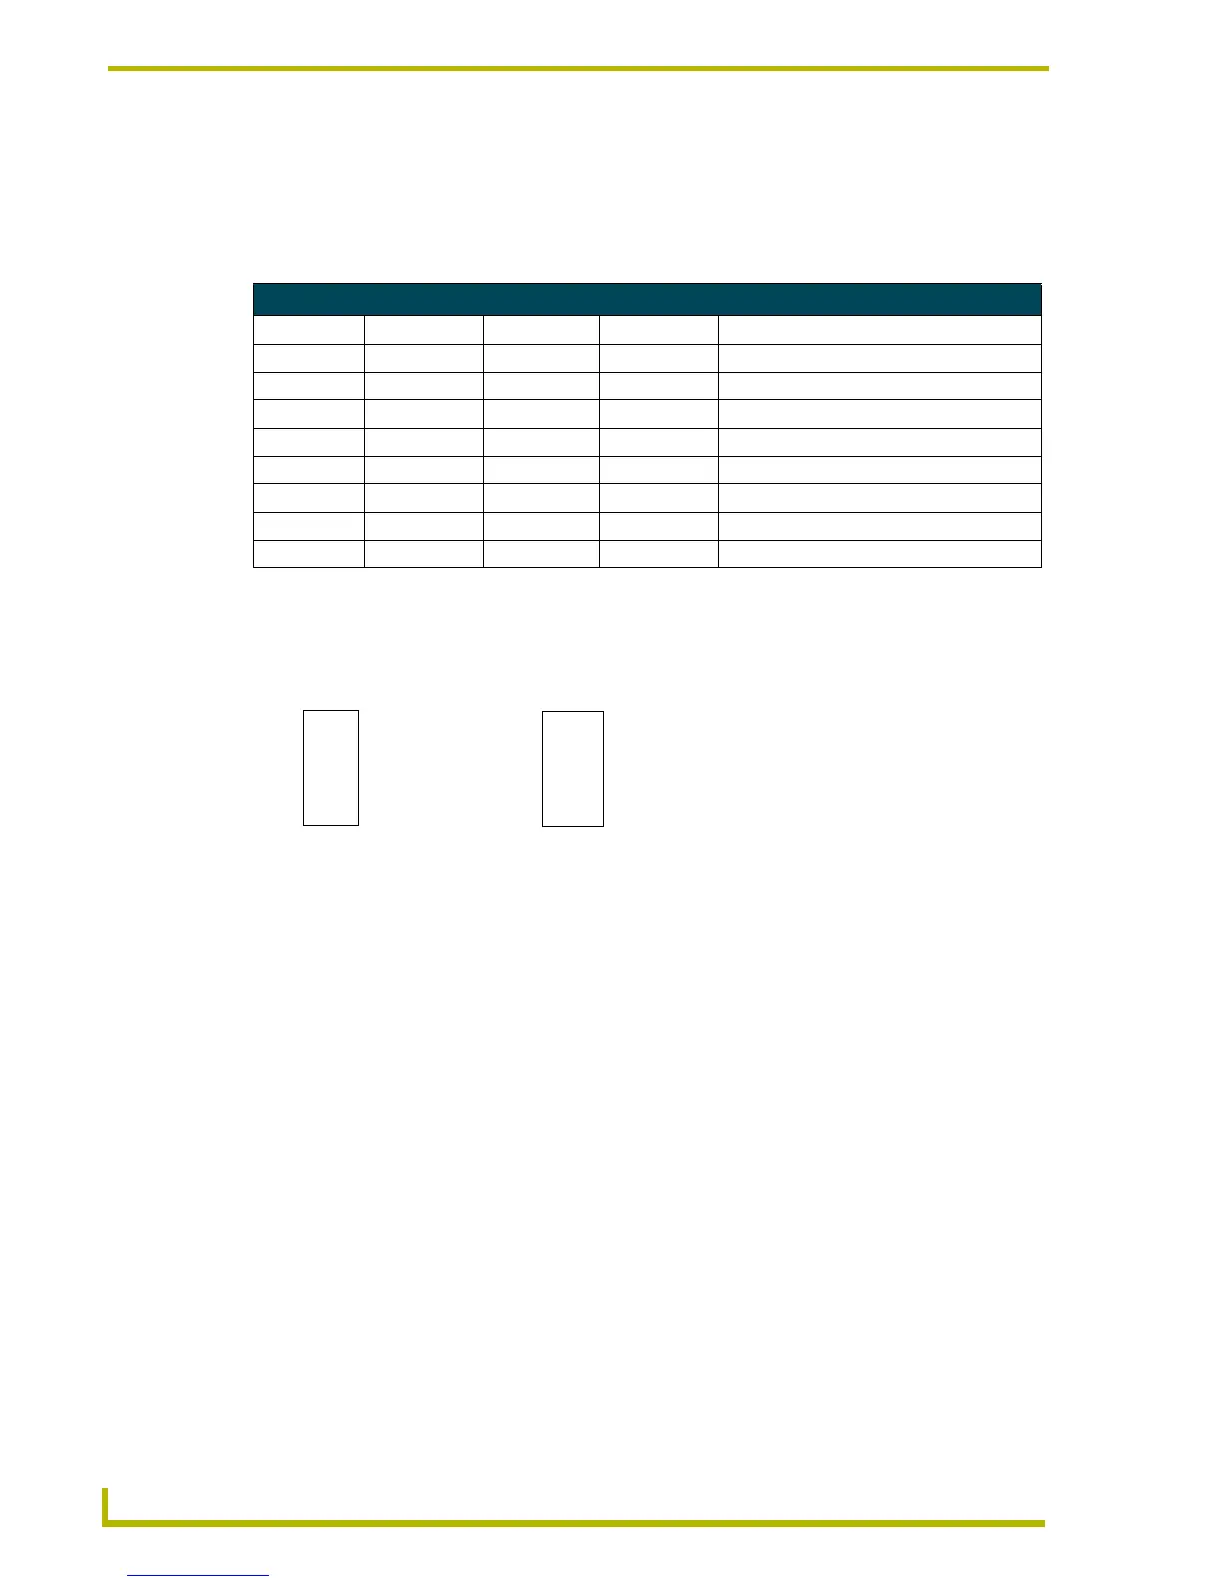
FIG. 1 is an example of how the Preset Offset can be used to change the value associated with a
Preset.
Using Switches 4 and 5 to Specify Which Pack(s) to Control
Switches 4 and 5 on the PROlink DIP switch (SW2, located on the dimmer control/Integrated
Dimmer Modules) determine which pack the PRO-DP8 communicates with. The PRO-DP8
controls up to three Packs, consisting of either Dimmer Control Cards and/or Integrated Dimmer
Modules, within a Radia Lighting system. These Pack numbers can correspond to an Integrated
Dimmer Module (like the RDD-DM4 or RDD-DM6) that is connected to the PRO-DP8 via a
PROlink cable that provides both power and communication between the two devices.
These switches allow for the selection of six or 12 channels. To access two available dimmer Packs,
you must set the PROlink DIP switches on each of the dimmer Packs to different values. The
PRO-DP8 can connect to dimmer Packs 1, 2, and 3. Set the PROlink Pack numbers that are
controlled by the individual PRO-DP8s by changing the position of DIP switches 4 and 5 to the
values indicated in the following table.
Preset Offsets Chart (for DIP Switches 1, 2, and 3)
Preset Offset DIP switch 1 DIP switch 2 DIP switch 3 Result
0 Off Off Off Pushbuttons = 1-8 (no offset - default)
4 On Off Off Pushbuttons = 5-12
8 Off On Off Pushbuttons = 9-16
12 On On Off Pushbuttons = 13-20
16 Off Off On Pushbuttons = 17-24
32 On Off On Pushbuttons = 33-40
48 Off On On Pushbuttons = 49-56
64 On On On Pushbuttons = 65-72
FIG. 1 Sample DIP switch Preset Offset
15
26
37
4 8
913
10 14
11 15
12
16
DIP switch 2 On, all others Off
DIP switches 1 - 8 Off
Preset values are now offset by 8

 Loading...