C139603300_2.fm
- 13 -
IT
AUS
DE
FR
ES
INSTALLATION OF THE APPLIANCE
All installation stages must be considered right from
production of the general layout. Before starting
these stages, as well as deciding the place of instal-
lation, if necessary, the person authorised to carry
out these operations must organise a "safety plan" to
protect the people directly involved, and he must
also ensure strict compliance with all legal require-
ments, especially those relating to mobile work-
sites.
The place of installation must have all the connections
needed to supply the appliance and dispose of the
production residues, must be suitably lit and must
meet all legal health and hygiene requirements to pre-
vent the contamination of the foods.
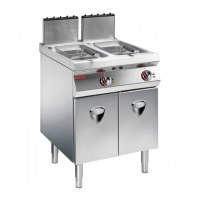
If necessary, fix the exact position of each individual
appliance or subassembly by mark coordinates to lo-
cate them correctly. Always fit the stainless steel flue
deflector supplied (See fitting instructions pag.14)
and leave a minimum clearance of 5 cm from the rear
of the appliance to the wall except if the wall,the inter-
nal structure and its coating is non-combustible. If any
internal part of the wall is made from a combustible
material, leave a 5 cm gap regardless of the external
cladding on the wall.
INSTALLATION OF DISMANTLED PARTS
The appliance is delivered with some components
dismantled and they have to be fitted during installa-
tion. Specifically, the floor-mounted feet must be fit-
ted (A).
LEVELLING
Adjust the floor-mounted feet (A) to level the appli-
ance.
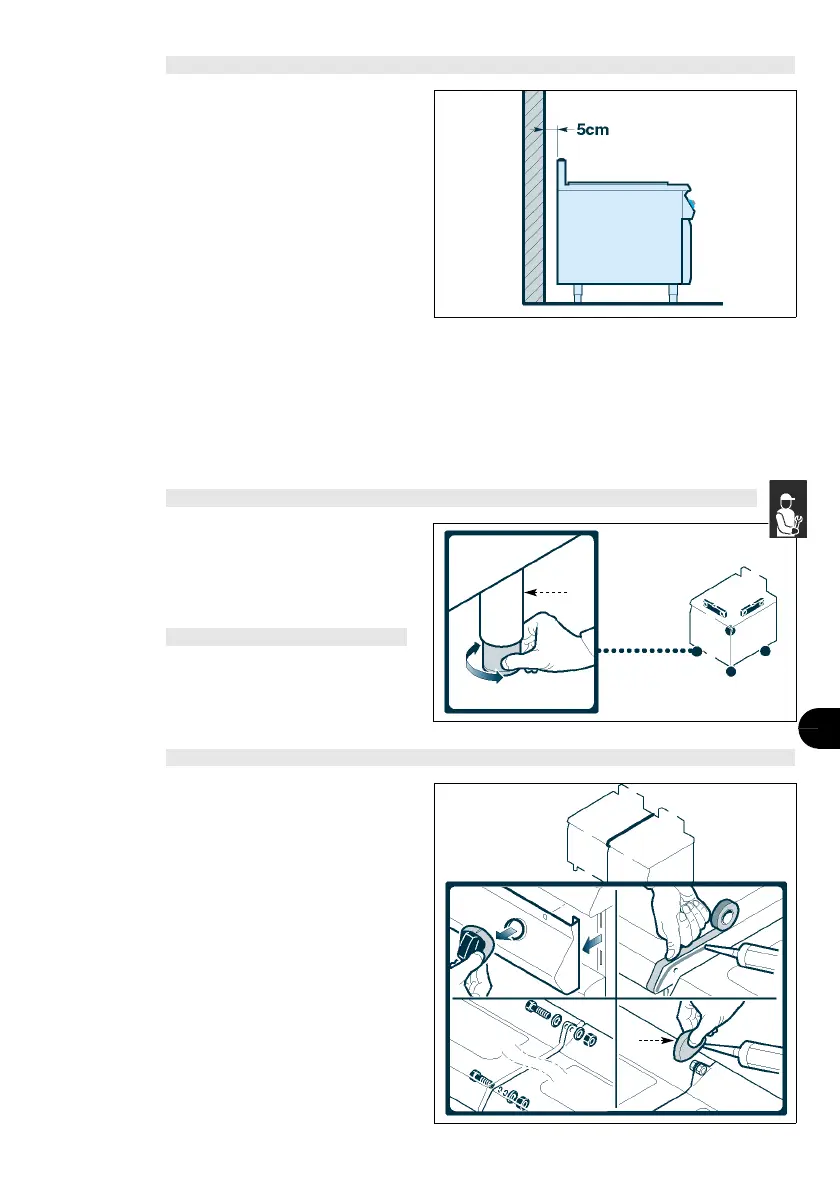
ASSEMBLING APPLIANCES IN BANKS
To assemble appliances in banks (side by side) pro-
ceed as described below.
1 - Remove the control panels.
2 - Apply masking tape to the edges to be placed side
by side.
3 - Apply food-approved sealant to the edges to be
placed side by side.
4 - Place the appliances alongside each other and
level them (see “Levelling”).
5 - Connect the appliances with the fixing devices.
6 - Remove the excess sealant and the masking
tape.
7 - Apply the sealant to the inside of the lid (A), and fit
it to cover the fixing zone.
IDM-39603311200.tif
IDM-39 60200220 .tif
A
A
IDM-39 60200320 .tif

 Loading...