 Loading...
Do you have a question about the Asus P9X79 PRO and is the answer not in the manual?
| Non-ECC | Yes |
|---|---|
| Memory channels | Quad-channel |
| Number of memory slots | 8 |
| Supported memory types | DDR3-SDRAM |
| Maximum internal memory | 64 GB |
| Supported memory clock speeds | 1066, 1333, 1600, 1866, 2133, 2400 MHz |
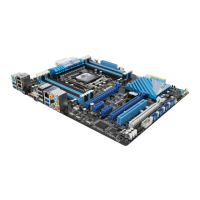
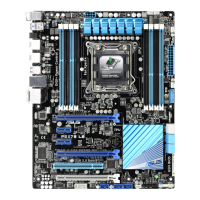
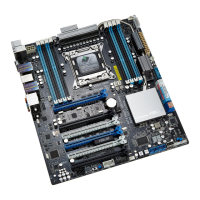
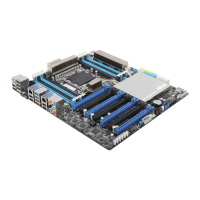
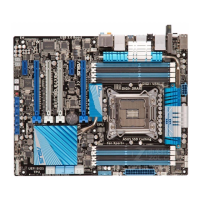
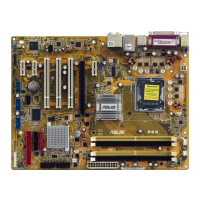
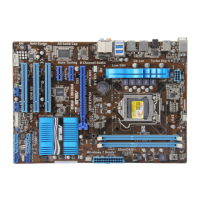
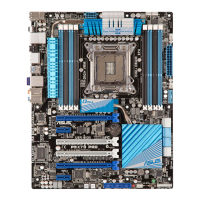
| Processor socket | LGA 2011 (Socket R) |
| Processor manufacturer | Intel |
| Compatible processor series | Intel Core i7, Intel Core i7 Extreme Edition |
| USB 2.0 connectors | 3 |
| Number of Parallel ATA connectors | 0 |
| USB 3.2 Gen 1 (3.1 Gen 1) connectors | 1 |
| BIOS type | UEFI |
| ACPI version | 2.0a |
| BIOS memory size | 64 Mbit |
| eSATA ports quantity | 2 |
| USB 2.0 ports quantity | 6 |
| Audio chip | Realtek ALC898 |
| Component for | PC |
| Audio output channels | 7.1 channels |
| Motherboard form factor | ATX |
| RAID levels | 0, 1, 5, 10 |
| Supported storage drive interfaces | SATA II, SATA III |
| Cables included | SATA |
| On-board graphics card | No |
| Parallel processing technology support | 3-Way SLI, Quad-GPU CrossFireX |
| LAN controller | Intel® 82579V |
| Bluetooth version | 2.1+EDR |
| Ethernet interface type | Gigabit Ethernet |
| Controller interface type | SATA 6Gb/s |
| Controller 2nd interface type | SATA 3Gb/s |
| Depth | 244 mm |
|---|---|
| Width | 305 mm |
Precautions to take before installing components or changing settings.
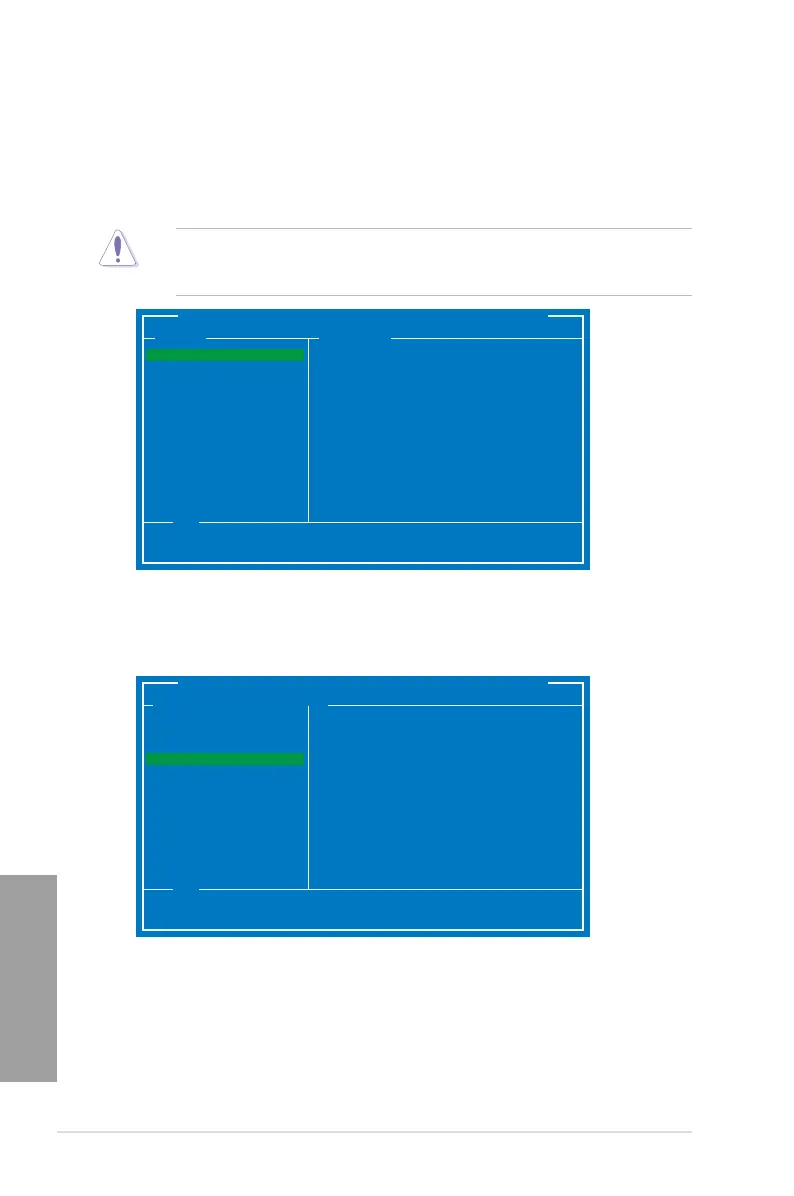
Configuration options for CPU and DRAM overclocking settings.
Advanced system settings for CPU, PCH, SATA, USB, and onboard devices.
Procedures for updating the motherboard's BIOS using various utilities.
Details on ASUS utilities like AI Suite II, TurboV EVO, DIGI+ Power Control.
Requirements and steps for installing and enabling AMD CrossFireX.
Requirements and steps for installing and enabling NVIDIA SLI.
Guidelines for preventing electrical shock hazards during system handling.
Precautions for safe operation and handling of motherboard components.