Replacing the drive belts for GX 7 and GX 11
Step Action
The belts (3) must be replaced as a set, even if only one of the belts is worn. Only use
genuine Atlas Copco belts.
1 Stop the compressor, close the air outlet valve and switch off the voltage.
2 Remove the front door, the internal panel, the top cover, the pulley protection and the left
side panel.
3 Loosen the 4 bolts (2) by one turn.
4 Release the belt tension by loosening tensioning nut (1).
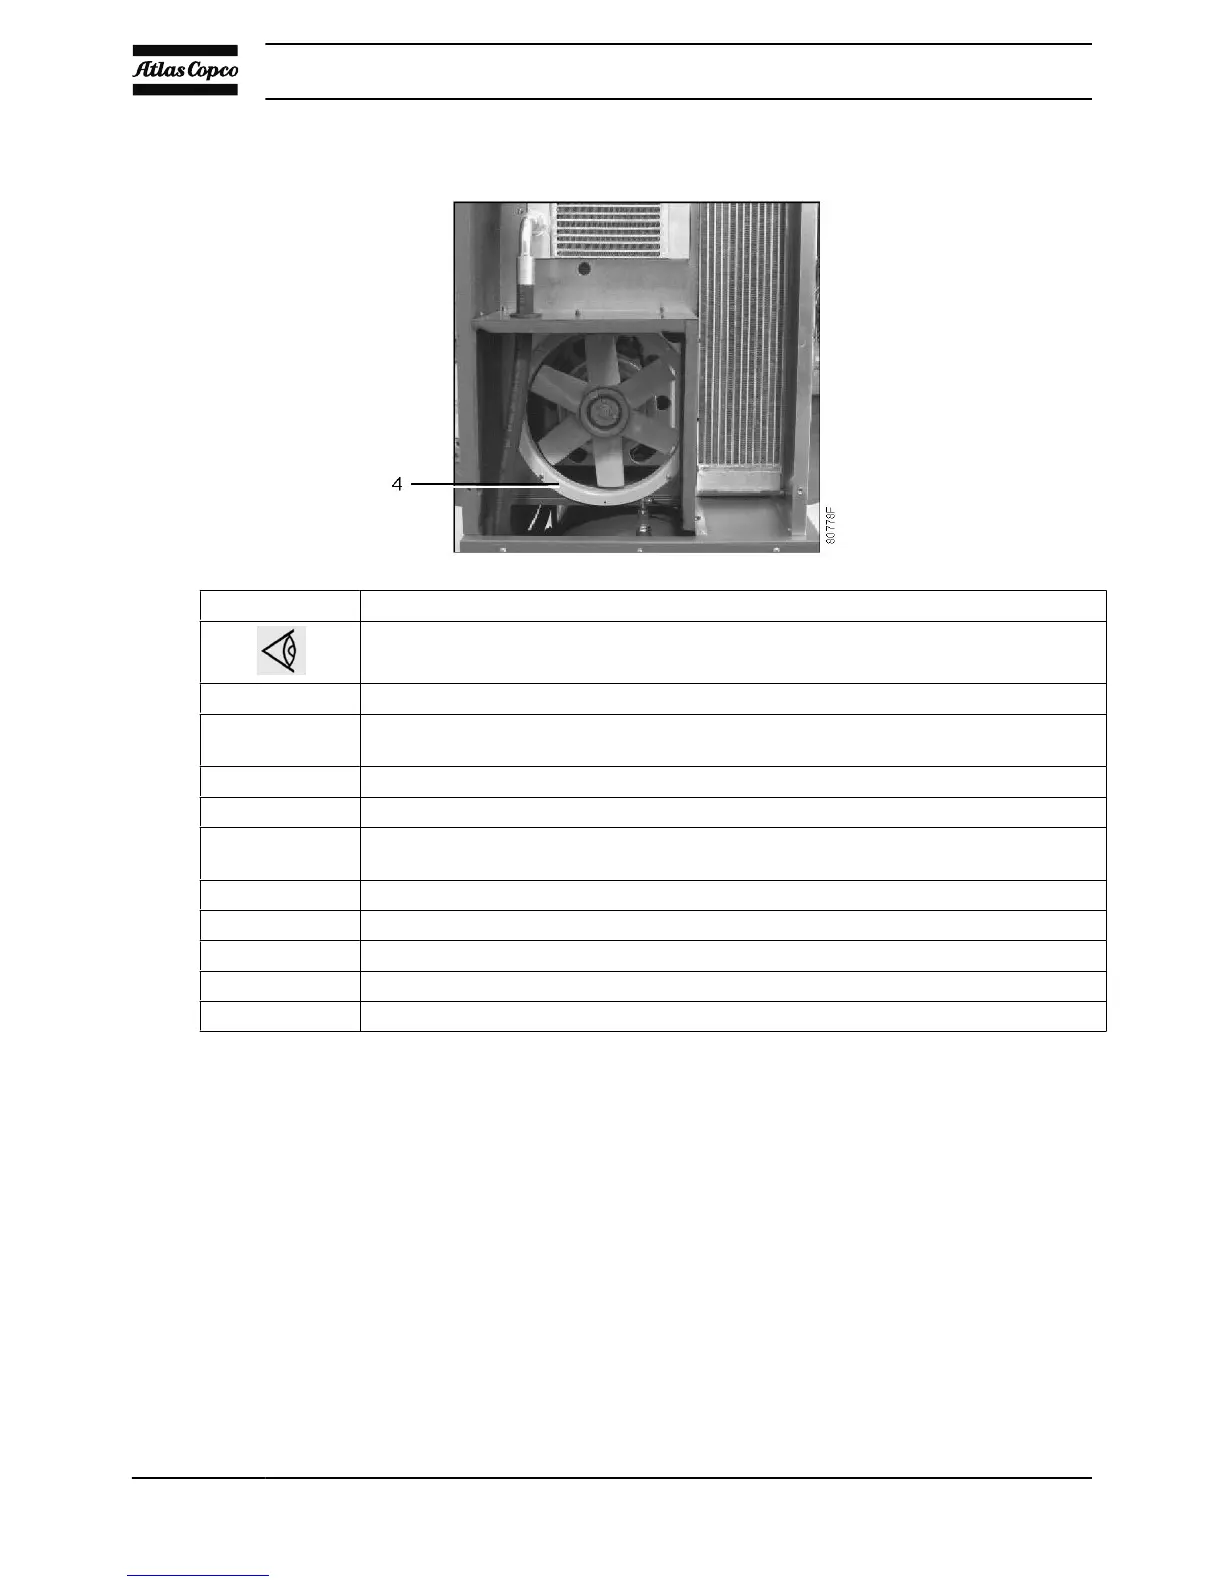
5 Remove the fan duct (4).
Remove the belts.
6 Install the new belts.
7 Tension belts (3) as described above.
8 Re-assemble the fan duct (4), the pulley protection and the internal protection panel.
9 Re-assemble left side and top panel cover.
10 Check the belt tension after 50 running hours.
Instruction book
60 2920 7054 00
 Loading...