General instructions
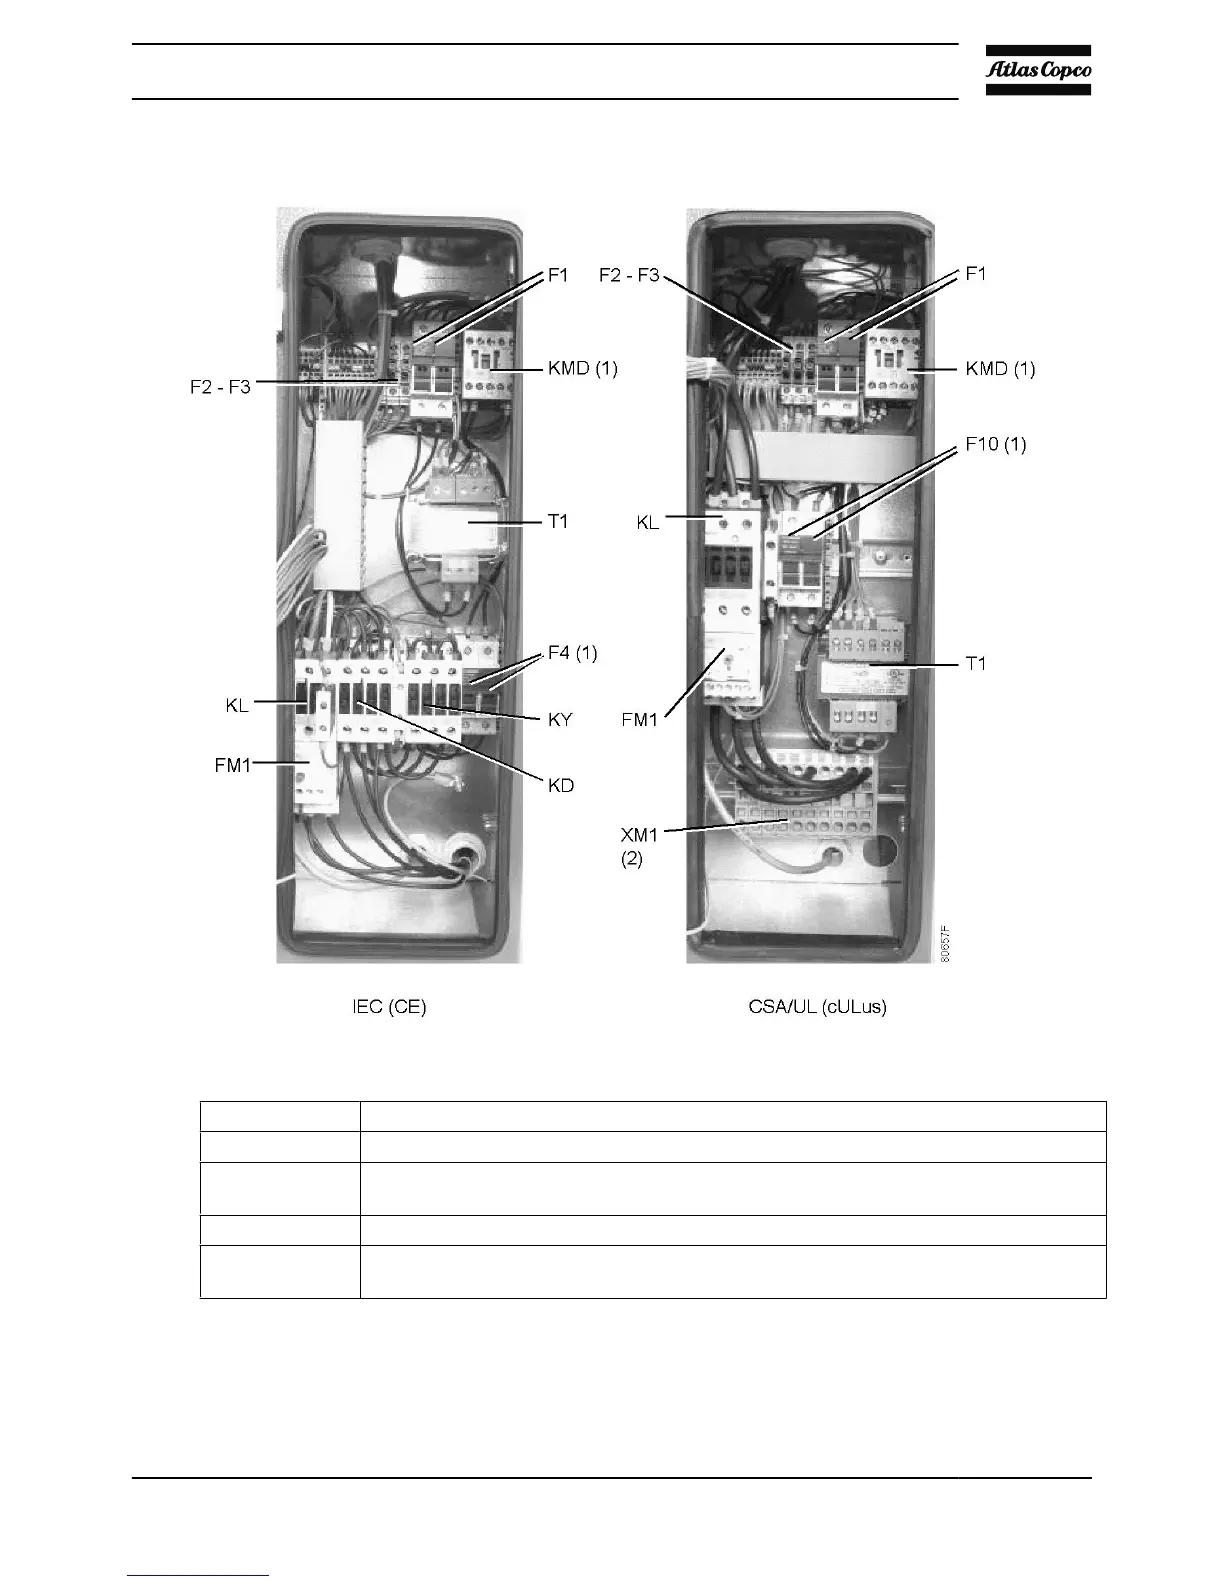
Electrical connection, GX 7 and GX 11
Step Action
1 Install an isolating switch near the compressor.
2 Check the fuses and the setting of overload relay. See Settings for overload relay and
fuses.
3 If fitted, check transformers for correct connection.
4 Connect the power supply cables to terminals L1, L2 and L3 (1X0) and the neutral
conductor (if applicable) to terminal (N). Connect the earth conductor.
Specific instructions for GX 7 and GX 11 with 208 V / 230 V / 460 V cubicle
The standard voltage configuration for the compressor is mentioned on the data plate of the machine. When
the compressors leave the factory, the units are connected for 230 V / 3 phase.
Instruction book
2920 7054 00 33
 Loading...