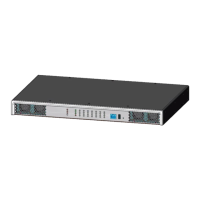
Mediant 1000 Analog & Digital
Fast Track Guide 14 Document #: LTRT-83501
Figure 3-1: Client Configuration Screen with Blank Parameters
3.1.3 Assigning an IP Address Using the CLI
¾ To assign an IP address using the CLI, take these 7 steps:
1. Enable the Embedded Telnet Server by performing the following:
a. Access the Mediant 1000 Embedded Web Server (refer to Section 3.3 on page 15).
b. Set the parameter ‘Embedded Telnet Server’ (under Advanced Configuration >
Network Settings > Application Settings) to ‘Enable (Unsecured)’.
c. On the main menu bar, click the Maintenance button; the 'Maintenance Actions' screen
is displayed. From the 'Burn to FLASH' drop-down list, select 'Yes', and then click the
Reset button; the Mediant 1000 is shut down and re-activated. A message about the
waiting period is displayed. The screen is refreshed.
2. Use a standard Telnet application to connect to the Mediant 1000 Embedded Telnet Server.
3. Login using the username (‘Admin’) and password (‘Admin’).
4. At the prompt type ‘conf’, and then press Enter; the configuration folder is accessed.
5. To check the current network parameters, at the prompt, type ‘GCP IP’, and then press
Enter; the current network settings are displayed.
6. Change the network settings by typing: ‘SCP IP [ip_address] [subnet_mask]
[default_gateway]’ (e.g., ‘SCP IP 10.13.77.7 255.255.0.0 10.13.0.1’); the new settings take
effect on-the-fly. Connectivity is active at the new IP address.
Note: This command requires you to enter all three network parameters (each separated by
a space).
7. To save the configuration, at the prompt, type ‘SAR’, and then press Enter; the Mediant 1000
restarts with the new network settings.

 Loading...


